

Gmail
Gmail is an email platform for workplace communication and an integral part of Google Workspace. When emails are a critical part of your workflow, trigger emails from within your Glide app with Glide’s Gmail Integration.
You may need to upgrade your plan. Browse Glide’s plans and find the right fit for you.
Adding and Configuring the Integration
Click the Integrations tab and then select Gmail.
Send Email with Gmail
The Send Email with Gmail action allows you to send an email from your own Gmail account.
Input, output & required fields
The Send Email with Gmail action allows you to trigger an email send-out via Gmail from within your Glide app. Like any email send-out, the recipients’ email addresses, a subject line, and a body of text are required, whereas cc and bcc recipients are optional.
The In-Reply-To field is for the unique message ID of the email that should be replied to. This enables the email to be sent as a reply to a specific email that has been received. In-Reply-To is particularly useful when creating Workflows.
The output of the Send Email with Gmail action is a sent email, and from the recipients’ perspective, the email will seem to come from Gmail.
Multiple Recipients
You can address the email to multiple recipients by separating email addresses
You can send emails to multiple recipients by manually entering email addresses in the To, Cc, and Bcc fields. Separate the email addresses using a comma, a comma followed by a space, a semicolon, or a semicolon followed by a space.
To use a column containing multiple email addresses as the source, data must be in an array column.
Setting up the Send Email with Gmail action
The Gmail action cannot be configured in the Data Editor. However, to create dynamic emails, it’s best to make sure your data table is set up before you start configuring your action. The data for the fields To, Cc, Bcc, Subject, and Body, therefore, needs to be available in one of the following:
- the table shared by the screen and action
- the User Profile table
- special values that are the current date/time, unique identifier, user’s email address, or link to the current screen
Columns such as text, template, or single value are well suited to generate the subject line and body of the email. If the Body field points to an image column, the email received will display the URL of the location of the image.
- Recipient fields (To, Cc, Bcc): create columns that will house email addresses. These could be basic text, a joined list, a split text, or array columns.
- Subject line: a text or template column.
- Body: a text or template column.
The Body field will accept plain text whereas the Body HTML supports HTML tags. The Body HTML field overrides the Body field and allows you to send emails with more advanced formatting, including images, different fonts, types, colors, etc.
Layout Editor
Workflow Editor
The Send Email with Gmail action can be associated with any component that supports actions or triggered upon a form submission. Importantly, the action can be triggered from any screen as long as the action and screen share the same table as the data source.
Select the component you’d like to add the action to. Remember, this must be a component that supports actions.
Add who the email should be sent From. This should be a person or company name. If left blank, the email address sending the email will appear here when the user receives the email. To manually enter a value here, make sure you use the format Name to use <email of sender> .
Select a column to source the To field or input custom values manually.
- optionally, add recipients to cc and/or bcc.
PIN Emails from Gmail
In App Settings, you can enable sending PIN emails through a Gmail account instead of through Glide’s default email service. To enable this, you must first set up the Gmail integration in the app.
From the team Dashboard, select Settings.
If you have not yet connected a Gmail account, go to the App Settings.
In Access, find Pin emails from Gmail and select Connect.
Example: Send inventory in a CSV file via email
In this example, fieldworkers update warehouse inventory in their Glide app. From within the app, let’s allow them to send an email with the new list of items in a CSV file, allowing other teams to update their systems.
To set up this workflow with the Generate CSV and Gmail integrations, you will likely want to include the following steps:
Build a screen with your inventory with the ability to add, edit and delete inventory items
Create a Generate CSV custom action
In the Workflow Editor: Create an App interaction workflow associated with the single-row screen table.
Set the source data to the table with the inventory and the file output to the Generate CSV URL column in the single-row screen table.
- Optionally, include a Show Notification action to enhance the user experience.
Create a Send Email via Gmail workflow
In the Data Editor:
In the single-row screen table, create 5 columns to house information for the To, Cc, Bcc, Subject, and Body fields.
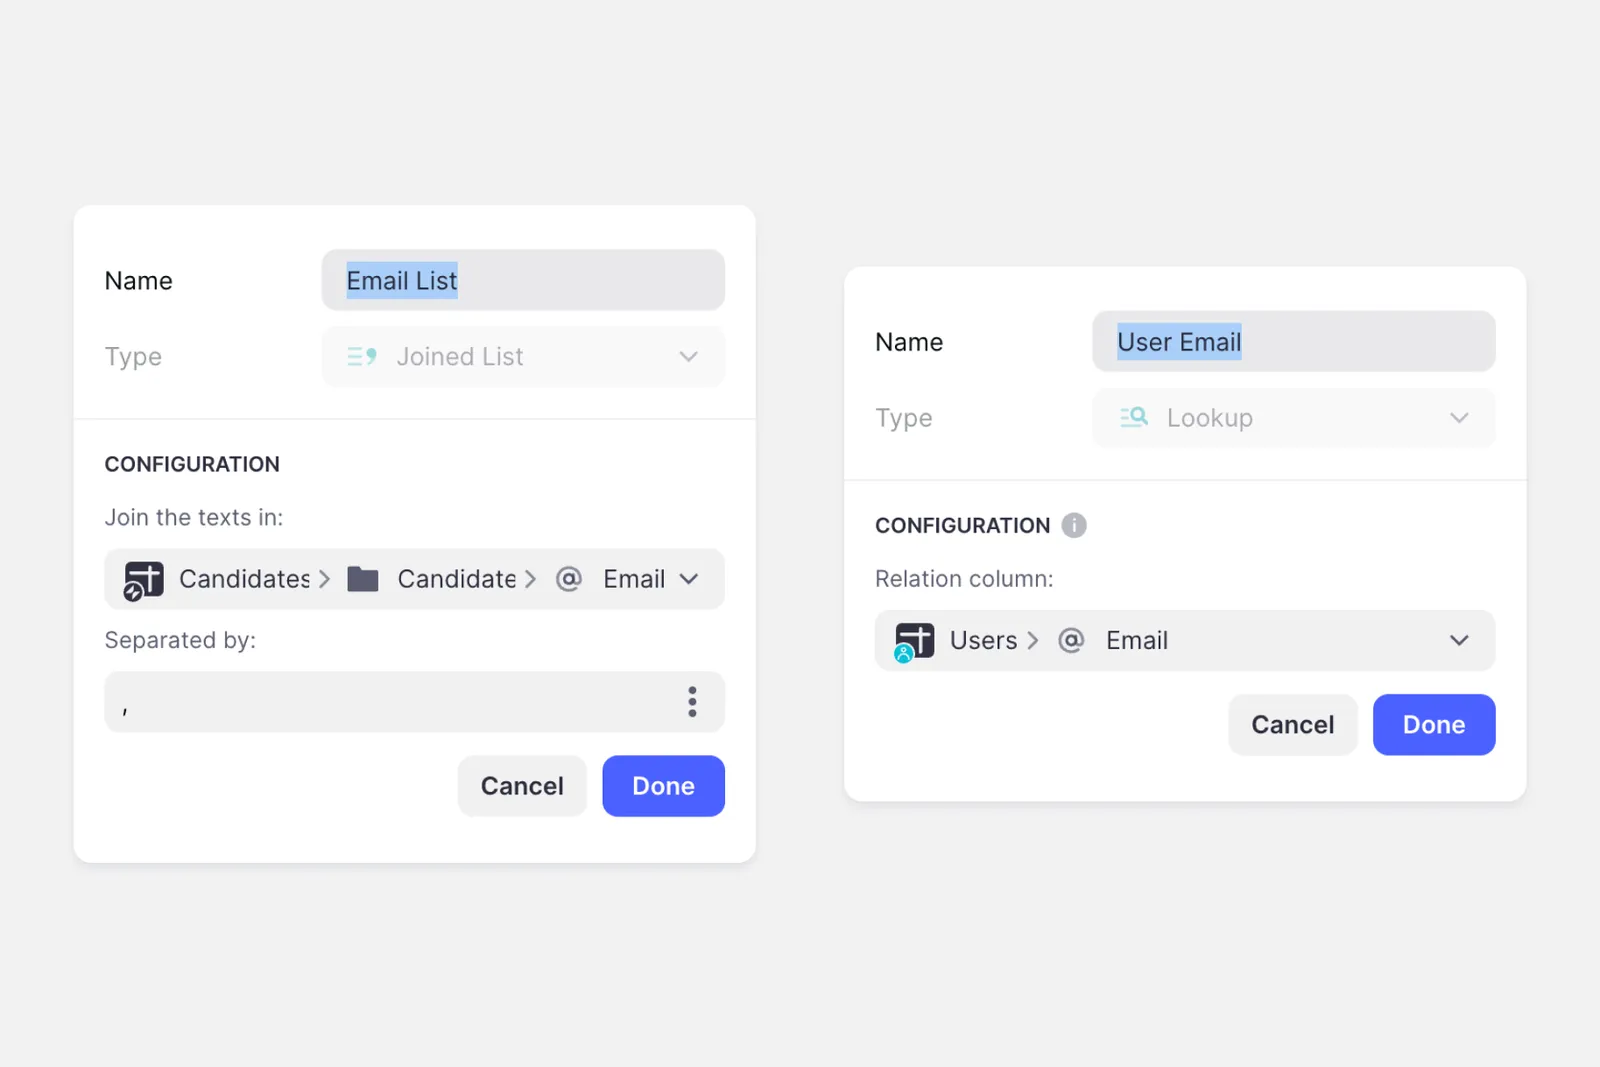
Emails: If they will always remain the same, you can input the comma-separated list of email addresses directly into basic text columns. Basic text columns will also be used if associated with a choice component. Alternatively, create basic boolean and if-the-else columns in the Users table to indicate who will be a recipient, and use a Lookup or Joined List column in the single-row screen table to generate an array or comma-separated list of recipient email addresses.
Subject line: The subject of the email can be fixed, or use a Template column to include a date.
Body: For the body of the email, use a Template column to include the URL of the inventory CSV.
In the Workflow Editor:
Add the Generate CSV and Send Email via Gmail actions to the screen
In the Layout Editor, add components the user will interact with to trigger the Generate CSV and Send Email actions. Here, we placed two button components inside a container at the top of the screen.
The Generate CSV button triggers the generation of the CSV file and populates the table with the URL.
The Send CSV button shows a new screen whose data source is the same single-row screen table by selecting ‘This item’. On the new screen, add a checklist collection whose data source is the Users table. Checking names in this collection populates true values in the CSV Recipients column in the Users table, which in turn populates the array or comma-separated list of recipient emails in the single-row screen table. Below the collection, add a button that will trigger the Send Email with Gmail workflow.
To learn more generally about Integrations in Glide, including how they affect your app’s usage, check out our Introduction to Integrations.
Frequently Asked Questions
Don't see the Gmail integration?
You may need to upgrade your plan. Browse Glide’s plans and find the right fit for you.
Where can I see all the emails that have been sent?
All emails sent from your Glide app will appear in your Gmail’s Sent folder.
Does the Gmail integration support multiple accounts?
No, you can only connect one Gmail account at a time.
Can I use the Gmail integration to import emails?
No, the Gmail integration in Glide currently only allows apps to send emails.
I have already connected one Gmail account. How can I add a different account?
You can only connect one account at a time. You can connect a different Gmail account by first selecting Remove from app in the Gmail integration settings. Then, click Add to app to connect to another Gmail account. You can also manage Glide’s access in your Google Workspace permissions.
Can I connect to email providers other than Gmail / Google?
The Gmail integration allows you to connect your app to Google (Gmail or Google Workspace accounts). You can connect your Glide apps to Microsoft with the Microsoft Outlook integration.
Can I use the Gmail integration with either a personal Gmail account or a professional Google Workspace account (which includes Gmail)?
The integration works with both personal Gmail and professional Google Workspace accounts.
What is the difference between 'Body' and 'Body HTML'?
The Body field will accept plain text whereas the Body HTML supports HTML tags. The Body HTML field overrides the Body field and allows you to send emails with more advanced formatting, including images, different fonts, types, colors, etc.