Glide HomepageOpen Glide

Getting Started

Quickstart
Intro to Layout
Intro to the Data Editor
Data to Layout
Intro to Actions
Intro to Workflows
App Settings
Templates

Essentials

Data Sources
Basic Columns
Components
Security and User Data
Users
Publishing and Sharing

Automation

Actions
Add Row
Compose Email
Compose Text Message
Copy to Clipboard
Delete Row
Dial Phone Number
Generate CSV
Go Back
Go to Tab
Increment value
Open Address on Map
Open Link
Record and Transcribe Voice
Reload Query
Scan Barcode or QR Code
Send Email
Set Column Values
Share Link
Show Detail Screen
Show Edit Screen
Show Form Screen
Show New Screen
Show Notification
Show User Profile Screen
Shuffle Order
Sign In
Trigger Workflow
Wait/Wait for Condition
Webhook
Zapier Action
AI
Computed Columns
Integrations
Workflows
View API Docs

Use Cases

Forms
Images in Glide
Conditions, Filtering, and Visibility
Duplicating Apps

Reference

Account
User Experience
Values
  • Actions
  • Compose Email

Compose Email

Trigger an email draft on the user's device.

The Compose Email action allows users to tap a button and trigger an email draft on their device.

The Compose Email action can be used as an action in the components of your app (like Buttons, Collections, and much more), or it can be triggered along with other actions as part of a Workflow.

Setting up the Compose Email Action

In the Layout Editor

  1. Click on the plus (+) sign in the Components panel and select the Contact or Button component.

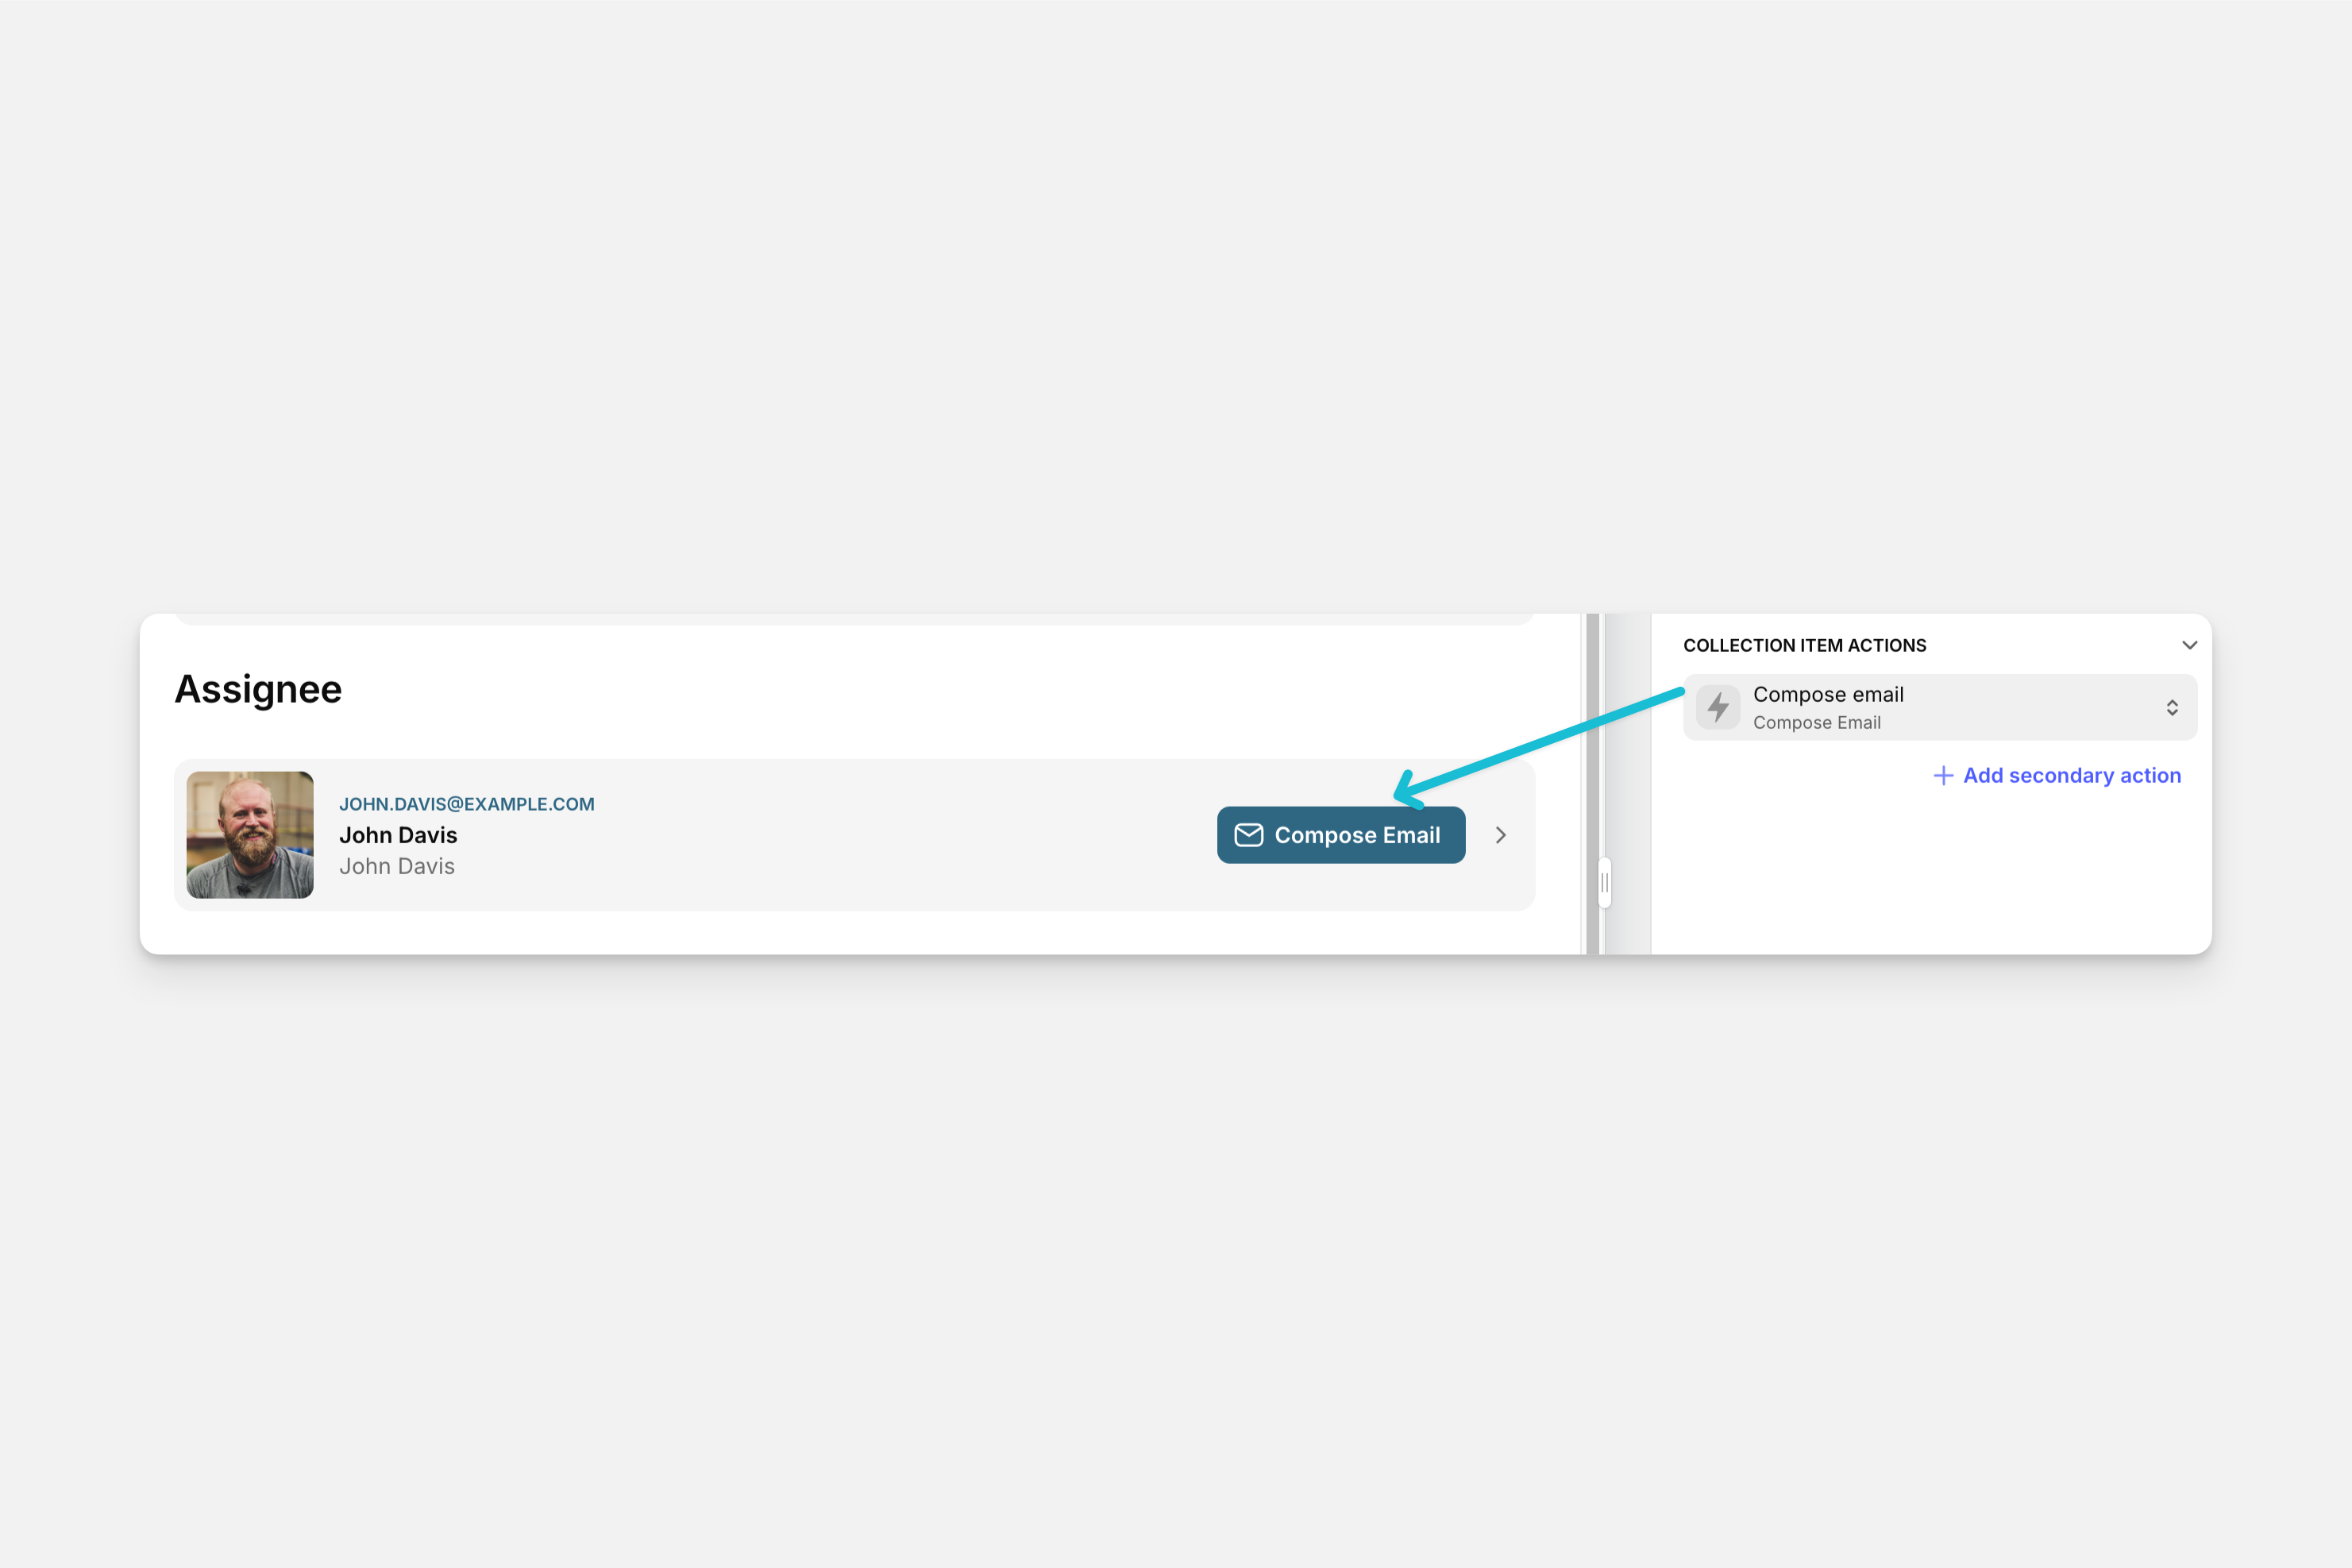
  2. In the General tab on the right side of the Layout Editor, navigate to the Actions section and select Compose email.

  3. Select the icon and descriptive text to use in your app.

  4. Choose the values to add to the draft email. Each field can be filled in with a custom static value, or with dynamic values from a column in your data. The fields you can add values to are:

    • To: The email address or addresses you want to send the message to.

    • Subject: The subject of the email message.

    • Body: The body text of the email message.

    • CC: Send a copy of the email to someone who is not the recipient listed in the To field. This can also include multiple email addresses as a comma-separated list.

    • BCC: Send a copy of the email to someone who is not the recipient listed in the  To field. This can also include multiple email addresses as a comma-separated list. When using BCC, the recipients cannot view the other recipients who may be included in the BCC field, but they can view the email addresses that are included in the To and CC fields.

  5. You can also leave any of these blank if you don’t need that field.

  6. You can optionally add Conditions for certain criteria to be met before a user can trigger this action.

If you select the contact component, Glide will automatically display options to dial a phone number, compose SMS, and compose email. To delete any of these options that you don’t need, click on the action and then click on the delete icon.

In the Workflow Editor

  1. Select the + New Action button. If you have existing actions, click on the plus (+) sign in the left panel.

  2. Select the data source for your action.

  3. Configure your first action by clicking the first action in the sequence. You can also add Conditions to your actions, if needed.

  4. To add new actions to the flow, hover just underneath an action and click the plus button. In this way you can add the Compose Email action as just one step in a larger workflow.

Check the Introduction to Actions page for a full list of components that can be used to trigger actions.

Have a question about Compose Email? Ask the Glide community.
Need more help? Hire an Expert.

Updated more than a week ago

Previous

Add Row

Next

Compose Text Message

Was this article helpful?
Exit Preview Mode