

Generate CSV
Generate CSV is not available for use with Glide Big Tables at this time.
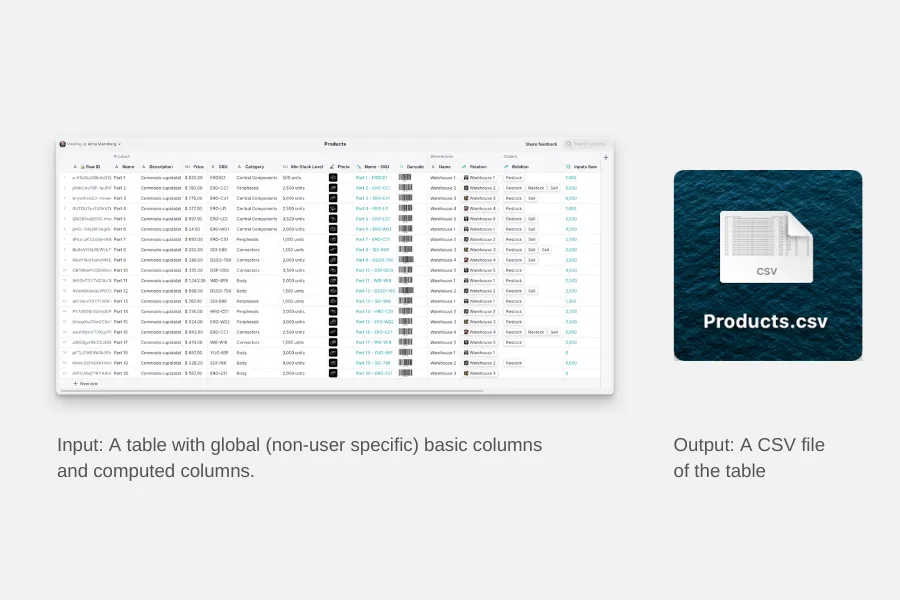
A CSV (Comma-Separated Values) file is a type of file used to store tabular data (numbers and text) in plain-text form. It’s essentially a basic spreadsheet format without the additional formatting or formulas you’d find in something like a Glide Table, Google Sheet, Excel, or Airtable. CSV files are typically used for data import and export among different software programs.
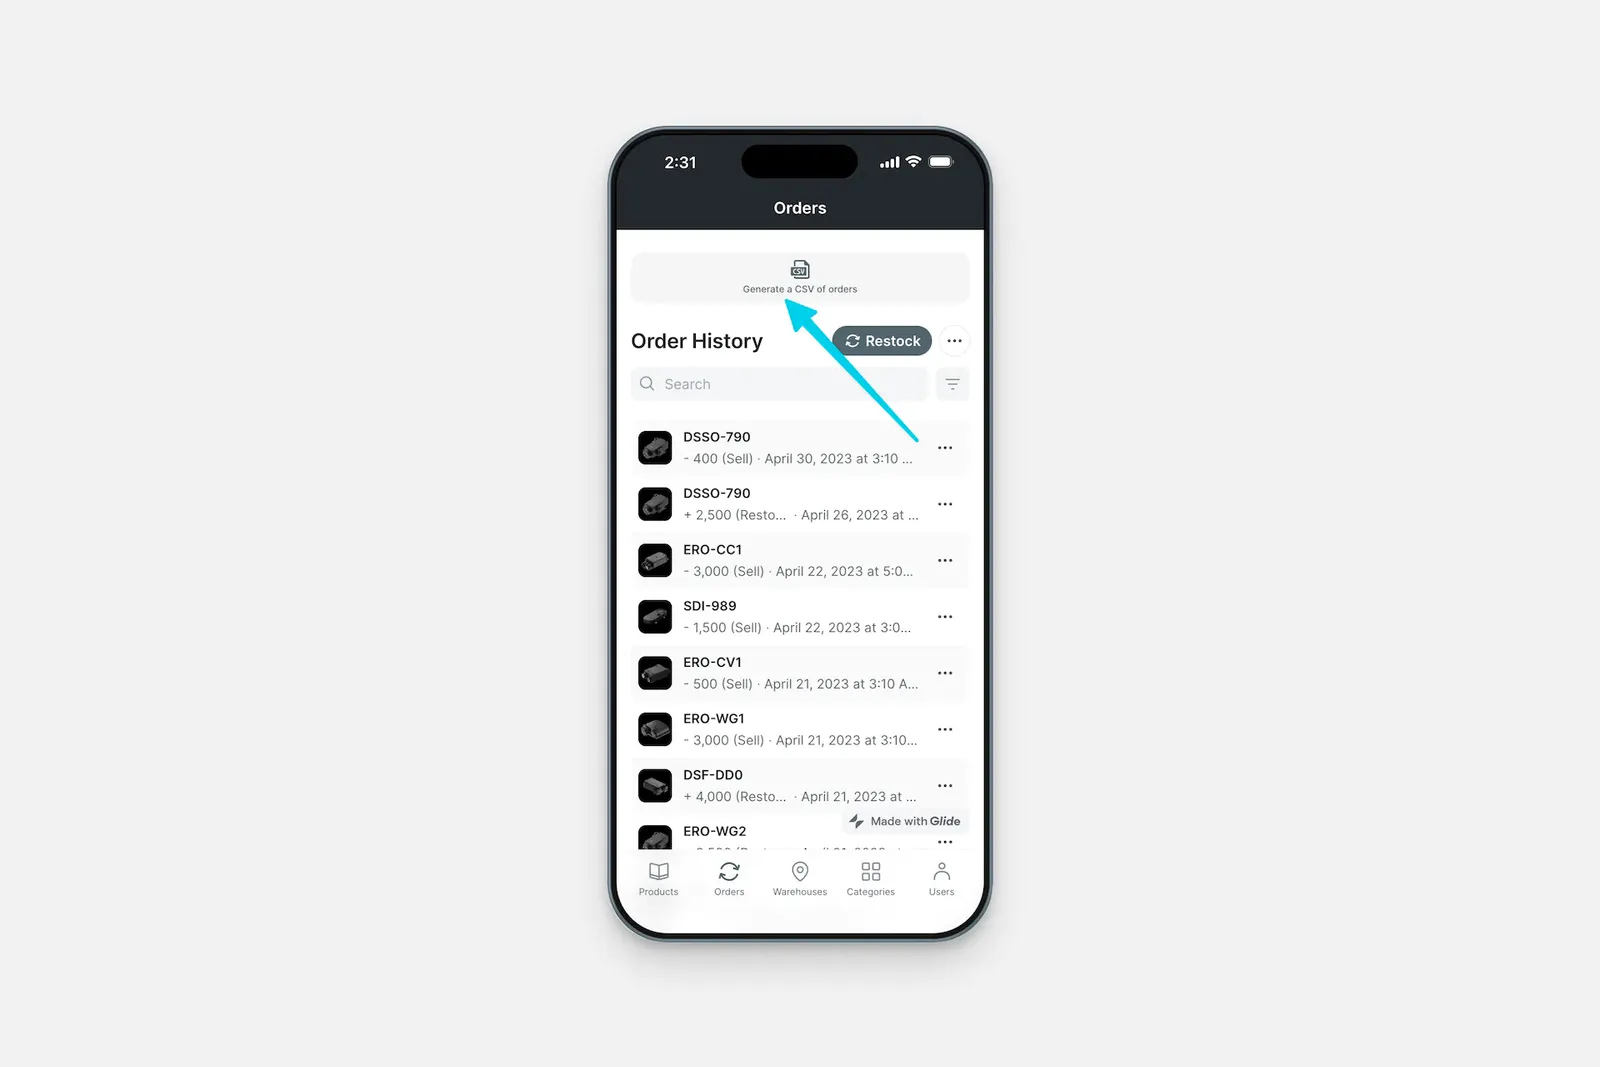
Glide displays your data in various styles and layouts, but sometimes users need to export that data to a CSV file for use outside of your Glide app. For this, you can use the Generate CSV action.
You may need to upgrade your plan. Browse Glide’s plans and find the right fit for you.
Adding and Configuring the Action
Using the Generate CSV Action
Generate CSV can be added to a Component that supports Actions (e.g., a Button component) or added as a step to a workflow in the Workflow Editor.
Layout Editor
Workflow Editor
Select the component you’d like to add the Generate CSV action to. Remember, this must be a component that supports actions.
Select which source data to use for the CSV that will be generated.
- Relations or Query columns can be the source of data. You can therefore generate a CSV file from filtered data.
Use Cases
You can generate a CSV file from within your app and share it with colleagues. Although the app can allow direct access to the data through its interface, use the Generate CSV feature if your colleagues would rather receive the raw data as a CSV file in order to further process it.
Business use cases might include sales, marketing, operations, HR, logistics, fieldwork, and much more. Here are just a few examples of what you could do:
- Expense Reporting: Export spending reports and upload to any expense management platform that accepts .csv files.
- Logistics: Share shipping and delivery details with the logistics team.
- Health and Safety Audits: Share field inspection results for compliance.
- Warehouse Management: Export data on stock levels for supply chain management.
- Data Backups: Generate data backups and send to IT for storage.
- Real Estate Listings: Share property details with potential clients.
- Asset Tracking: Share the location and status of company assets with the operations team.
- Event Registrations: Export event attendee data for event management.
- Fleet Management: Export vehicle usage and maintenance data for the logistics team.
- Equipment Maintenance: Share equipment maintenance logs with the operations team.
Example: Generate, download, share, and delete a CSV file
To set up a workflow with Generate CSV, you’ll likely want to include the following steps:
- Generate the CSV file
- Download the CSV file to preview it
- Share the CSV file with yourself or your colleagues
- Delete the CSV file
In this example, we will set up a screen with a collection of items on it. We can then allow the user to generate a CSV file of the collection, download the file, share it, and delete it.
First: the Data Editor
In the Data Editor:
Next: the Workflow Editor
You can combine the ‘Generate CSV’ and ‘Download CSV’ actions into a workflow in the Workflow Editor. Consider a waiting step of a few seconds in between to allow the file to be generated.
In the Workflow Editor, create a Generate CSV action.
In the configuration, select the data you want to export (eg. Products) and indicate ‘Generate CSV URL’ as the field where to save the generated URL.
- Optionally, add a Show notification action.
Select the Open link action and configure the action to open the ‘Generate CSV URL’.
Select ‘Generate CSV’ as the screen source since this table includes the URL of the CSV file we want to send and a comma-separated list of the email addresses to share with.
Select the Send email action and configure the To, Subject, and Body fields.
- Optionally, add Show notification and Go back actions to enhance the user experience.
If you’d like to also set up the ability to delete the CSV file:
Create an action called ‘Delete CSV’ and associate this action to the ‘Generate CSV’ table as its data source.
Select the Set column values action and clear the value of the ‘Generate CSV URL’ column.
Then: the Layout Editor
On the page, add components to which you will associate the generate, download, share, and delete actions created previously. These components can be collections or buttons.
Frequently Asked Questions
Is the Generate CSV integration free?
Yes! All plans have access to this integration.
How many updates are used when a user triggers the Generate CSV action in my app?
Each run uses 3 of your team’s updates.
How can I download the CSV file once it is generated?
To download the CSV file, you can use an Open link action that references the column used for the File output.
How can I automatically open my CSV file once it is generated?
If you’d like to generate and open your CSV file with a single Action, you may need to use the Wait for condition action as part of a Custom Action. Since the CSV file can take several seconds to generate, an Open link action that is triggered immediately after a Generate CSV action may not work. To ensure the File output column is not empty, include a Wait for condition action that waits until the CSV link is found in the File output column. Then, trigger the Open link action.
How can I generate a CSV of a specific user's profile information?
When selecting the Source data for your CSV, you can select the current user’s User Profile row. Alternatively, if you’d like to generate a CSV file with another user’s information, create a Relation from your data source to the User Profile table and select this relation as the Source data for your CSV.
Why do special characters not display in the generated CSV opened in Excel or Google Sheets?
Special characters should display correctly. You might have to open the file in a simple text editor, save it in ANSI format and then open it again.
How can I track when the last CSV file was generated?
Alongside the column with the URL of the generated CSV, create a basic date column. After the Generate CSV action, append a ‘Set column values’ action: set the basic date column to ‘Current Date/Time’.
Will the generated CSV file include basic user-specific columns based on the user logged in to the app?
The Generate CSV feature can include global (non-user specific) basic columns and computed columns, not user-specific columns. If the user-specific data you want to export is located in the user’s User Profile row, then you can select that row as the data source when generating the CSV file.