No-code this.
Web app that. If you’re reading this, you’ve probably seen and heard the above terms a lot in your quest to figure out how to create custom technology or digitize a paper-based workflow to help your company.
The problem is — most of those guides seem to start right where your knowledge ends.
Welcome to the guide you’ve been searching for.
Here, we’ll walk you through everything you need to know, including:
- The what and why behind web applications
- What’s up with this “no-code” phrase that’s becoming more mainstream
- 13 detailed steps to create your very own business web app with the help of Glide’s modern, no-code platform
What is a Web Application? (And Why You Should Choose One)
Web applications are software programs, just like the apps on your smartphone.
Progressive web apps (PWAs) in particular are a cutting-edge variant that look and act quite similar to native apps for iOS and Android.
But mobile applications they are not. Compared to both websites and mobile apps, web apps have higher cross-platform compatibility. They can be built to resize perfectly for any screen — something a web page often can’t achieve. And they aren’t limited to working on specific operating systems, the way mobile apps are. Web apps can be accessed via the internet using web browsers, such as Google Chrome, Internet Explorer, and so on.
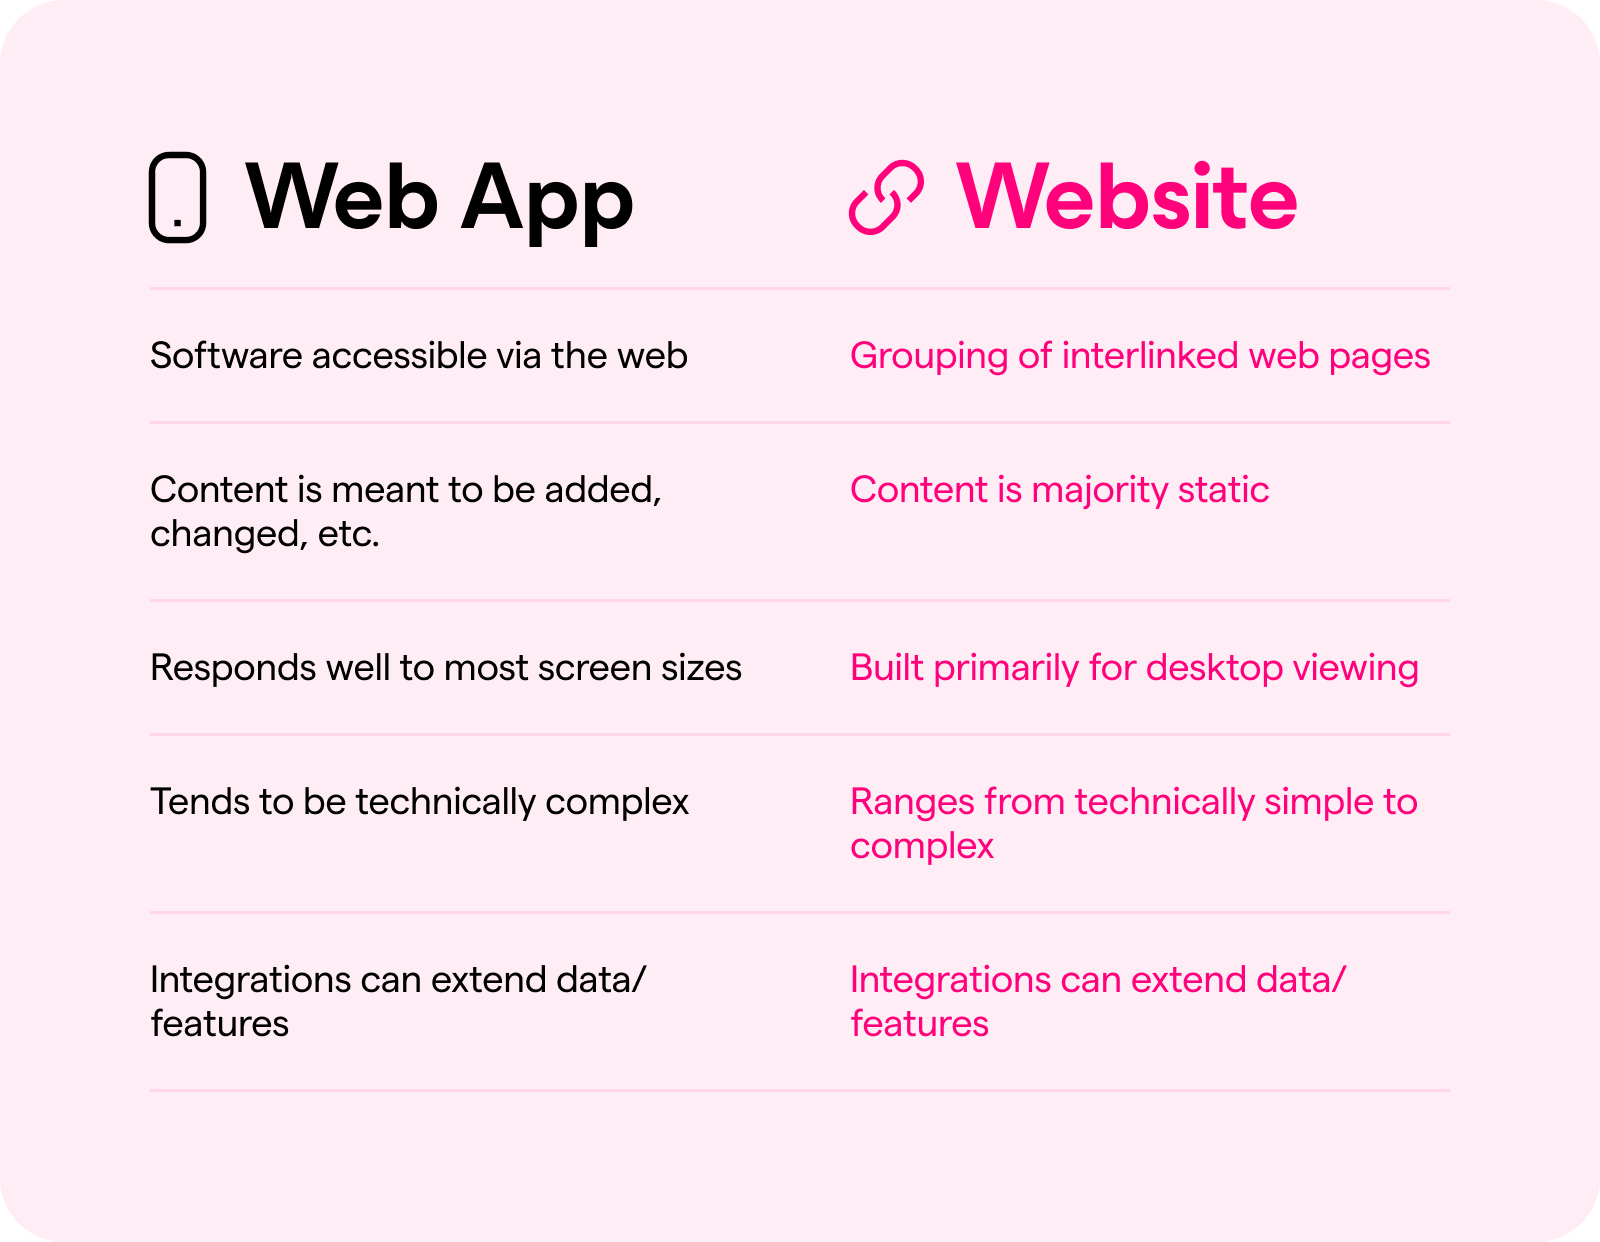
In the scheme of technology, web apps are most often compared to websites. However, they are typically more complex than websites.
That’s because they’re built to be much more interactive when it comes to content. Where websites aim to disseminate content, web apps aim to enable users to interact with content. With a web app, you can add and edit content — and watch as the app responds to this new input. The features and functionality of both websites and web apps can be extended via integration technology like an API.
However, that doesn’t mean they’re heavy, or slow. Many web apps today are single-page applications (SPAs). This framework means only the page the user is interacting with reloads, instead of the whole application. This puts less pressure on the web server, making everything faster.
The user interface elements of web apps, which live on the front end (aka “client-side”), can be created with programming languages like React, CSS, Javascript, HTML, and more. The back end (aka “server-side”) of many web apps, which house things like data and functionality, can be created with Java, PHP, Python, Ruby on Rails, and more.
What’s Up With “No-Code”?
Around 2013, the no-code technology revolution began.
Now, there’s a whole class of drag-and-drop platforms for creating web apps and many other types of software.
No-code tools like these enable everyone to build their very own software without any experience or knowledge of either backend development or frontend development.
Most of them do it by making the process of building technology visual. Instead of writing code, users work within a platform full of pre-built elements of all kinds: fields, forms, graphics, buttons, and more.
Users drag and drop these elements into place on their screen, creating custom web apps and other types of software — just like how one would create a tower with blocks or LEGOs.
Advanced builders even enable their users to work with third-party tools and integration platforms, so you can take advantage of powerful data and features without having to create them from scratch.
This process makes app development and design way faster, more affordable, and overall more approachable for people without technical training, huge budgets, or large development teams.
Learn more history and how to choose the best no-code tools in our Glide guide to no-code technology.
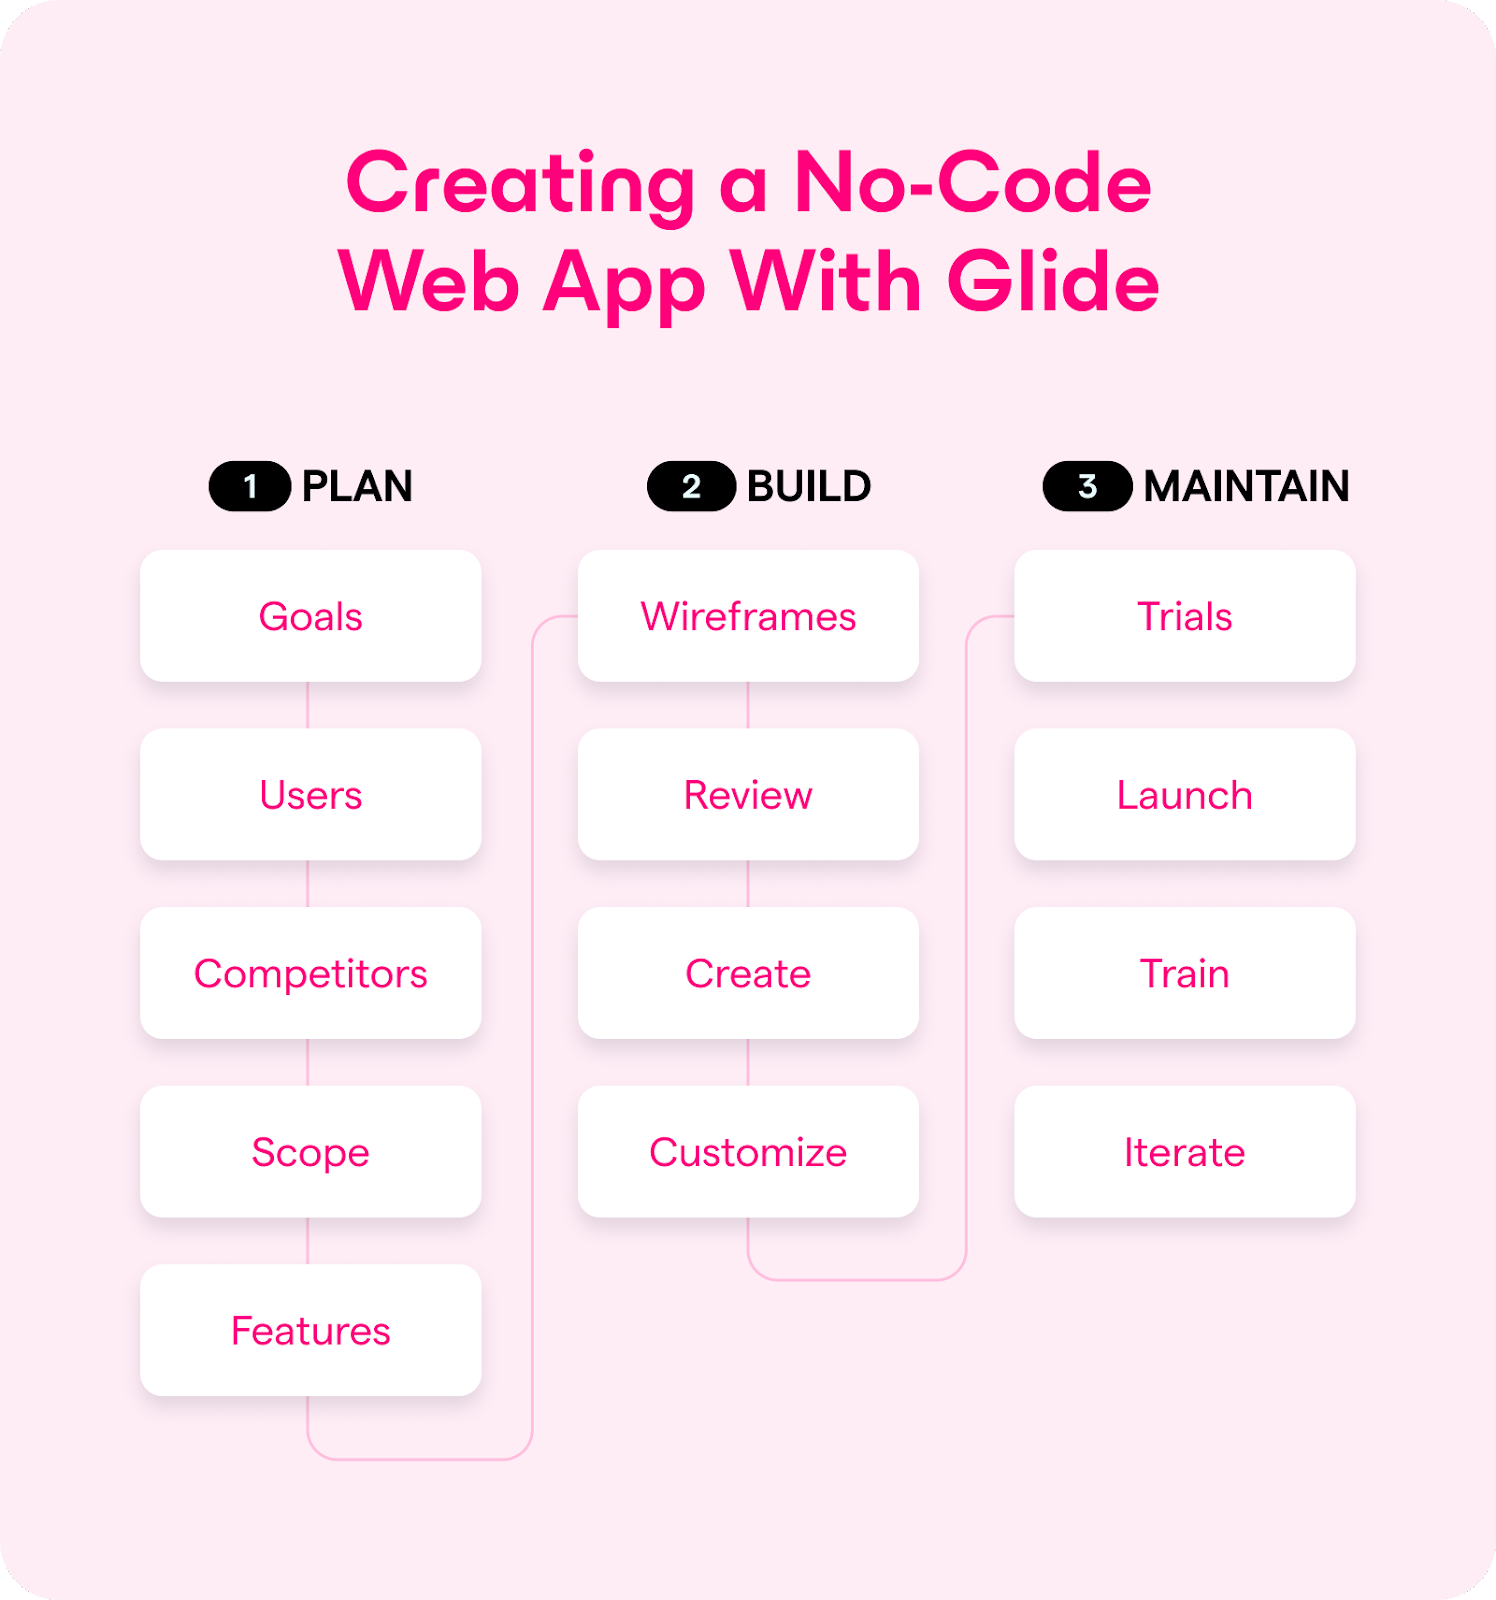
13 Detailed Steps for No-Code Web Application Development, Using Glide
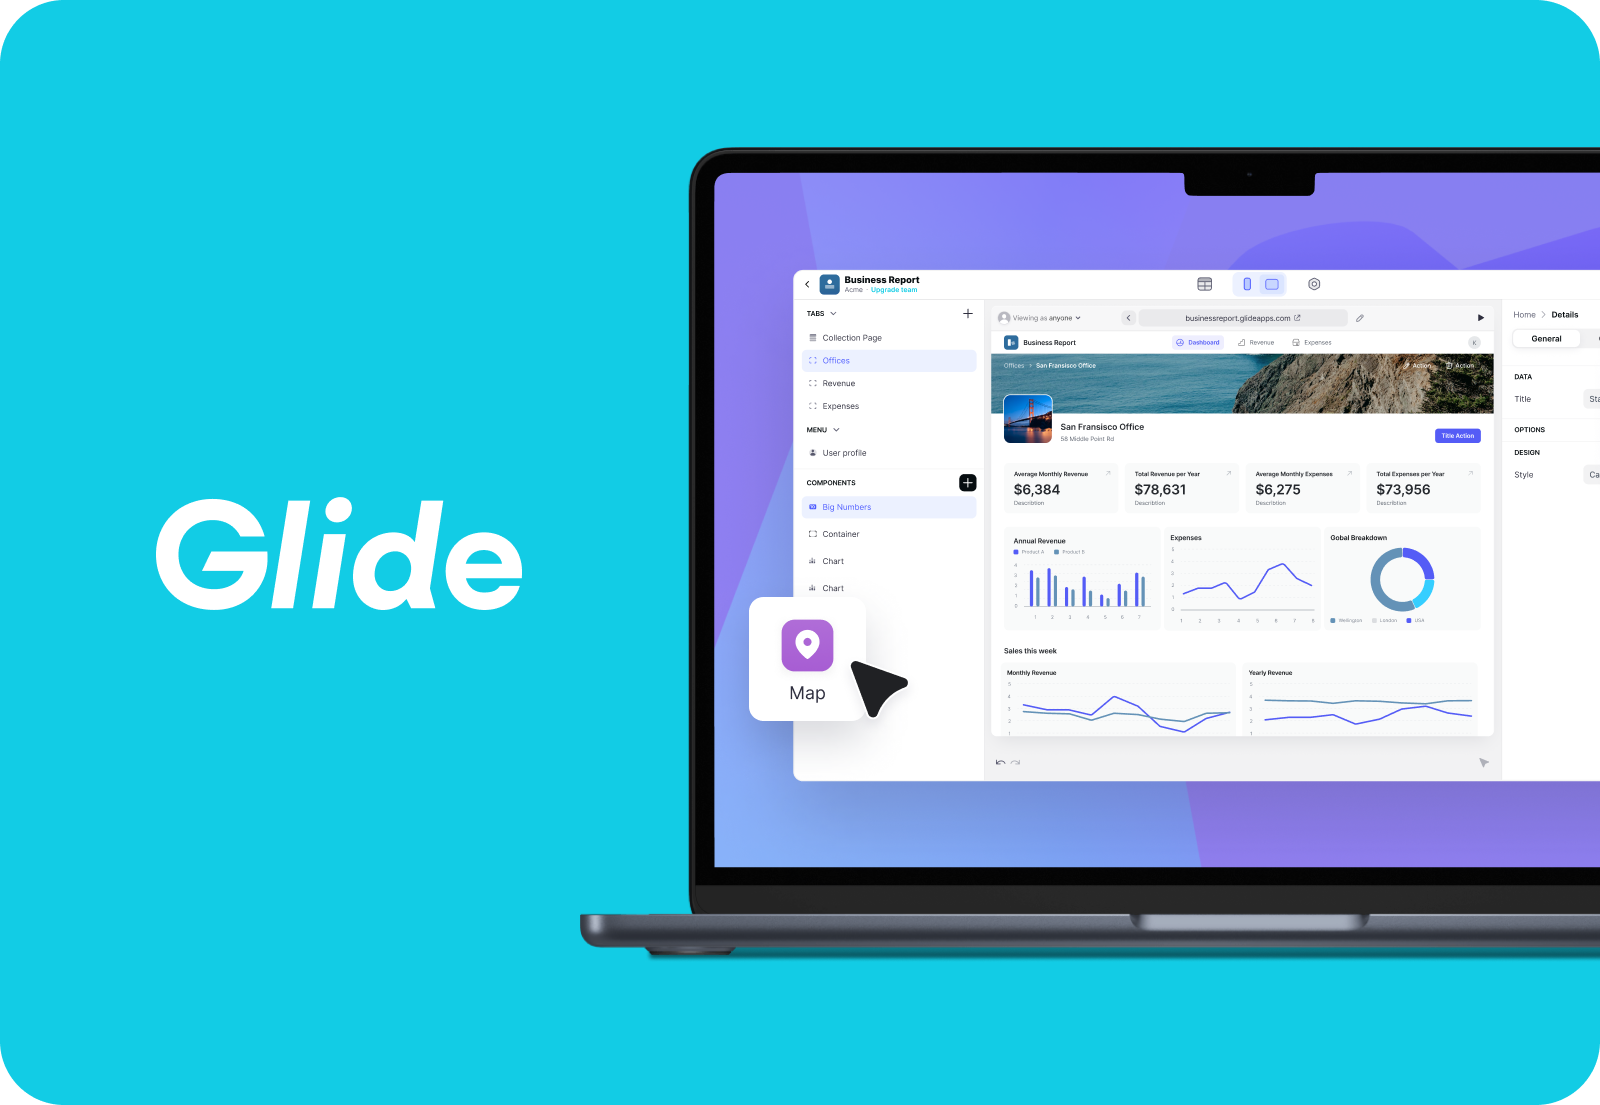
Glide is one of those powerful no-code software development platforms we just talked about. With Glide, anyone can build a web app thanks to our focus on affordability and usability.
But just how, exactly?
In this section, we’re going to go into detail on exactly how to build web applications from end to end — including using Glide to bring your idea to life.
1. Solidify Goal(s)
As the saying goes, fools rush in.
This mantra certainly applies to creating web applications.
Getting your goals for your app in order is so important because this ensures it will have real value when the time comes to roll it out to end users.
So, first things first, make sure you’re solving a specific problem.
Then, make sure you know specifically whom you’re solving it for. These will be your users, and the stakeholders whom you will keep involved throughout the entire development process.
And yes, your stakeholders can be you and your own team. We often see users come to Glide to build tools that solve issues in their own workflows.
2. Get to Know Stakeholders
With your stakeholders identified, it’s time to figure out the best process for solving their pain points in a way that’s logical for them.
That means really getting to know your stakeholders.
For instance, perhaps the stakeholders we’re talking about are sales folks in your organization, who need a system for monitoring leads throughout the buyer's journey.
In order to create such a system for them, you need to know what they’re currently working with, how leads behave, all the stages of the buyer’s journey, and what functionality your sales team needs.
You should be able to get to the bottom of most of this through interviews and watching your stakeholders at work.
3. Conduct Competitive Research
Before you get any further, make sure you’re not reinventing the wheel. That means researching what’s already on the market.
Does anything already exist that meets your goals and solves stakeholder issues?
If so, can you make it work at your company?
If not, is there anything out there that gets close to what you need? This knowledge can streamline your build process, giving you something to partially replicate when you go to create your own web app.
4. Define Scope
Creating a great web app isn’t only about choosing the right tech and putting in the effort. In addition, your business has to understand and be ready to support the time and expense it’s going to take.
One of the best ways to ensure you get that support — or just prepare yourself for the time and expense in the case of owners or one-person teams — is to scope the project out.
A scope should outline everything from goals and stakeholders to deliverables, tasks to be done, and parties responsible for each task. With a scope, you can develop the budget and timeline of your project.
Whether you need to convince yourself it’s worth the time and money or get the green light from decision-makers, your scope document is going to be the best way to get everyone on board, get all contributors prepared and on the same page, and keep yourself accountable and on track as you go.
5. Outline Features
Now that you know what you’re building, for whom, what it could possibly look like, and the limitations around time and budget — it’s time to define the features your app should have.
Identifying features means understanding all user types and the workflow each will go through.
Using the example of the lead-tracking system from earlier, users may include general sales reps as well as sales leaders. They will need different features. Reps need to be able to add leads, move leads into different stages of the buyer’s lifecycle, attach contact records to leads, and more. Leaders may need to be able to do all of the above plus administrative tasks, such as reporting. Both will probably need some kind of internal flow for creating their accounts, resetting passwords, and that kind of base-level functionality.
There is a lot of user experience to think about here, so consider an MVP (minimum viable product) if you feel your motivation waning or your timeline dragging into infinity. Try building a smaller version of the full app you hope to have someday, with a plan to add new features in the future.
6. Wireframe Every Workflow
Finally, time to get visual.
A wireframe is like a map of your web app. It lays out all the app pages and elements, how they interact with each other, and how different users will navigate through and use the app. Wireframes should be detailed, but only when it comes to functionality. Now is not the time to worry about web design.
How you choose to wireframe is totally up to you. There is software out there for this express purpose (Sketch for example), platforms for making digital drawings, and the simplest option of them all — paper and pencil.
7. Review with Stakeholders
It’s imperative that you have stakeholders review the wireframes at this stage.
Getting them engaged early increases the likelihood that what you’re building will be highly useful for them, and will improve efficiency and morale at your company.
In addition, it’s critical to identify and iron out any workflow hiccups early, so you’re not wasting any time re-building elements and processes later on when the app is more fleshed out and harder to change.
8. Create Your Glide Account & Project
With that, it’s time to build your web app without code.
To get started with Glide, hop over to our pricing page to select the package that makes the most sense for your team. And yes, there’s a free option!
From there, it’s super quick to sign up, open your Glide account, and select “New project.”
Then, select Glide Pages (optimized for web apps), give your app a name, and select your style.
Finally, you’ll need to choose the data source for your new web app. Glide automatically creates apps based on data, which can come from Google Sheets, Airtable, Excel, Glide Tables, and more. Wherever you make data changes — at the original source or within Glide — both will update in real-time to ensure your information is always correct.
Once your data source is connected to Glide, our system will import the info and raise a basic web app — all ready for you to customize and optimize.
But just before we get to that step — know that you can also use a template for a head start on app design and functionality. Our templates cover all kinds of categories: small business, large business, startups, ecommerce, sales, finance, health, SaaS, personal, and pretty much anything else you can think of.
Just choose your template from our massive selection, follow the prompts to copy or purchase it, and you’ll swiftly be ready to move to the next step.
9. Customize Your Web App With Glide
Time to make your new app all your own.
Let’s first walk through how to update the data powering your app. Go to the Data Editor tab at the top of the screen to add new tables. Or, go to the Settings tab > Data > Data Sources to change the data source.
Then, once back on the Layout tab, you can dive right into Glide’s drag-and-drop interface.
On the left side, play around with changing your app Tabs (these are like your app’s pages). Add elements like graphics, buttons, and more in the Screen section. On the right side of your screen, you can even update the details of each of these elements — things like how they look, where they pull data from, and much more. The customization goes deep.
Once you're done building out pages and features — which you can come back and edit infinitely with Glide — it’s time for the final touches!
In the Settings tab, personalize things like your app name, colors, font, and more. From here, you can also control your app’s privacy settings, choose the details of user access, and engage integrations like Google Analytics and Zapier to further enrich data and functionality.
We aim to make Glide easy, but we understand that it can still take quite a bit of time to get it perfect. If you don’t have the time it takes to get your web app where you want it, hire a no-code agency from Glide’s roster of well-vetted Experts.
10. Soft Launch and Test
Up in the top right of your Glide editor, you’ll see a Publish button.
Once you use that, your app will be live!
But don’t worry, you can still keep it under wraps until after it’s been tested by a few key stakeholders. Just go to the Settings tab > Privacy > Sign-in > Required. But remember that the team members you’ve added to your Glide account will always be able to see and edit all your Glide projects.
While still in the Settings tab, go to Users & authentication to set up who will have access to the app at this time. We recommend creating a table called “Testers” full of only the people who you want to be able to sign in and test out your app.
You can invite them to sign in using the Share section of the Publish button dropdown, or send them the link.
As for the testing process, try to watch testers actually use the app to get their day-to-day tasks done. You may also want to record this for repeat viewing. Compile any feedback they provide during this process, document it, and work through all the necessary tweaks before the company-wide launch.
11. Launch Wide
Time to change those settings so all the intended users can finally enjoy your new web app!
Visit the Settings tab > Privacy again to make your app public. Or, depending on the app, you may still choose to require sign in or have people request access. You can also make it so that any users with your email domain can sign in. This is good if your team makeup changes a lot because of contractors, etc.
This is a good time to revisit Users & authentication to make sure you’re pulling in a table with the right users. Users are people who need to have a profile on your web app. For example, sales app users would be your sales team and any leadership overseeing them.
Note that the Publish button is now called “Share.” So go up to the Share button one last time to copy your link or invite all your new users via email.
12. Train Users on New Web App
Ideally, you should already have a training plan pretty much in place by the time you roll out your new app to its users.
Training can look like one-on-one sessions, a video series for users to watch on their own, or a one-day training summit where you can walk through all the workflows and work through all the questions together as one big group. Whatever direction you take, make sure it’s flexible and thoughtful. Training well can really make or break the success of your app’s users. Allow ample time and opportunities for users to complete training, set up a checklist that each person can work through to ensure they’ve covered everything, and always be available for questions.
13. Ongoing: Gather Feedback and Iterate
Last but definitely not least, this final step may be one of the most impactful in the success or failure of your new web app. It isn’t going to just keep up with changing web technologies or company workflows on its own — you have to strive to keep it accurate and up to date.
To make sure you’re always informed about what your app is doing and where it needs work, create a safe culture around feedback. Also important is a system for people to provide that feedback.
Such a system should give you a way to prioritize the feedback you receive, track progress, and communicate back to the provider when feedback has been received and when it’s been resolved. Many companies use ticketing or tracking software for this job. You can even build your own project tracker using Glide!
Most of the time, people just want to be heard. Using a system that shows movement on their feedback is a sure way to exemplify that you’re listening to them and that they are valued.
How Will You Glide Through Your Workday Today?
With the help of a web app, you can take those slow paper processes fully online, create custom tools to streamline messy workflows, and even automate many manual time-wasting tasks.
And with the help of a no-code web app creator like Glide, you can create all the web apps of your dreams speedily and affordably!
The fastest way to get on track is to visit Glide, sign up for free, and launch your very first web app in minutes.