
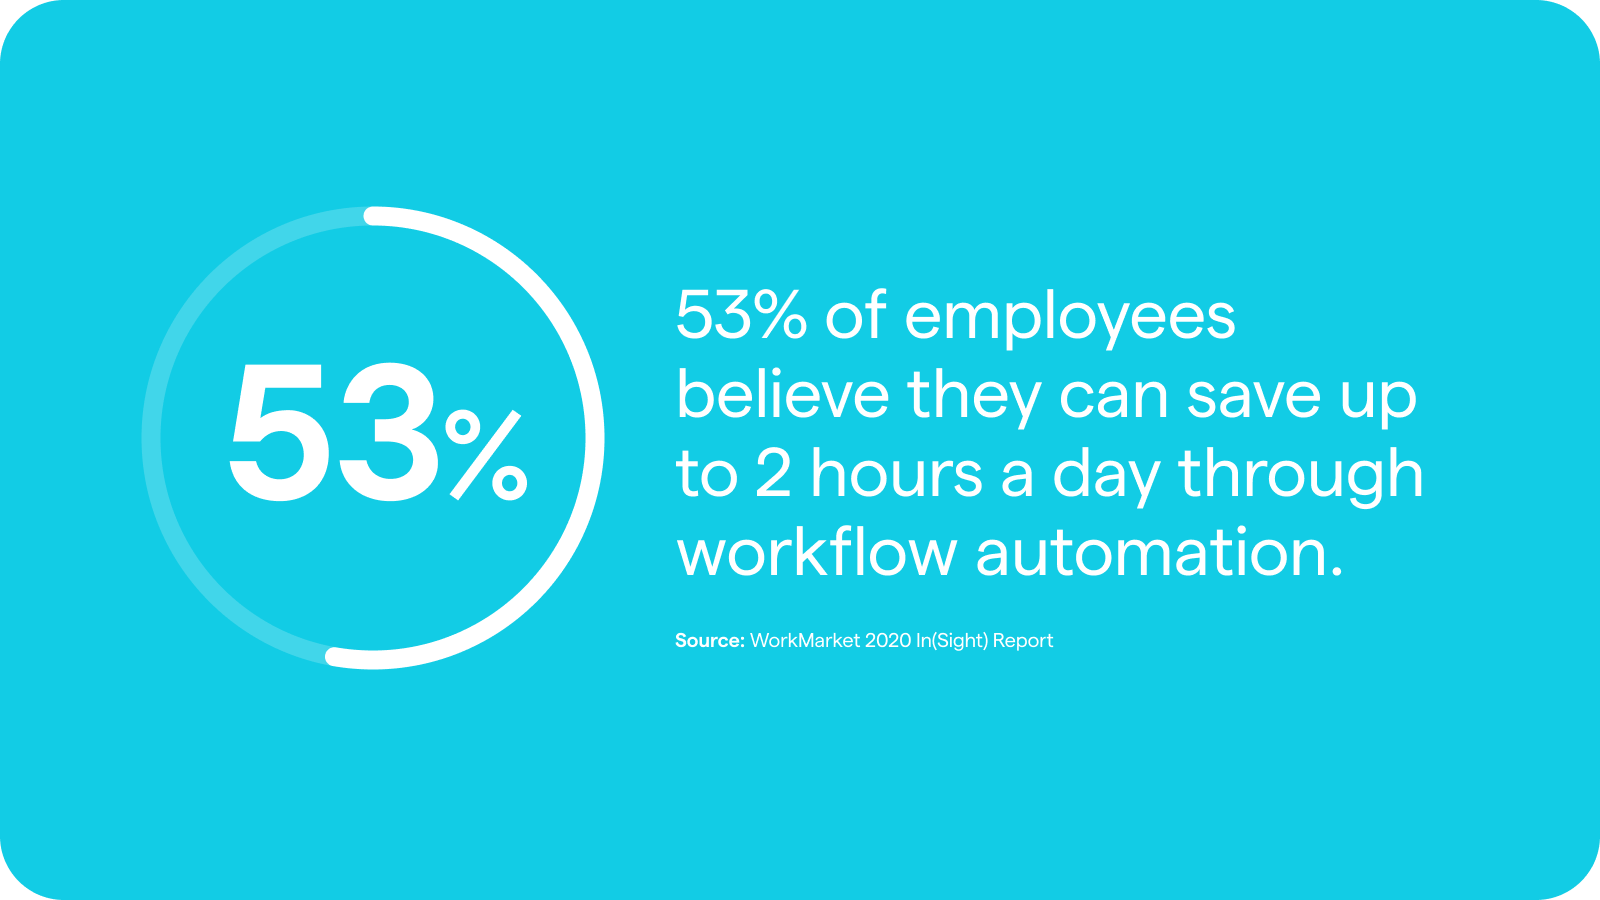
How would you like to save as many as two hours every day at work?
We don’t mean by cutting out your breaks and lunchtime.
And we definitely don’t mean by just throwing that last assignment that landed on your desk out the window (as tempting as that may be).
No, we’re talking about introducing a powerful solution that will cut out manual tasks and human-induced errors to get projects wrapped up with astounding efficiency.
We’re talking about automation.
Let’s talk about what workflow automation looks like for businesses and the five steps you can take to create your first automated tool with Glide.
CRM: Powering Your Workflow Automation
To understand why you should be interested in customer relationship management (CRM) software, we’ll first rewind to two important business constructs: automation and, more specifically, workflow automation.
First, the automation part.
Automation occurs when one action automatically triggers another without you physically having to take any action in the moment. In the tech space, automation happens based on rules set by the software builder or, depending on the tool, you the software user.
An example we’ve all experienced is the confirmation email. Once you’ve completed a purchase on a website, most of the time the underlying software of that website will automatically send you a confirmation email as a form of receipt. It’s generated automatically by the system instead of sent manually by the merchant.
Workflow automation applies the ideas of automation to workflows. While there are certainly workflows we create in our everyday lives to get things done, in this case we’re talking about business workflows, which are sequences of tasks and clusters of resources that all must come together, in the right order, to complete a defined project.
An example of workplace workflow automation can be seen in something like modern expense reporting software. Without automation, every month an employee would have to waste a bunch of time gathering and collating data from receipts and the company’s financial accounts.
But with automation, that same employee can simply push a button or even set a date to automatically trigger expense reporting software that pulls information from all the right sources, generates an organized report complete with graphics, and sends it to the stakeholders who need to review it.
So where does CRM software fit into this conversation?
Today’s CRM tools are one of the most powerful examples of workflow automation for businesses.
We’ll go straight to the pros at Salesforce for more insight into what CRM is:
“Customer relationship management (CRM) is a technology for managing all your company’s relationships and interactions with customers and potential customers.”
According to Salesforce, the goal of using a CRM is to better your relationships with customers and leads — ultimately improving and growing your business.
What makes CRM such a critical element of overall workflow automation?
Modern CRM systems can connect and inform most of the pivotal interactions people have throughout the customer lifecycle, including those with ecommerce, customer support, sales, and marketing.
It’s those last two areas where CRM really shines.
CRM software is often used to track sales leads as they move through the sales funnel, as well as conduct lead scoring. This helps sales reps see which folks to focus on and which engagement tactics will work best. This same information is pivotal in helping market teams create things like personalized drip campaigns and other effective email marketing campaigns for boosting conversions and retention.
CRM software is also essential in helping salespeople with account management. With automated follow-up notifications and customizable sales processes that they can basically set and forget, sales reps can cut out time-consuming and repetitive tasks and focus on leads who need hands-on interaction.
CRM is a powerful solution for businesses looking to apply automation to save time and level up performance.
The biggest problem with CRM systems and other workflow automation solutions is that they can be intimidating to adopt.
Business software usually requires a lot of shopping time, hidden fees, and long contract commitments — making it scary to potentially choose the wrong thing.
On the other hand, engaging a traditional agency to build the tools you need in your workplace means you will get exactly the features you require. But when the average app building cost is $150,000, that certainly puts many small businesses out of the running for this option.
If you find yourself stuck between this same rock and hard place, consider a third, modern approach: no-code workflow automation creation.
How?
Simply follow along, because this guide plus the team here at Glide are on your side to help you build a CRM without code.
It all starts now.
Use Glide to Build a Custom CRM Workflow in 5 Steps
Follow these steps and you’ll come out at the end of this article with a CRM app that is ready to help you make the most of your customer relationships.
Step 1: Figure Out Users + Core Features
The most significant advantage of creating a custom workflow for your CRM platform is that you get to exercise complete control over how it operates.
This first step is all about figuring that out — starting with who in your organization is going to be using it.
Will your CRM mostly help your sales team keep track of convos with prospects? Will marketing teams use it to determine who gets what messaging based on their place in the funnel? Is customer service going to pop into the CRM regularly to update the status of customer questions?
Knowing all of this will guide you to what features you want your CRM to include. Is it most important to be able to add comments to customer profiles, to add tags to new leads, to build marketing automations that send messages after key trigger actions — or is it some mix of all of the above?
Remember, in addition to the actual features your CRM users will interact with, there are other important high-level elements to consider: usability, flexibility to adapt as your business or your customer base changes, ease of integration with the rest of your software, and so on.
This is a research-heavy step but it’s also your chance to really tailor your tool to your team, so take your time here.
Step 2: Organize Any Docs/Data You’re Currently Using
This step assumes you’re already working with some customer data.
If so, all that info will need to be organized in a way that makes it easy to add into the eventual no-code CRM we’ll be creating with Glide.
We recommend spinning up simple ol’ spreadsheets to contain and arrange your CRM data.
For example, a spreadsheet featuring all your contacts would contain separate columns for information like:
- Name
- Employer
- job title
- Contact info
- Social profiles
- Etc.
Using another spreadsheet, you may also want to document an internal directory for your own company, with separate columns for details like name, role, contact info, etc.
And to collate all that information you have floating around leads, you could create yet another spreadsheet with separate columns documenting each lead’s stage in the funnel, sales interactions, whether or not they’re considered qualified yet, and so on.
Once you start thinking about it, there’s a lot of data that could go into your CRM platform! If you’ve never captured all of it using spreadsheets before and are feeling overwhelmed, read our Data-to-Layout guide to learn about how Glide uses all this information to create workflows, and how to organize it to work best within our system.
Don’t worry, you can always update your data and even add new data sources — Glide works with Google Sheets, Airtable, Excel, and more — any time during the lifetime of your Glide CRM platform. Any updates you make to your data sources will update within Glide in real-time.
And if you’re just getting things off the ground and don’t have any customer data to work with yet, you can still build your CRM in Glide without any problems.
Step 3: Create and Customize Your CRM Using Glide
Finally, it’s time to formally introduce you to Glide.
Glide is the most user-friendly no-code app development platform for individuals who want to create modern workplace tech — without learning traditional code or taking years to develop a professional eye for design.
To begin building your best CRM with Glide, just visit our pricing page to check out all the packages we offer — including a free option.
Once you’ve signed up for your plan of choice, you can start right away.
One option is to open Glide and select “New project” from your dashboard to start creating from scratch. Just follow the steps through adding a name, choosing a format, and selecting your data source (Google Sheet, Airtable, Excel Workbook, or another XLSX, CSV, or ODS file from your computer).
However, if you prefer some support when it comes to design and functionality — which we recommend for most first-time no-code app creators — visit our templates store.
For the rest of this article, we’re going to use the free CRM for teams template to show you how approachable building a robust CRM can be with Glide.
We’ll start by visiting the template page and clicking copy (for templates with a price, you’ll select buy and go through a purchasing process first). Once that’s complete, your new copy of your chosen template will open inside the Glide customization screen.
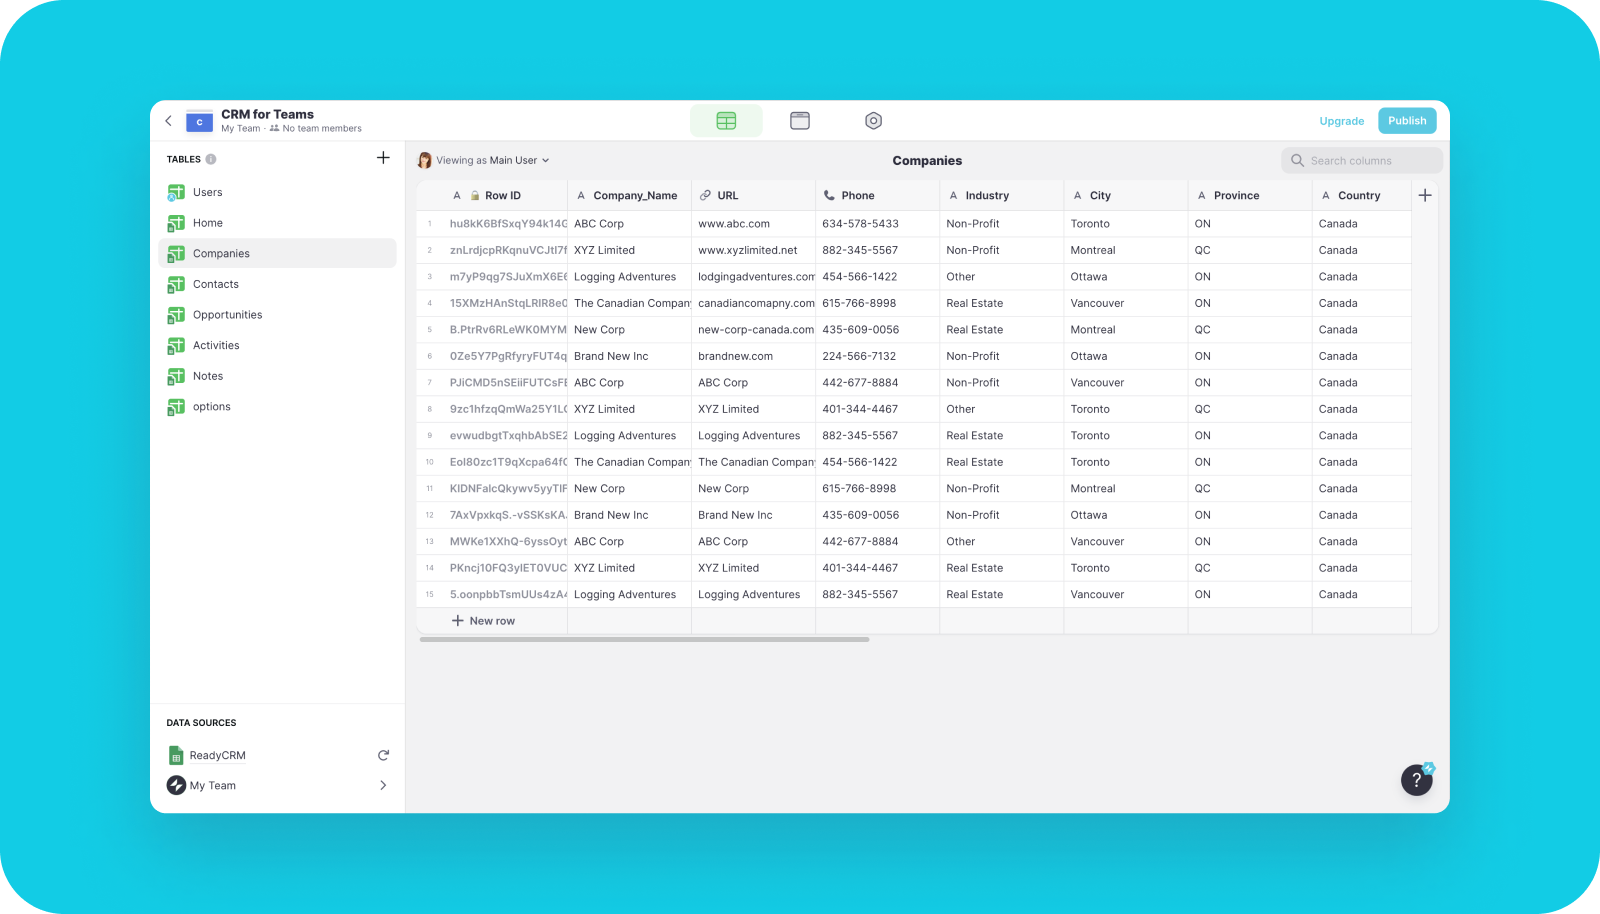
The first thing you may want to do is replace the example data with your own, which you can do by visiting the Data Editor tab at the top of your screen. You can add new tables along the left side of the screen, or visit Settings tab > Data > Data Sources to add your own file.
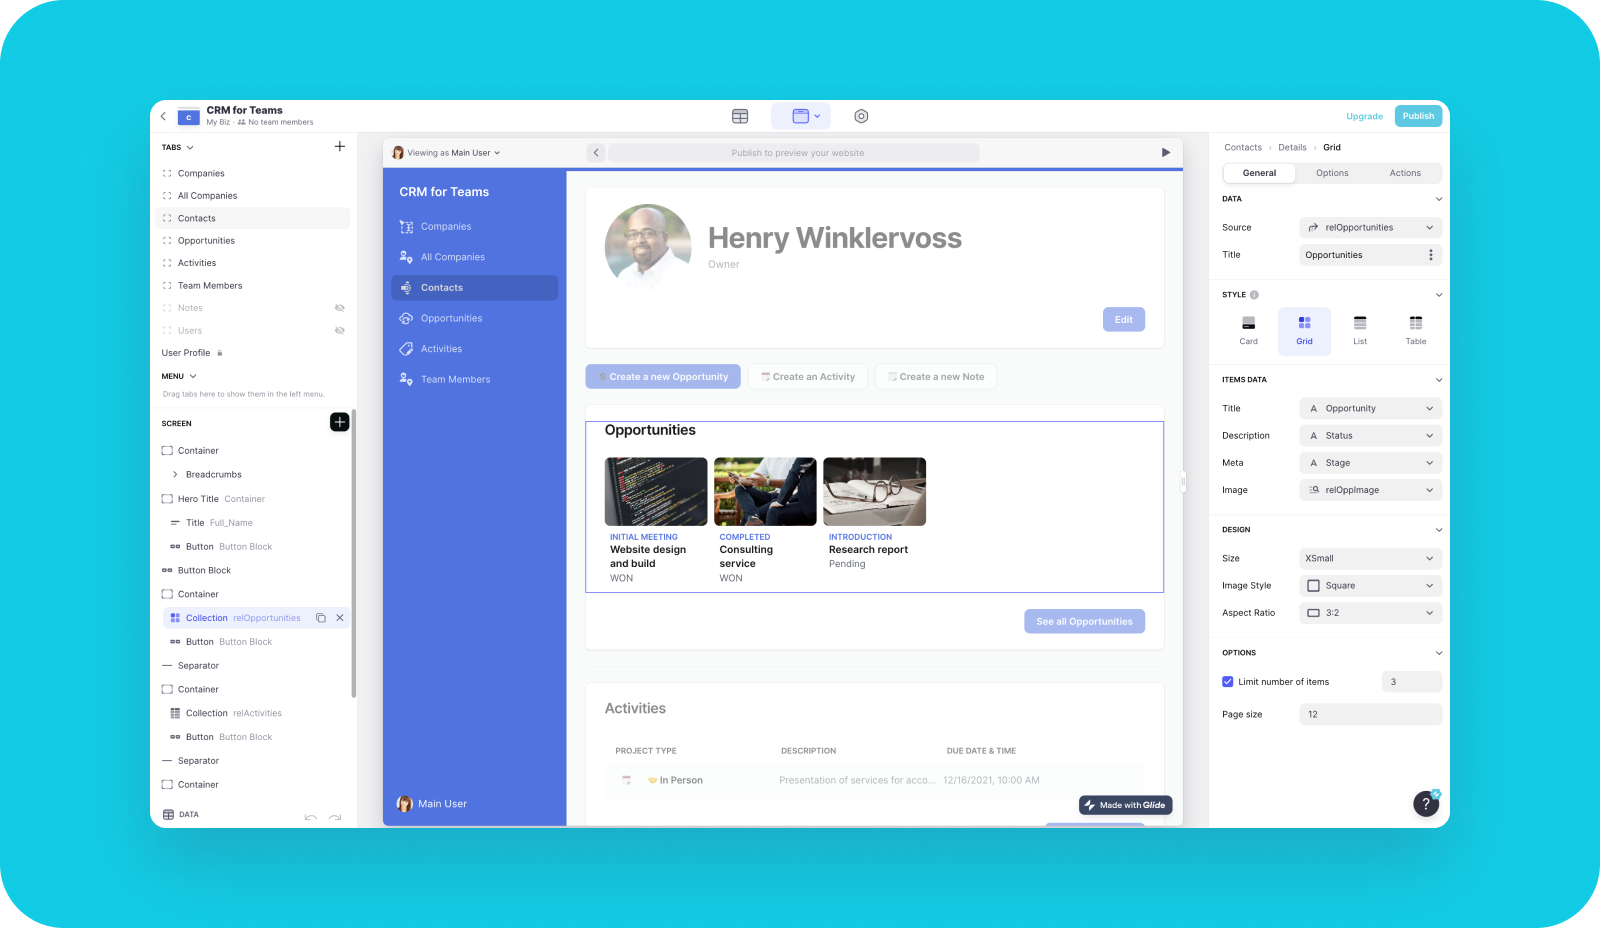
When you’re happy with your data for the time being, head back to the Layout tab to start the customization process.
Since we’re big on making app creation approachable, we designed Glide with a drag-and-drop interface that makes customizing your app intuitive.
Trying adding, removing, and rearranging Tabs (the pages of your app) in the left sidebar. Customize each Tab by adding buttons, graphics, separators, and more using the Screen section. Most Screen elements can be customized further in the right sidebar — you can update their design, data source, names, and more.
With the right pages and page elements in place, try hopping over to the Settings tab to put the finishing touches on your app. Here you can customize your app name, icon, theme, and font; control privacy and user access; and even turn on integrations (Google Analytics, Zapier, etc.) to extend functionality practically endlessly.
Step 4: Publish and Share Your New CRM Platform
Now for one of the most satisfying steps so far — publishing your new CRM platform with only a few clicks.
Use the Publish button in the upper right corner of the Glide customization screen to make your app live and accessible. Follow the prompts to make sure you’re happy with all the access options and to view all the ways to share your app with employees, contractors, and whoever else will be using or viewing it.
And just like that, you're a citizen developer and a new member of the no-code technology movement. Welcome!
Step 5: Never Stop Improving
Perhaps one of the best features of Glide is our focus on the customer experience. We make it uncomplicated to make adjustments to your app’s data, design, and even functionality as things change — your business, your industry, your customer base, and so on.
That means there’s no excuse to skip this last step: iteration.
At launch, but also every few quarters afterward, have your team go in and thoroughly test out the CRM workflow you’ve built. Make sure it’s helping them get more work done accurately and quickly as well as strengthening those customer relationships that CRM software is all about!
Whatever isn’t working for you at any time, leave it behind and evolve.
We’re Ready to See Your Brilliant CRM Workflow
By 2024, Gartner predicts that businesses which adopt automation and operational redesigns will be able to cut their operational costs by a whopping 30%.
Ready to save that kind of cash while continuing to empower your team of geniuses?
to start for free. Got questions? Visit our
or engage in our active
to find answers. Time crunch? Hire a Glide
to get your great CRM idea off the ground even when you don’t have time to.


