Spreadsheets are a perfect way to store data. However, once you start trying to actively use that data, problems quickly begin to arise.
They’re clumsy on mobile, and data cells are too small to view easily on a phone. They are information-dense and not easy to skim. If you have multiple people working on a single sheet, it’s too easy to accidentally delete or overwrite your collaborator’s data. You can’t share selective data in a spreadsheet without sharing the entire sheet. And even the most well-formatted spreadsheet just isn’t as visually appealing as it could be.
The most effective solution is to build an app. Glide is a no-code tool designed to help anyone turn a spreadsheet into a fully functional web app, without needing to know code or hire a team of developers.
Here’s how.
Frequently asked questions
Before diving into the tutorial, let’s outline some of the important details involved in building spreadsheet-based apps in Glide.
Why turn a spreadsheet into an app with Glide?
Glide is a no-code app builder primarily designed to create business apps. It was first designed to turn Google Sheets into apps, with a focus on adaptive design for better mobile accessibility, but it has grown immensely since then, adding data sources, automation, AI, and other essential features for businesses. Since most heavily used spreadsheets are found in businesses, Glide is a great fit for building tools that help businesses use the data in those spreadsheets more effectively.
However, that doesn’t mean other spreadsheets aren’t a good fit for Glide! Many people have used Glide’s Free, Maker, and Explorer plans to turn spreadsheets into useful and enjoyable tools like an itinerary app for a family vacation or an app to run a local soccer league.
What spreadsheets can you turn into Glide apps?
Glide can connect to various data sources, depending on what kind of spreadsheet(s) you have. It has integrations with Google Sheets, Airtable, and Microsoft Excel (in Microsoft OneDrive or SharePoint, or uploaded using a CSV file). If your data lives elsewhere, you can connect to any other software using Glide’s APIs. You also have the option of importing data into Glide’s native data sources, Glide Tables, or Glide Big Tables (which supports up to 10 million rows).
Note: Beyond spreadsheets, Glide also supports high-scale SQL databases like BigQuery, PostgreSQL, Google Cloud SQL, MySQL, and SQL Server if you need to manage larger quantities of data.
What kinds of apps can you create with Glide?
Glide creates progressive web apps (PWAs). These are apps run on the user’s browser, so they’re easy to open from any device, including smartphones, tablets, and computers. You can add a shortcut to your phone’s homescreen so it can function like a native app. More importantly for spreadsheet users, web apps update centralized data in real time, unlike native apps, which store data on the user’s device rather than a shared database.
Glide does not create native apps, the type of app that is downloaded onto the user’s mobile phone OS. If you’re looking to sell an app as a product to an app store (Google Play, Apple App Store), Glide won’t be the right fit.
When should someone consider converting their spreadsheet into an app?
Spreadsheets are great at storing data. They’re less than ideal for sharing or using that data. Consider making your spreadsheet into an app in the following circumstances:
- Collaboration: If multiple people use the same spreadsheet, an app will make collaboration easier and eliminate accidental deletions/changes.
- Security & privacy: It’s difficult to hide certain data in a spreadsheet or preserve privacy while sharing outside your organization. With an app you can collect data without revealing everything by setting user permissions & visibility (or even creating seperate apps for users and admins).
- Mobile use: If you need to access information on a mobile device, spreadsheets are very difficult to use on a phone or tablet. A Glide app will adapt its design to be used easily on any device.
- Visual appeal: Even the most beautifully formatted spreadsheet will always look like a spreadsheet. An app makes it easier to display images, add personalized branding, and create an attractive, streamlined UI.
- Extended abilities: Once you have an app, you can add more functionality to it, like automation, AI features, integrations, and even fun additions to just make using it a more enjoyable experience.

What is no-code? Learn more about how to develop apps without engineers
Read the guide1. Prepare your spreadsheet
Before you begin building your web app, take some time to prep your spreadsheet. Glide works best with clean, well-structured data. Taking the time to clean and structure your spreadsheet will make the Glide build go smoothly. A well-structured sheet means Glide can easily recognize your columns and data types, and you won’t have to do as much tweaking later on. Here are some pre-build tips to get your sheet in shape:
- Use a header row (no merged cells): Make sure the very first row of each sheet contains clear column names for your data, such as “Date”, “Employee Name”, or “Status”. Every column should have a unique, descriptive header, and avoid blank or merged cells in that header row. Keep it simple: one column, one header name.
- Tabular data structure: Organize your data in a consistent table format. Each row should represent one record (e.g., one order, one inventory item, one employee), and each column a property or attribute of that record. Don’t scatter summary notes or random cells outside the main table area. Glide will import everything it sees, so extraneous bits can throw it off.
- Consistent data types: Ensure each column contains the same type of data down the rows. If a “Date” column has actual date values, try not to mix in text like “TBD” or a typo. Similarly, numeric columns should have numbers (and no stray commas or symbols in the cells). Consistent formatting (for example, all dates in YYYY-MM-DD format) can be helpful, although Glide usually auto-detects common formats.
- Avoid fancy formatting: Things like color-coded cells, merged headers, or multi-line headings might need to be removed or simplified. Glide cares about the raw data, not your sheet’s cell colors or conditional formatting. You can always reapply visual highlights within the app UI later. If colors mean something within your spreadsheet, that meaning needs to be translated into concrete data. For example, if green means completed and orange means in progress, move those to their own columns.
- No formulas that break structure: It’s fine if your sheet has formulas, as Glide will generally read the resulting values, but avoid formulas that rely on unusual layouts (e.g., totals in the middle of your data range). If you have a summary table or pivot table, consider moving it to its own sheet. Glide will treat each sheet as a separate data table.
- Plan separate tables: Think about the entities in your data and use separate sheets for each entity. For example, if your spreadsheet contains an “Orders” sheet, you might also have a “Customers” sheet and maybe a “Products” sheet. Keeping these as distinct tables will let you relate them in Glide (just like relational databases). It’s okay if in the original Excel file everything was on one sheet, but splitting data into logical tables now will pay off.
- Prepare unique identifiers (optional): It’s often useful (though not mandatory) to have a unique ID for each record. If your data already has an ID or reference number column (like Order ID, Employee ID), great. If not, you can add a simple index or use a combination of fields to uniquely identify a row. This helps later if you create relations between tables or need to reference specific records. Every row in Glide has its own unique ID that can be used as well. Just click Add Column > Basic > Row ID.
- Create a user table (optional): When building a private app with user logins, it helps to have a User or Users sheet ready. This sheet typically includes at least an Email column for the user’s login email and any other info about the user (Name, Department, etc.). You can also include a Role column here if you plan to designate roles like “Admin” or “Employee”. Glide can auto-generate a basic user table for you, but having one in your spreadsheet gives you more control, and you can pre-fill it with your team’s emails.
2. Connect your spreadsheet to Glide
First, head over to Glide’s website and sign up for an account if you haven’t already. You can sign up with a Google account or email, and it’s free to start. Once you’re in your Glide dashboard, create a New App. Glide will ask you where your data is coming from. Select your data source and either connect your account or upload the CSV for the spreadsheet from your computer.
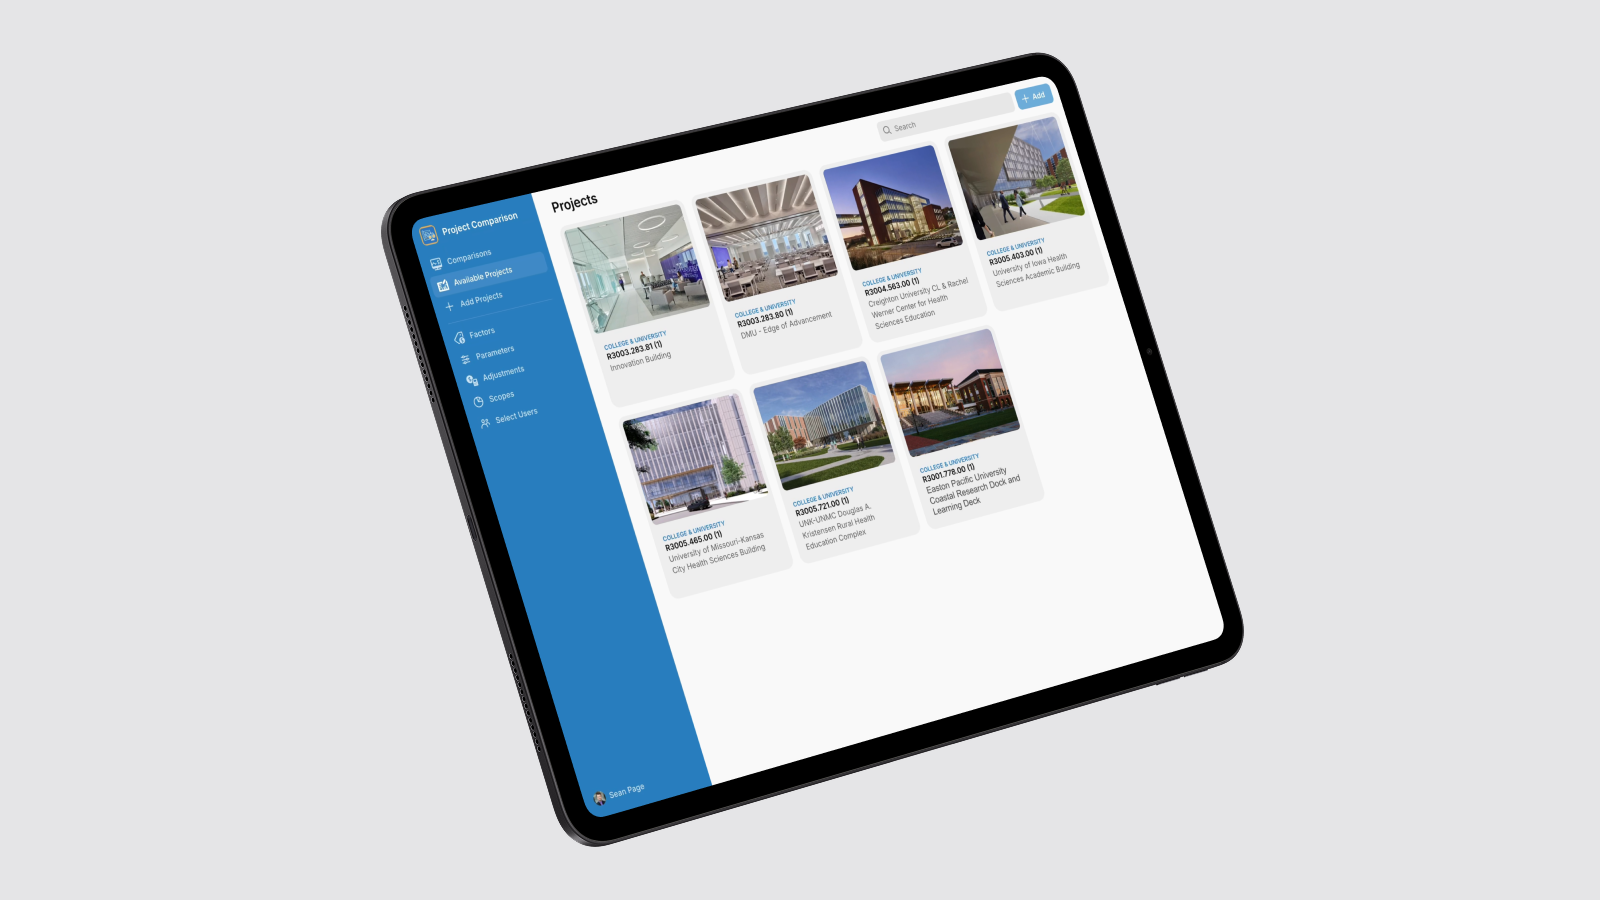
Glide will import your data and actually auto-generate a basic app from it. Don’t be surprised if you suddenly see a default app interface with some of your data visible; that’s Glide doing some initial heavy lifting for you. It looks at your sheet(s), tries to figure out what each column is (text, number, date, image, etc.), and creates a starter layout. For example, if you have a sheet called “Inventory”, Glide might create a tab in the app named “Inventory” and list out items. This bootstrap is handy as a starting point; you can modify everything, but it saves time seeing something on screen immediately.
Now that your spreadsheet is connected and the app is created, you should see Glide’s Builder divided into three main areas: Data, Layout, and Workflows as tabs or buttons at the top of the Builder. Note: At this stage, you may see Agent, Glide’s AI-assisted builder. Feel free to experiment with prompting the agent to design an app, but this tutorial will focus on creating your app without the use of AI.
The Data section shows your tables. Each sheet you had is now a table in Glide. The Layout section is where you design what the app looks like and how users interact with it. And Workflows is where you define any automation, custom logic, or multi-step actions. We’ll be spending most of our time in Layout and Data for now.
3. Customize and design the app interface
This is where you turn that auto-generated app into something truly customized and user-friendly. Think about what your team needs to see and do in the app, and tailor the interface accordingly. Glide’s Builder lets you drag and drop components, change layouts, and preview the app in real-time in both mobile and desktop environments. Glide’s adaptive design means you don’t have to design for both. Instead, your app adapts automatically for the device it’s being used on.
On the left sidebar, you have the navigation (a list of tabs/screens in your app, corresponding to your data tables). In the center, you see a live preview of your app. On the right sidebar, you’ll find configuration options for the selected screen or component (layout style, components to display, etc.). This WYSIWYG editor updates as you make changes, so you can instantly see how your app will look to users.
Set your app layout
Start by selecting one of your app’s main tabs on the left. Glide likely created one for each sheet, but you can add/remove tabs as needed. For example, if you have an Orders sheet, click the “Orders” tab in the editor. Now set the layout you want.
To change a list into a table view, select the list component, listed in the Components tree on the left under that tab, and then look at the right-side panel for a Style option. Switch it from List to Table. Glide will transform the display accordingly. A table layout might be great for data-heavy content like orders or inventory, where you want to see many columns at once, whereas a card or tiles layout might be nicer for things like products with images.
You can also fine-tune which fields show up. In a table or list, you might have a Title, Details/Description, maybe an image, etc. These usually map to columns in your data. For example, you might set the Title of each list item to the “Order Name” column, and the subtitle to the “Status” or “Customer” column. The right panel in Glide’s layout editor will usually have drop-downs or fields where you choose which column feeds into which part of the component. If Glide’s initial guess isn’t what you want, just change the mapping in those settings.
Add components
Next, add new components or screens to enrich the app. At the top of an order details screen, you might want a big Heading or Image, and below that some Text components for various fields, maybe a Button to trigger an action (like “Approve Order”). Add components by clicking the “+” in the Components panel and selecting from a list of component types (text, image, list, chart, form, map, etc.).
- If your spreadsheet has location data (addresses or latitude/longitude), try the Map Component.
- If you have numeric data you want to visualize, try a Chart Component (bar, pie, line charts are available).
- For key metrics, you can use a Big Number Component to prominently display a value (like “Total Open Orders: 57”).
- If you’re tracking inventory, add a Barcode Scanner Component to make data entry faster.
- If you’re collecting written information, add a Form Component that will funnel new data right back into your spreadsheet.
Tip: Keep your end-users in mind. Your team might just want a quick way to input or retrieve info, so you might set up a form button that lets them add a new record without ever seeing the raw spreadsheet-like view. Glide has built-in options to add search bars and filtering on lists, so they can find the data they need fast. You can also configure visibility rules so that certain components or even whole tabs only show for certain users (more on that in a bit when we discuss roles).
4. Set up privacy and visibility controls
Glide provides a few layers of security and permission control, like app-level privacy, user profiles & authentication, and roles/permissions.
Set app sign-on settings
The first level of security for your app is access to the app as a whole. First, decide if you want to make your app public or private, requiring email sign-in.
Next, control who has access to your app by setting users, restricting which emails are authorized access. Glide allows whitelisting emails or even restricting by email domain on certain plans. For example, you could allow only @yourcompany.com addresses, or explicitly list the personal emails of your team members.
Finally, user authentication features protect your app's security. You can send a sign-in PIN via email or SMS, enable sign-on with Google, or allow sign-in with your company's existing authentication system using SSO (single-sign-on).
Set roles for your app users
Set Roles for the different types of users that will be logging into your app. A role is just a label like “Admin”, “Manager”, “Employee”, “Client”, etc., that you assign to users in the “Role” column of your user profile table. These roles make it possible to provide a different experience for different app users with visibility conditions and secure sensitive data with Row Owners.
Set Row Owners
If your app has data that some, but not all, users should access, then you should use Row Owners to protect that data. Setting an owner for a row means that the user’s app won’t access the data in that row at all. This ensures complete privacy since Glide's servers will prevent the user from downloading rows that they do not own, so they can't read those rows by inspecting network traffic or by any other means. This is where roles come in handy, allowing you to give access to users as a class (employees vs. customers, for example) rather than one by one.
For many internal apps, you might not need Row Owners if everyone can see the same data, like if you’re creating a shared dashboard. But if you’re making a client portal, Row Owners by client will be crucial for restricting access to just that individual client’s information.
Add visibility conditions
You can also control who sees what parts of your app with visibility conditions. It’s important to note that visibility conditions are not a security feature. They don’t secure your data. They do, however, allow you to show or hide certain data or components to make your app more streamlined and provide a more intuitive user experience.
For example, you could set visibility conditions so each sales rep can only see their own leads, but give the team lead visibility into every rep’s data.
5. Add data relations and computed columns
Glide doesn’t just read your spreadsheet; it also has an internal data engine that can create new relationships and calculations without altering your original sheet. This is like moving some of your VLOOKUPs, pivot tables, and spreadsheet formulas into the app layer, where they update instantly as users interact. Two key features to know about are Relations and Computed Columns.
Relations
Think of Relations as the no-code equivalent of a VLOOKUP or an index-match across tables, but more dynamic. You use them to link one table to another via a matching value. For example, if you have an Orders table with a “Customer Email” field, and a Customers table with an “Email” field, you can create a relation so that each order “knows” which customer record is associated.
In Glide’s Data editor, you’d add a new column in the Orders table of type “Relation”. You’d configure it to match Orders[Customer Email] to Customers[Email]. Once you do that, Glide will populate that relation for each row. You can set it as a single relation (expecting one match) or a multiple relation (if one order could have multiple related items, etc.). The values must match exactly to form the link.
After establishing a relation, you can use it in the app. For instance, on an Order details screen, you could drop in components that pull from the related customer record (like show the Customer’s Name, Phone, etc., by using that relation as the source). Glide lets you directly display related values or even create an inline list of related records (e.g., on a Customer screen, show an inline list of all Orders that relate to that customer). This is more efficient than doing a bunch of manual cross-references in the sheet.
You can create relations for all sorts of connections: linking projects to tasks, instructors to classes, employees to managers. It’s one of those things that, once you set up, your app feels more like a connected database app rather than just flat sheets.
A pro tip: use unique identifiers for relations when possible (like an ID or email) to avoid ambiguity. While you could relate on a name field, for example, an ID or email ensures one-to-one matching.
Computed Columns
Glide offers a variety of Computed Column types. These are like virtual columns that perform calculations or transformations based on your data. They don’t exist in your Google Sheet; they live in Glide’s data layer. Some common ones:
- Math Column: Perform arithmetic or numeric formulas using values from the row (e.g., calculate total = price * quantity, or future date = start date + 30 days). It uses an equation interface. You can insert column values and basic math operations.
- Template Column: This allows you to create a text template, possibly injecting values from the row. For instance, you could create a template like “Order #[order_id] for [customer_name]” which replaces the placeholders with actual data. Good for constructing messages, URLs, or combined keys.
- If-Then-Else Column: Basic conditional logic. “If status is ‘Delayed’ then highlight = true else false,” etc. It can output different values or flags depending on conditions.
- Rollup Column: This works on a relation – you can roll up (sum, count, average, etc.) values from a set of related records. E.g., if you have a relation from Customer -> Orders, a rollup could compute the total number of orders or total order amount for that customer.
- Lookup Column: Also works on a relation; it simply pulls a specific field from the related table. For example, if you have a relation from Order -> Customer, a lookup could retrieve the customer’s phone number directly into the Orders table (if you needed it there for some reason).
Use these computed columns for any app-specific logic. Why use computed columns? A few reasons:
- They can offload calculations from your Google Sheet, which can make things faster. No need to wait for Sheets to recalculate.
- They update in real-time as users interact with the app.
- They don’t clutter your actual spreadsheet with extra formula columns. Sometimes you need a certain calculation just for the app’s logic or display, and it doesn’t need to live in the source data.
Examples of how this could be used:
- Display full name: Instead of creating a “Full Name” column in your Google Sheet by concatenating first and last name, you can just create a template column in Glide to display full name.
- Mark high-priority orders: You can categorize or label something based on a value, for example, to mark high-priority orders above $1000. Create an if-then column in Glide rather than an Excel formula.
- Set a low stock alert: You want to flag items that are low in stock in your inventory app. You have “Quantity” in your sheet. In Glide, add an If-Then-Else column called “Low Stock Warning”. Set it to: If Quantity < 5 then output “Low Stock” else blank. Now you can use this column in your app, maybe display it as a component or use it to conditionally format the item in a list.
- Display order total: To display an order total, you can create a Relation from Orders -> Order Items (if you had an Order Items sheet for line items) and then a Rollup on that relation to sum the total quantity or total price of items.
To add a computed column or relation, go to the Data tab in Glide, select the table, and hit the “+” to add a column. You’ll see options for what type of column to add (Basic or Computed). Choose the one you need, set it up, and the new column appears. You can use these new columns just like any field in your app layout.
6. Add automated workflows and actions
Up to now, we have focused on displaying and structuring data. But what about interactivity beyond basic form submissions? This is where Glide Actions and Workflows come in.
An Action occurs when a user interacts with a component, like tapping a button, submitting a form, or even viewing a screen. For example, you could set an Action to reduce the quantity of items in your inventory when a user presses a button or create a contact button that dials a phone number.
The Workflows Editor is where you can string actions together into more complicated workflows with multiple steps. This is where you can also create automations. Workflows are set to a trigger. That trigger could be user interaction, but they could also run on a schedule (for example, have your app automatically send Slack a report every day at 9 am), or respond to actions in another software program (like create a new order every time you receive an email from a customer).
To create a multi-step workflow, select the component (like the button) and in its properties on the right, find the Action or On Click setting. Choose “Create new action”, which opens up a visual editor where you can add steps. Glide provides a bunch of built-in action steps: setting column values, adding a row, deleting a row, sending notifications, navigating to screens, and utilizing integrations. You might add a step “Set column ‘Status’ to Shipped”, then “Set column ‘ShippedDate’ to Current datetime”, then “Send Email” (via an integration), etc., and finally “Show notification ‘Order marked as shipped!’” or “Go back to previous screen”. You arrange these in order. There are even conditional branches if you want to add them.
7. Add AI capabilities to your app
Glide AI lets you add built-in AI features to your app. If your spreadsheet needed a lot of manual work, AI can help make your app an even better efficiency tool. Glide’s native AI building blocks handle tasks like text generation, audio transcription, data extraction from images, and data analysis right inside your app. There’s no need to connect to external services or write complex code. Glide handles the AI models behind the scenes so you get the most effective model for your needs.
You could use AI to:
- For an inventory management system, use AI to generate product descriptions when someone uploads a photo.
- For an expense tracking app, add AI to automatically extract data from a photo of a receipt and categorize it accordingly.
- For a property management app, use AI to analyze customer feedback, categorize it, and assign repairs to the right contractors.
8. Connect integrations (payments, notifications, and more)
In the Settings -> Integrations area of your Glide app, you’ll find built-in integrations for a variety of tools, letting you connect easily to the other software you use.
- Connect with your email inbox or other communications platform like Slack.
- Add Stripe so your app can receive payments.
- Integrate with Twilio to enable your app to send SMS or WhatsApp notifications.
- Connect to Google Calendar to create or have actions that respond to events.
- Use Zapier or Make to create automated connections with a wide range of software.
If you need more customized connections, you can also use Webhooks and APIs to connect to almost anything.
9. Deploy your app
Once your app is built, hit publish. You can now share it with your team.
When you publish, Glide will give you a shareable link. You can email users the link or even share a QR code to access your app. On certain plans, you can also have your app on a custom domain. Glide’s default sign-in screen is pretty minimal. It will ask for the user's email and then send a PIN code to that email for verification. You can customize the sign-in screen in the Settings to add your logo, some welcome text, and an image.
After publishing, if you need to update the app over time, you simply make changes in Glide, and those changes go live to users immediately.
Your spreadsheet is now a live app in the hands of your intended users.

Learn how to hire the best expert or agency to build your app
Find helpGet help to create the web apps you need
This guide gives you a great introduction to the process of transforming your spreadsheet into an app. If you want more resources to keep learning, check out the courses at Glide University or take the Certification for a more structured form of study.
You also don’t need to build everything yourself. If you’re short on time or just want skilled professional support, there’s a large community of Glide Experts and Agencies you can hire to get your app built.