

You've locked down the venue. The agenda is set. Speakers are confirmed. But on the day of the event, your attendees are firing off questions that should have been answered before they left the house. What time does registration open? Where do I park? Which session is in Room B? Is the Wi-Fi password posted anywhere?
This is the friction that happens when event information isn’t easy to find. It might live in a confirmation email that no one can find, a PDF agenda that's already out of date, or a website that wasn't designed with a guest's mobile phone in mind. The result is a front-of-house team fielding the same questions on repeat, and a confusing attendee experience.
An event attendee app solves all of this. It provides guests with an exceptional experience day-of: everything an attendee needs to know before, during, and after your event, delivered in one clean, mobile-friendly portal that's always current and always accessible.
Having a custom app for attendees makes your business appear more professional and helps your team stay more organized, whether your company is hosting a conference, offsite, tradeshow, training program, or recurring event series. And companies that run events professionally have an opportunity to gain even more benefit from the ability to create personalized event portals for each program.
With a no-code platform like Glide, you can create your own event app, perfectly customized to your unique event, without having to hire engineers or wait weeks for development. Here’s how.
Why build a custom app for your event attendees?
Creating a custom app for your events enables you to provide a much better experience for your attendees, while also giving your team better organizational tools to create a smooth event experience all around. A custom app provides:
Better attendee experience
It creates a better experience for your guests. Instead of handing out printed schedules that get dirty and lost or emailing PDFs nobody can find, a dedicated app gives attendees one place for everything. They can use the app to check the agenda, speaker bios, venue maps, and get real-time updates throughout. If something changes on the day, you can push a notification instantly rather than scrambling to make an announcement.
Stronger engagement
It drives deeper engagement. An app opens up possibilities that printed materials and static websites simply can't match. Think live polls during sessions, Q&A features, attendee networking, shared photos, or even gamified check-ins that reward participation. These are the kinds of touches that make an event feel alive and memorable.
Improved operational efficiency
It makes your team's job easier. Digital check-in via QR codes, self-serve information, and real-time RSVP management all reduce the burden on your staff. Spending less time answering "where is this session?" means more time focused on what matters.
Better data and useful insights
It gives you valuable data. After the event, you'll have real insight into what worked, like which sessions drew the most interest, where people dropped off, and what feedback came in. That's the kind of intelligence that helps you run an even better event next time.
A more professional impression
It reflects well on your brand. A well-designed, branded app signals professionalism and attention to detail. It tells your attendees that you've thought carefully about their experience.
Reduced operational overhead
It saves your team time and resources. Printing, distributing, and reprinting physical programs costs money and time. Staffing an information desk to answer the same questions all day costs even more. An attendee app largely replaces both. The upfront investment in building the app pays dividends across every event you run with it. TEDxLisboa’s event organizers reported saving a large portion of their operating budget on printing costs for flyers, maps, and agendas after launching their custom event app. At the PGA’s Ryder Cup, Glide enabled organizers to replace a 40,000-ticket paper system with an app for attendees.
A scalable template for future events
Once you've built your attendee app, each subsequent event is largely a matter of updating the content: new speakers, new schedule, new venue details. The infrastructure is already in place. Over time, the marginal cost of running a well-supported event decreases significantly.
Why use no-code to build a custom event app?
While there are different ways to manage event attendees, no-code is an ideal approach for creating apps like these that need to be customized, secure, and mobile-optimized, especially if you don’t have a long development timeline or a large budget to spend on the event. A no-code platform like Glide will give you an app that is tailored to your needs, lean and efficient, and quick and affordable to build.
Here’s how no-code compares to the other common approaches:
- Manage the event manually: While it’s possible to give your attendees info via a website, emails, and printed materials on the day of, you’ll have a harder time ensuring they have the most up-to-date information as conditions change. From an operational perspective, managing that information and experience will also be harder if you’re using spreadsheets to stay organized and updating them manually.
- Buy software: Off-the-shelf software exists, but you’ll typically encounter one of two problems. Most affordable tools are too narrowly focused. You’ll need to cobble together one tool for ticketing, another for email communications, another to share event details, and so on. The more comprehensive tools come with an Enterprise-level fee, and are often complex, rigid, and hard to adapt to your specific needs.
- Use engineers to code an app: If you want a custom app, it’s possible to create one from scratch using the help of engineers, AI-powered vibe coding tools, or a no-code platform. Custom coding from scratch is slow and expensive. This approach is only necessary if you have extremely high customization needs.
- Use AI to code an app: Using AI to create an app with vibe coding tools like Lovable or Replit is fast and offers a lot of design flexibility, but AI-generated code tends to inherit many security vulnerabilities. It’s not recommended if you’re working with the sensitive personal data of your attendees.
- No-code: Using a no-code tool like Glide gives the best balance of speed, security, and control. You don’t need engineers to assemble your app, and the platform handles all your security needs. If you need greater design flexibility, you can follow unDavos’s example and create a beautiful public front-end with a vibe coding tool like Replit, while building the safe, robust backend structure you need with Glide.
How to build a custom event app in Glide
Here is a step-by-step guide to creating your custom event app and adding advanced features, such as barcode and QR code scanning, AI, and more. Visit Glide University for detailed tutorials on using Glide's no-code interface and features.
Step 1: Organize your data and connect your spreadsheet to Glide
The first step is to create a new Glide app and connect your data source. Glide can connect to Google Sheets, Microsoft Excel, Airtable, and SQL databases. It also has native data sources, Glide Tables, and Big Tables, if you’re starting from scratch.
Make sure your spreadsheet is clear, well-organized, and accurate before uploading it. Each tab should have clear column labels and one row per item (e.g., one row per session, one per speaker, etc.).
Tip: If you use an online ticketing or registration tool, you can integrate that data here as well. Glide can pull data via native integrations or create custom integrations with any tool using automation platforms like Zapier and Make or via custom APIs. You might use a platform like Luma for registration and have it automatically feed attendee info into Glide, so when someone registers, they appear in your app’s user list instantly.
Step 2: Design the attendee app interface
Now you’ll design the app interface your attendees will use. Glide’s no-code drag-and-drop interface lets you design screens that adapt for both mobile and desktop use, so you won’t have to design two versions of your app. With the layout editor, you’ll configure how data appears in each tab, and then add no-code components that you can configure to tie into your data or trigger actions.
You’ll want to make navigation simple. Glide lets you add icons for each tab and arrange them in a bottom menu or side menu. Within that navigational menu, create tabs for the screens your attendees will use. Using Glide’s layout editor, you can choose how to display each tab.
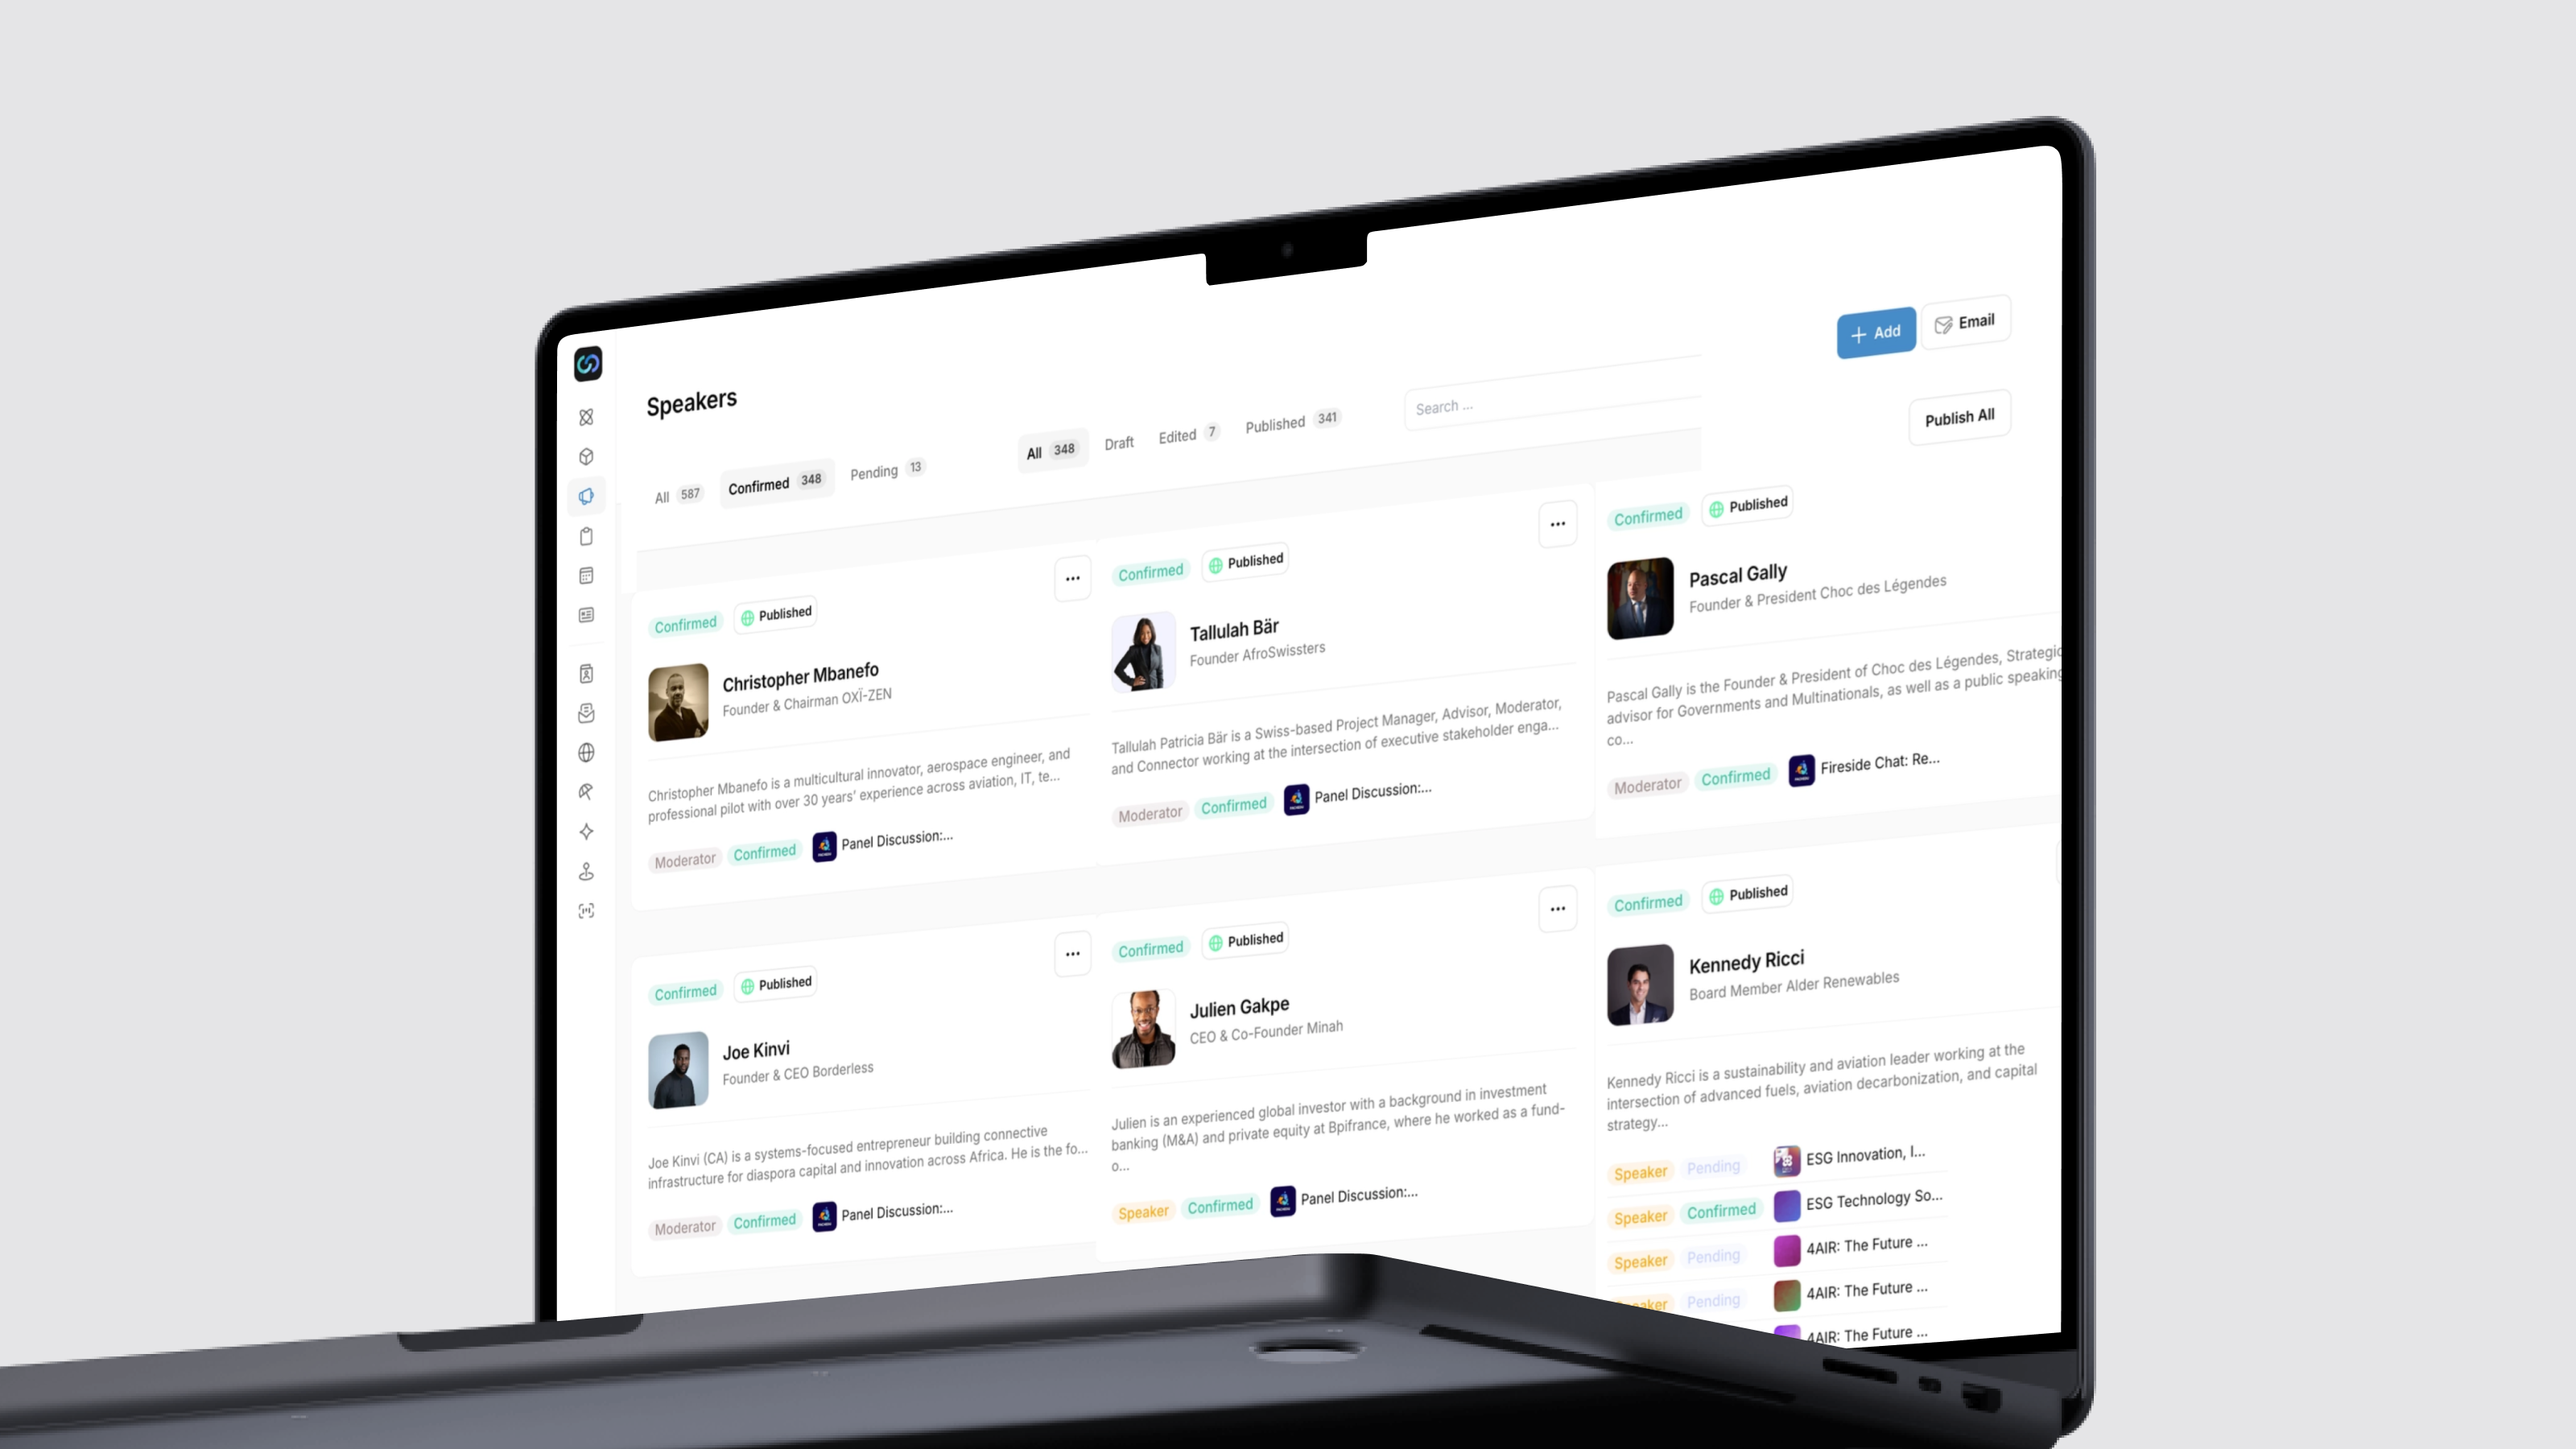
For example, for the Agenda, you might use a List or Calendar layout that shows each session with its time and title. Glide will populate these directly from your Schedule table. For the Speakers tab, you could use a Cards layout with each speaker’s photo and name. Glide also allows filtered and linked relations. This way, a Speaker’s detail screen can automatically list the sessions that the speaker is part of by relating the Speaker name in the Sessions table to the Speakers table.
Commonly, event apps might include these tabs:
- Comprehensive schedule with personalization: Ensure your Agenda screen not only lists sessions, but also allows attendees to plan their day. You can enable filters (e.g., by day, track, or topic) so users can narrow down the list. Glide makes this easy by adding choice components or in-app filter controls tied to your data. You can also add a “Favorite” toggle or RSVP button to session details so attendees can create a user-specific list of saved sessions.
- Speaker and guest Info: In your app, include detailed profiles for speakers or special guests. This might include a photo, bio, and links to their social media or website. Glide’s rich text component can be used to format biographies nicely. You can also incorporate an action button like “Connect on LinkedIn” that opens the speaker’s LinkedIn URL. This adds a personal touch and encourages networking. If your event involves attendees networking among themselves, you could even have an Attendees tab visible to logged-in users, where each attendee can optionally share a brief profile. Use user-specific privacy settings here if needed.
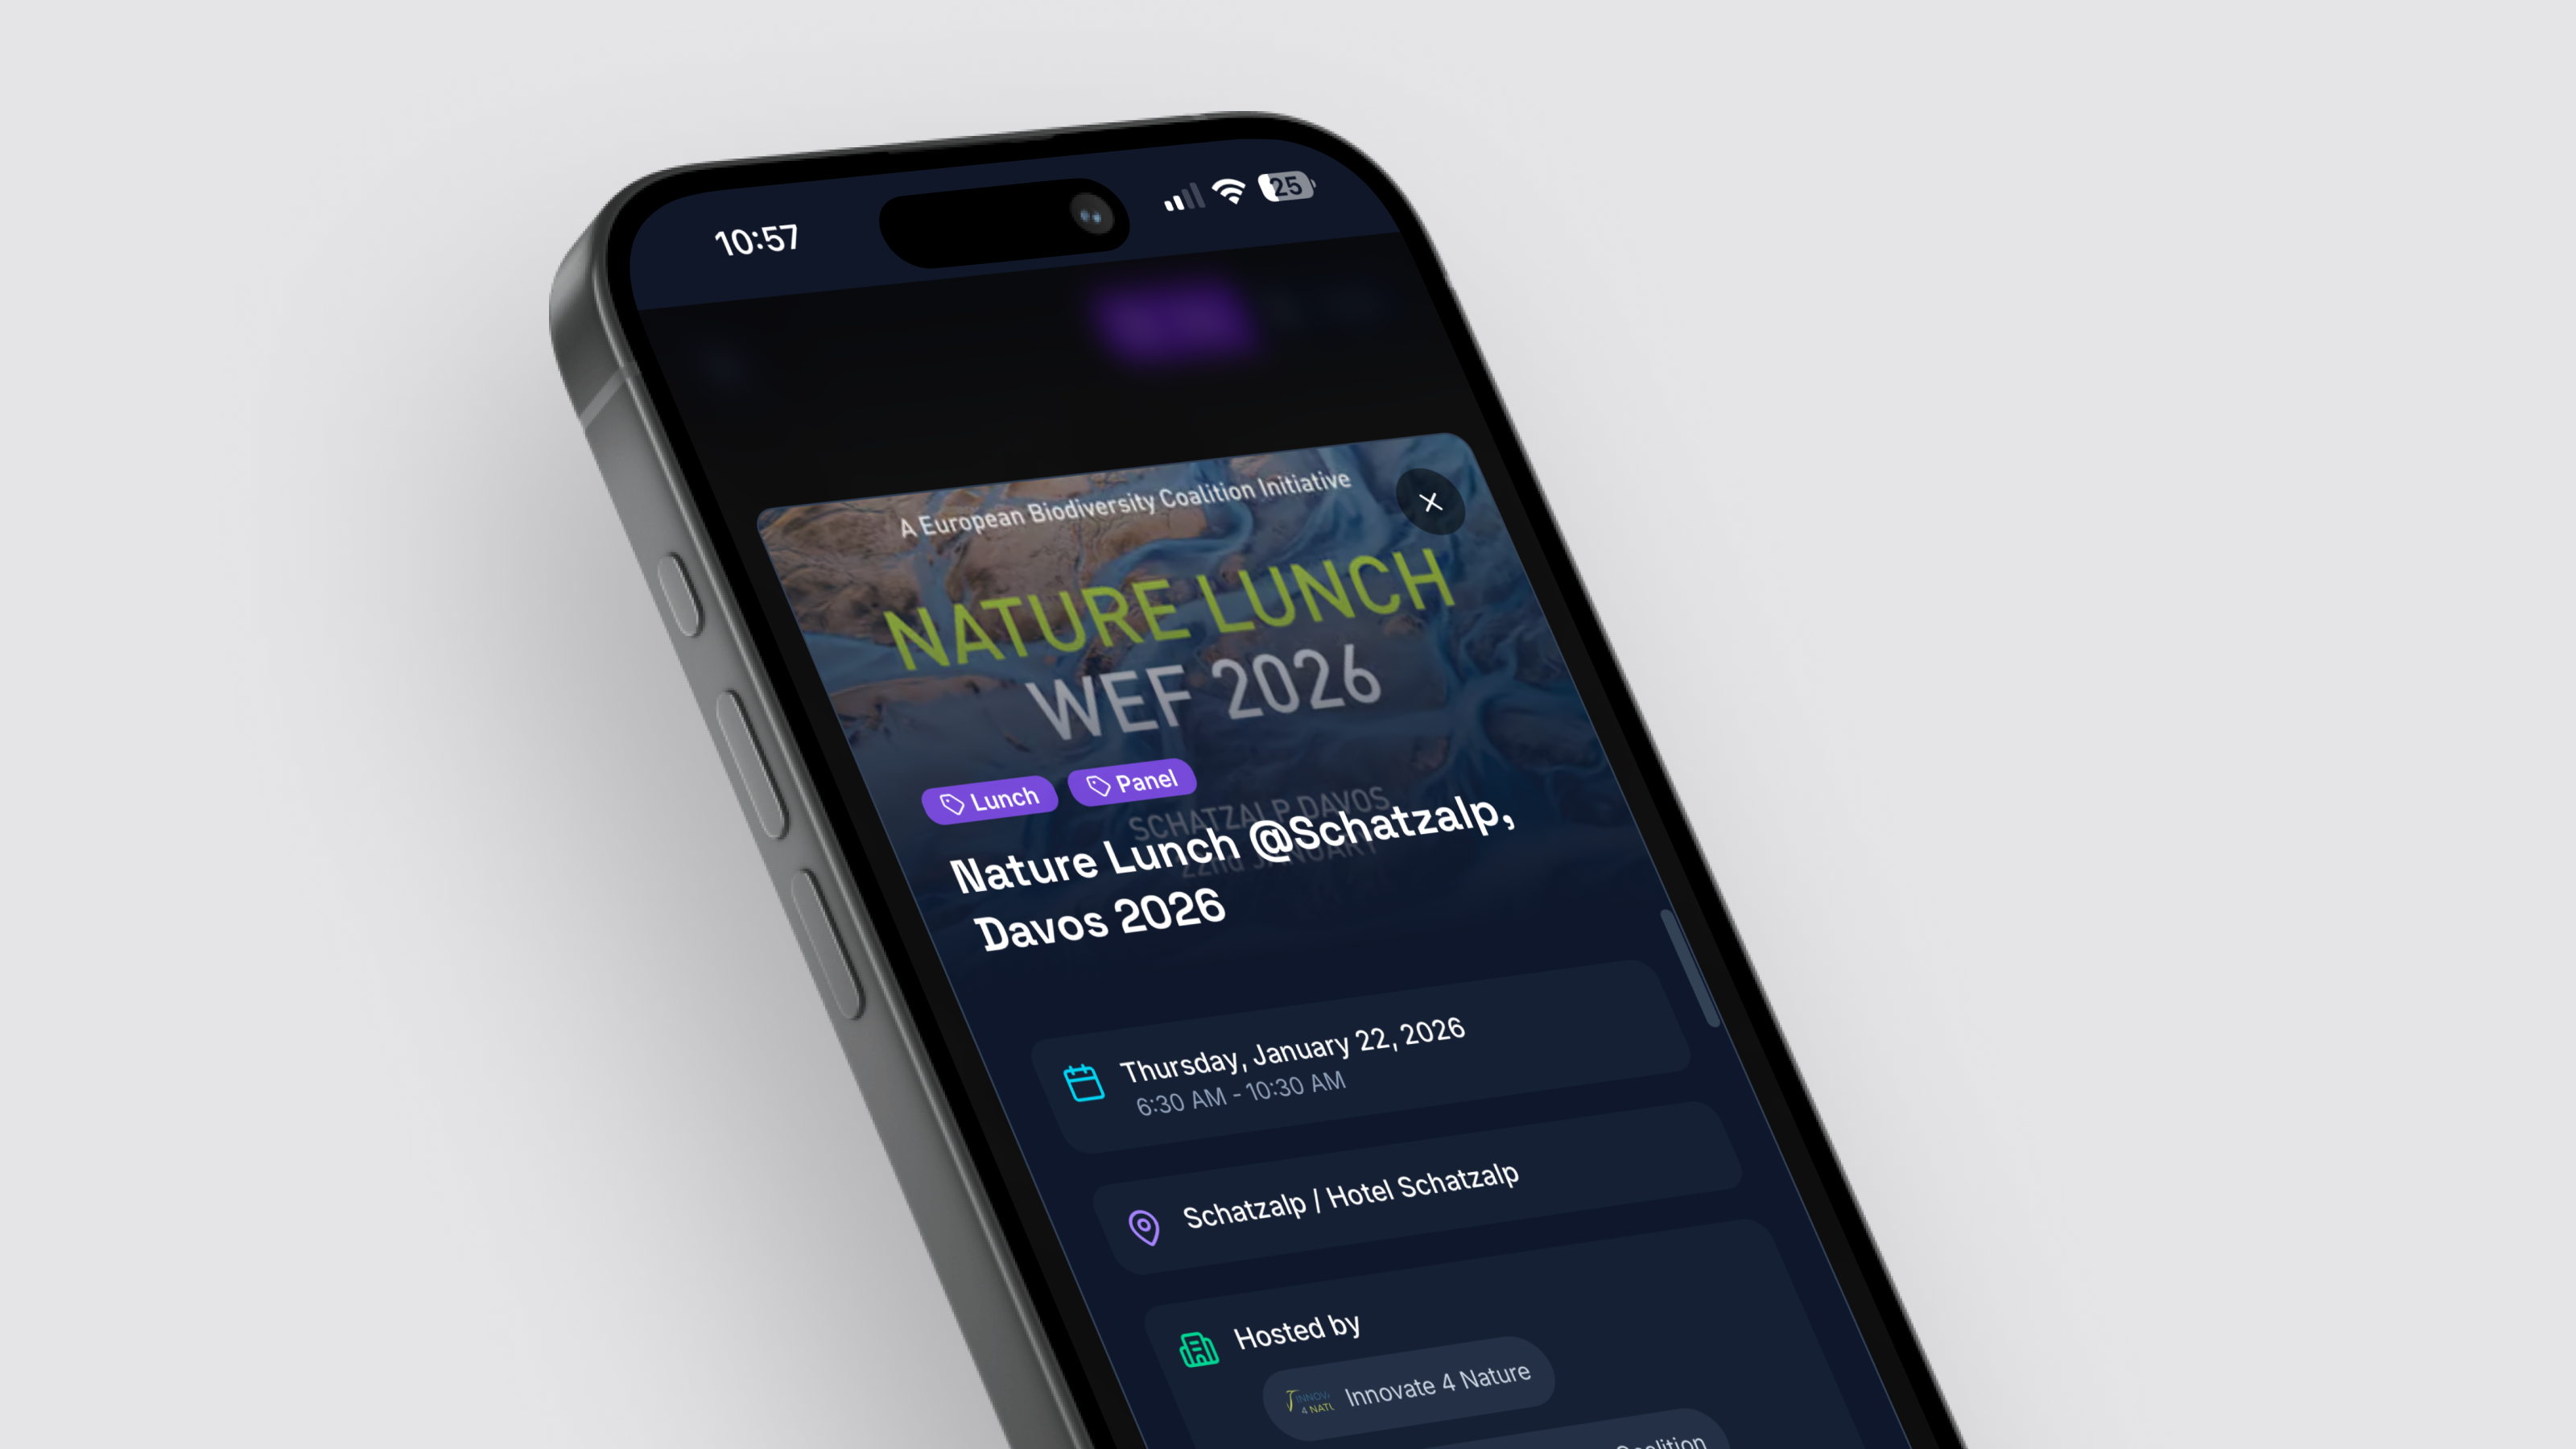
- Interactive venue maps: Help people navigate your event space. For multi-room conferences, you might store addresses or coordinates for each venue in your data and use Glide’s Map layout to show pins on a map. For example, you could have a “Venues” tab that displays an interactive map with markers for “Main Hall”, “Expo Center”, “Workshop Room A”, etc., and tapping a marker shows details. Alternatively, you can simply embed an image of the venue layout. TEDxLisboa’s app included “a full map of the venue with essential locations like cloakrooms and restrooms noted.” In Glide, you could achieve this by adding an image component on a Map screen, or use the rich text component to display an HTML map embed. Ensuring attendees never get lost contributes to a stress-free experience.
- Real-time updates and notifications: Your Glide app can include a simple Announcements feed to inform users when things change. This might be as easy as having an “Announcements” table that organizers can add messages to, and displaying it in the app sorted by time. Attendees can check this tab for the latest info. If you want to get fancy, Glide also supports sending emails or notifications through integrations. For instance, when you add a new announcement, you could set up a Zapier workflow to send an email or Slack message to all users.
- In-app communication and networking: One of the most powerful features you can add is the ability for attendees to engage with each other or with organizers directly through the app. Glide offers Chat and Comments components, which you can use to create discussion sections. For example, you could have a “General Chat” for the event, or a comment thread under each session for Q&A. TEDxLisboa found the messaging functionality to be the most impactful feature. It enabled attendees to message speakers and volunteers during and after the event. You can implement something similar: Set up dedicated chat tabs (one for attendee-to-attendee networking, another for attendees to contact staff). This way, your guests can connect with people they met at the event or reach out for help without exchanging personal contact info.
- Sponsor showcases and info pages: If you have event sponsors or partners, giving them a presence in the app adds value for them and information for attendees. You might include a Sponsors tab or integrate sponsor logos and links throughout (for example, banner images on the main screen). Glide can easily display a list of sponsors from your data, and you can even randomize or rotate them if needed.
Step 3: Add advanced no-code features
Once the basics are in place, you can add more advanced functionality. Glide’s platform supports integrations, automations (through Glide Workflows or tools like Zapier), and built-in AI features. Here are some of the features you might add, depending on the needs of your event:
- QR code ticket scanning and check-In: If your event requires tickets or check-ins at the door, integrating QR codes into your app can make the process seamless. Give each user access to their ticket, including a QR code, within their app. You can then create an app for your team to scan attendees' tickets with their phone camera and check them in seamlessly. For example, the PGA of America built a “Seat Saver” app for its Ryder Cup tournament that allowed event volunteers to scan fans’ tickets with a tap, replacing a cumbersome 40,000-ticket paper system.
- Digital Badges: Many conferences issue physical badges. You can simplify and enhance this with Glide. By integrating a badge generation service or using pre-made templates, you can automatically create personalized badges with QR codes for each attendee. You can connect your app to a service like CredsNow to produce nicely formatted badge PDFs, but even without that, you can store each attendee’s details and a QR code in the app. The QR code can encode a unique URL or ID for the attendee’s profile. This unlocks helpful abilities: On event day, staff can scan an attendee’s badge QR code for quick check-in, or attendees can scan each other’s badges to instantly exchange contact info or connect on social media. This turns the badge into a digital business card.
- AI-powered session recommendations and personalization: Glide includes built-in AI capabilities you can integrate into your app. For an event app, a fantastic use case is personalized session recommendations. As your attendees browse sessions or fill out their interests, your app can use AI to suggest which talks or activities they might like. The unDavos Summit used AI to recommend events using a Tinder-like “swipe” interface for discovering people and events, with recommendations tailored to each user. Glide AI can analyze text in your data (like session descriptions) and auto-tag topics, or even score the match between a user’s interests and session topics. For example, if a user indicates interest in “machine learning” during registration, your app could use an AI column to find sessions related to machine learning and highlight those to that user.
- Workflow automations and integrations: Beyond the app itself, think about automating tasks around it. Glide’s no-code Workflow builder lets you trigger actions on certain events, like when a new user signs up or when someone checks into a session. You could automate a lot: send a welcome email or SMS to each attendee when they register, automatically move someone from “Waiting List” to “Registered” in your data if a spot opens, or send a daily recap email after each event day with sessions attended. Integration with third-party services is also helpful. For example, if you manage registration through an external site (Eventbrite, Luma, etc.), set up a Zap or use Glide’s integration to push that registrant info straight into your app’s database. Or integrate with communication tools: the unDavos team connected their Glide system to WhatsApp so panelists could coordinate in advance of their sessions. Another idea is integrating a survey tool for post-event feedback. You can link out to a Typeform or Google Form, or even build a feedback form directly in Glide and capture responses in your sheets.
Step 4: App privacy and security settings
Consider whether your attendee app will be public or be restricted to a select group of users.
The DavosWeek app was intended as a public directory of events. They set their app to public, made it accessible via the main page of their website, and advertised throughout the week of the WEF Summit. If you’re hosting a private event, ticketed conference, or internal meeting with private information, you’ll want to secure your app behind a private login.
You can restrict access your app based on email domain, such as a company email address, or based on a list of permitted email addresses, such as a ticketed attendee list. If you want personalized features (like a user-specific schedule or messaging between attendees), you’ll need to enable user accounts (email sign-in or magic links). Requiring a login lets each attendee have their own profile in the app.
Step 5: Publish and distribute the app to attendees
With your app built and features added, the final step is to get it into your attendees’ hands.
Publishing:
When your app is finished, hit Publish. Glide will generate a shareable URL for your app. When opened on a mobile browser, users will see a prompt or option to “Add to Home Screen”, which installs the app like a native app icon on their phone. Glide creates a Progressive Web App (PWA), which means attendees won’t find it in the App Store/Play Store, but they won’t have to go through any app store hurdles either. The app loads immediately without installation and is synced with updated data in real time. For a seamless experience, consider customizing the app icon and name in Glide settings, so when added to the home screen, it has your event’s branding.
Distribution:
There are several effective ways to get your app into the hands of your event attendees:
- Email it: send a pre-event email to all registered attendees with the app link and instructions for opening it on their phones. Emphasize the benefits (“your personal schedule, event map, and networking at your fingertips”) to encourage downloads.
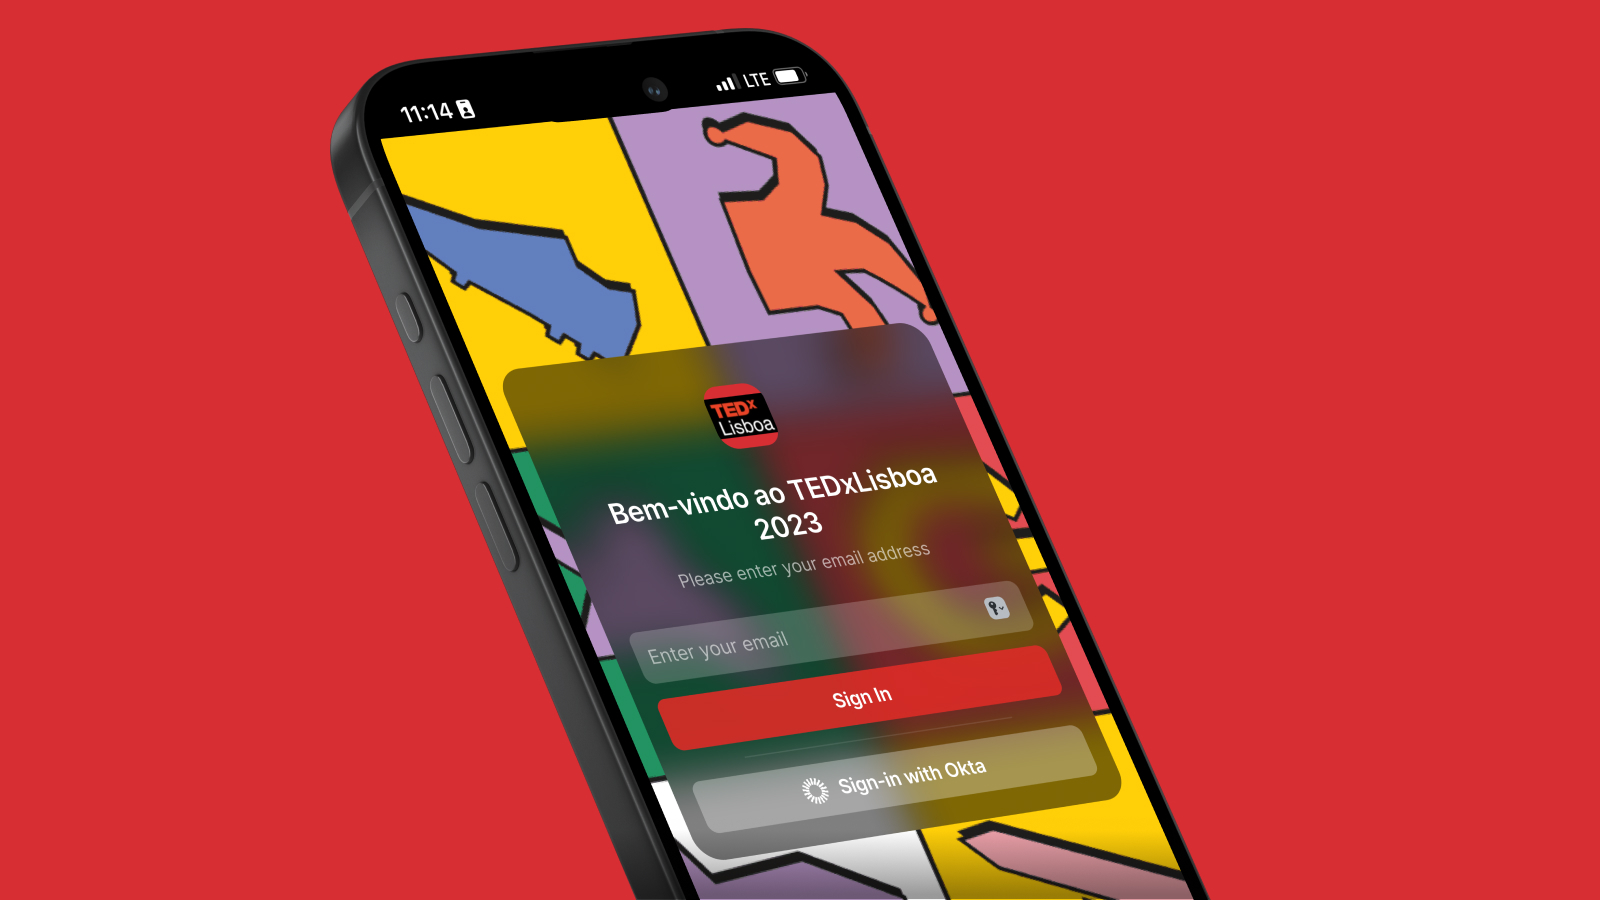
- Print QR codes at the event: print a poster or flyers with a QR code linking to the app. TEDxLisboa did this at the registration desk and saw an immediate uptake: “More than half of them downloaded and logged into the app immediately” upon arrival. This is great because people are most eager for info when they first arrive.
- Website integration: add a link or an “Get our Event App” button to your event website. If someone is browsing the schedule online, they might click through to the interactive version on their phone.
- Social media or community groups: if your app is intended for a broad audience and you have an audience on Facebook/LinkedIn or a Slack/Discord for the event, share the link there beforehand.
Update or make changes as-needed:
Finally, once the app is in use, you can update content whenever you need to. Glide allows you to push updates instantly. If you change data or tweak a screen, everyone’s app updates in real-time. This is incredibly useful during an event. If a session time changes at the last minute, just edit it in your spreadsheet or Glide Data Editor, and attendees will see the new time immediately. If you realize you forgot a piece of info, you can add it even on event day. As one event organizer put it, “If you discover a missing field or a new workflow you need three days before your event, you can build it in hours, not weeks.” That agility can be a lifesaver in the dynamic environment of events.
Tailor your attendee apps to the type of event you are hosting
While the core features remain consistent, the emphasis and configuration of your attendee app should shift depending on the type of event you're running.
Conferences and Summits
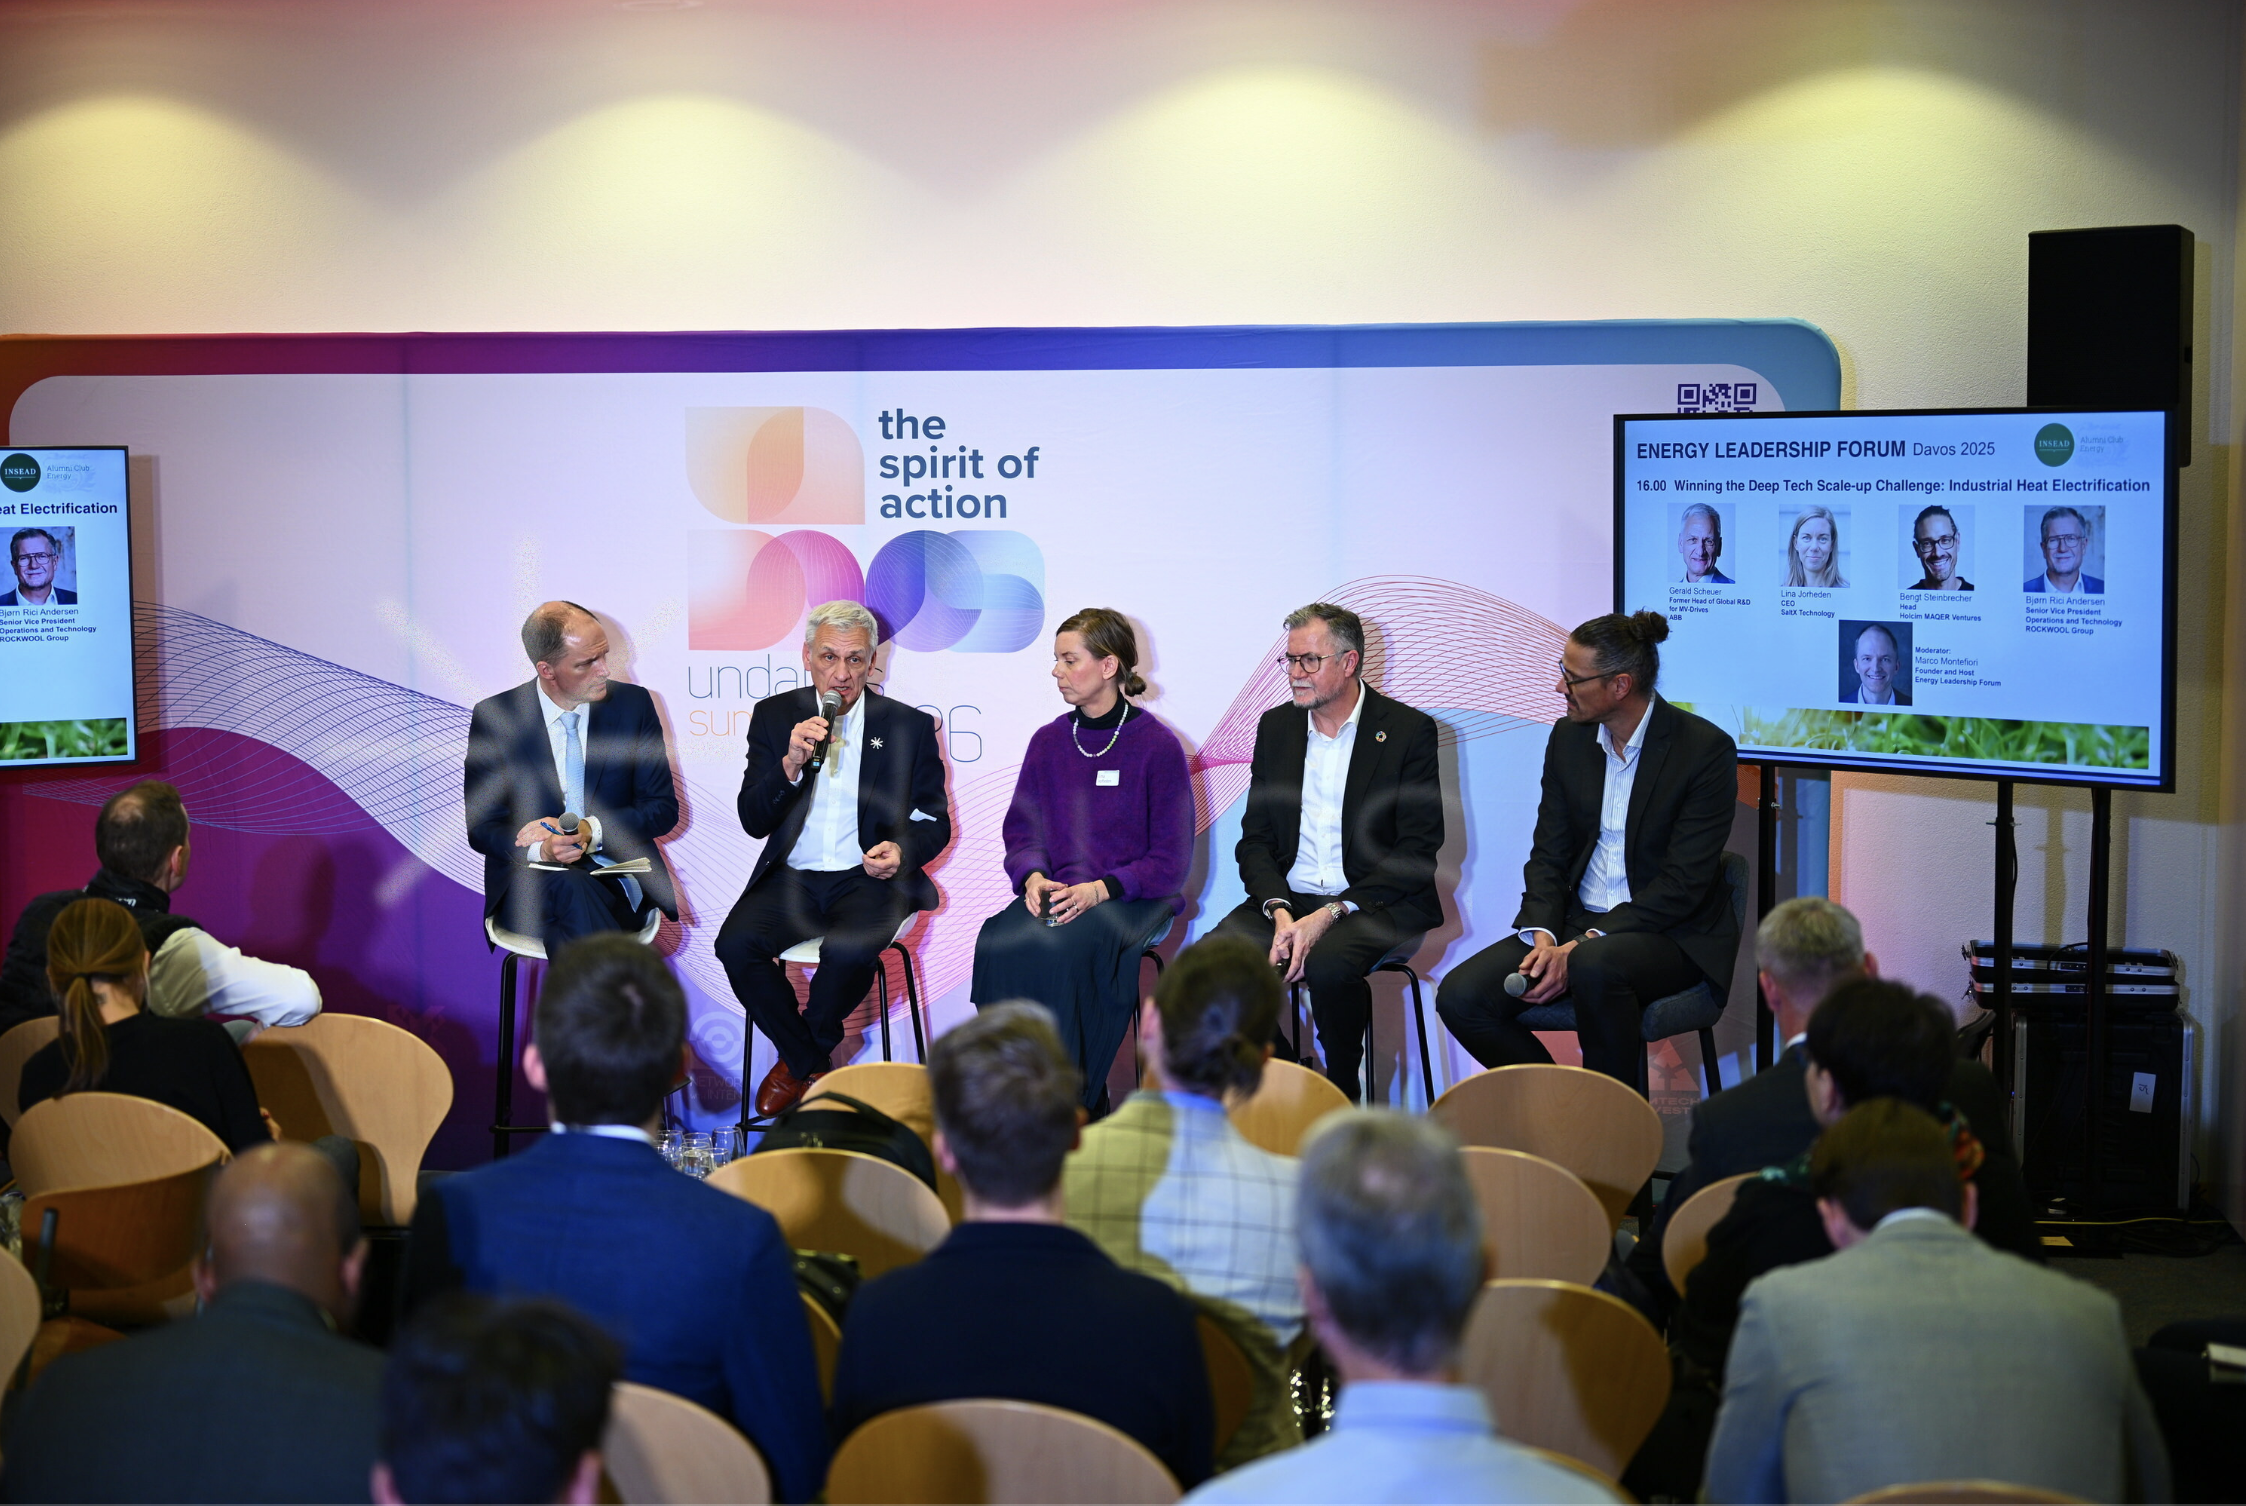
Events like industry conferences, academic symposiums, or large summits can benefit the most from a custom app since there’s a wealth of content, and attendees need to navigate choices. Focus on features like schedule filters, personalized schedules, and event recommendations. Networking features will work well in this context, too. Attendees come to meet others, so use chats or an opt-in list of participants to facilitate that. Lastly, integration with your conference’s other systems is key. For example, UnDavos created both a Glide app for event attendees and a Glide conference management system. These two apps synced information, letting them coordinate seamlessly.
Corporate training and development programs
For internal training events, the attendee app functions more like a course companion. It should surface pre-read materials before sessions begin, provide space for session notes or resource downloads, and link to assessments or certifications after each module. The emphasis shifts from navigation to learning support.
Client and partner events
When the audience is external, including mainly clients, partners, and prospects, your app is a brand touchpoint as much as a logistics tool. Design and polish matter more here. The app should surface networking features prominently, since client events are as much about relationship-building as content delivery. A light attendee directory with opt-in contact sharing enables them connections these events exist to create.
Trade shows and exhibitions
The exhibitor and sponsor directory will be the main feature for trade show apps. Attendees need to find specific companies, plan their booth visits efficiently, and capture contact information. An interactive floor map is likely to be needed. Session programming takes a back seat to the exhibition floor itself.
Company all-hands
For internal company events, the attendee app can integrate with your communication tools and employee directory. The emphasis will be on the agenda and real-time Q&A or polling features, but you can also consider adding team bonding activities or other fun features to help your team connect throughout the event. Since the audience is internal, optional SSO authentication is useful to make login seamless.
Recurring event series
For organizations that run the same type of event repeatedly, like monthly meetups, quarterly briefings, or annual conferences, the attendee app can be built as a permanent asset that gets refreshed with each new edition. Long-term attendees become familiar with the interface, reducing onboarding friction. Historical content from past events can be archived and made accessible, building a valuable content library over time.
Real-world examples
TEDxLisboa hosts TED talks with a custom event app
TEDxLisboa is an independently organized TED event that has been bringing speakers and audiences together in Lisbon since 2010. Their entire organizing team is made up of volunteers. Before discovering Glide, building a custom event app felt completely out of reach. "We all have these crazy busy lives," said Marta Gonzaga, Organizer and Curator of TEDxLisboa. "The costs, the resources, the time...it would have been impossible to build this app without Glide."
After launching the app in 2025, TEDxLisboa doubled the size of its event, increasing attendance from 300 to 620. More than half of the attendees downloaded and logged into the app immediately upon arrival, scanning a QR code at registration. The app included a full event agenda, links to speaker bios, sponsor information, and a venue map with key locations, like cloakrooms and restrooms, marked.
But the feature attendees loved most was in-app messaging, which allowed them to reach out to speakers and volunteers directly from the app. "People can reach out to the person they admire. People are engaging and feel like we have something more interactive. It helps to grow this community."

TEDxLisboa built a 2x bigger event with a Glide event app
Read the storyDavosWeek directs the public to the best side events at the WEF
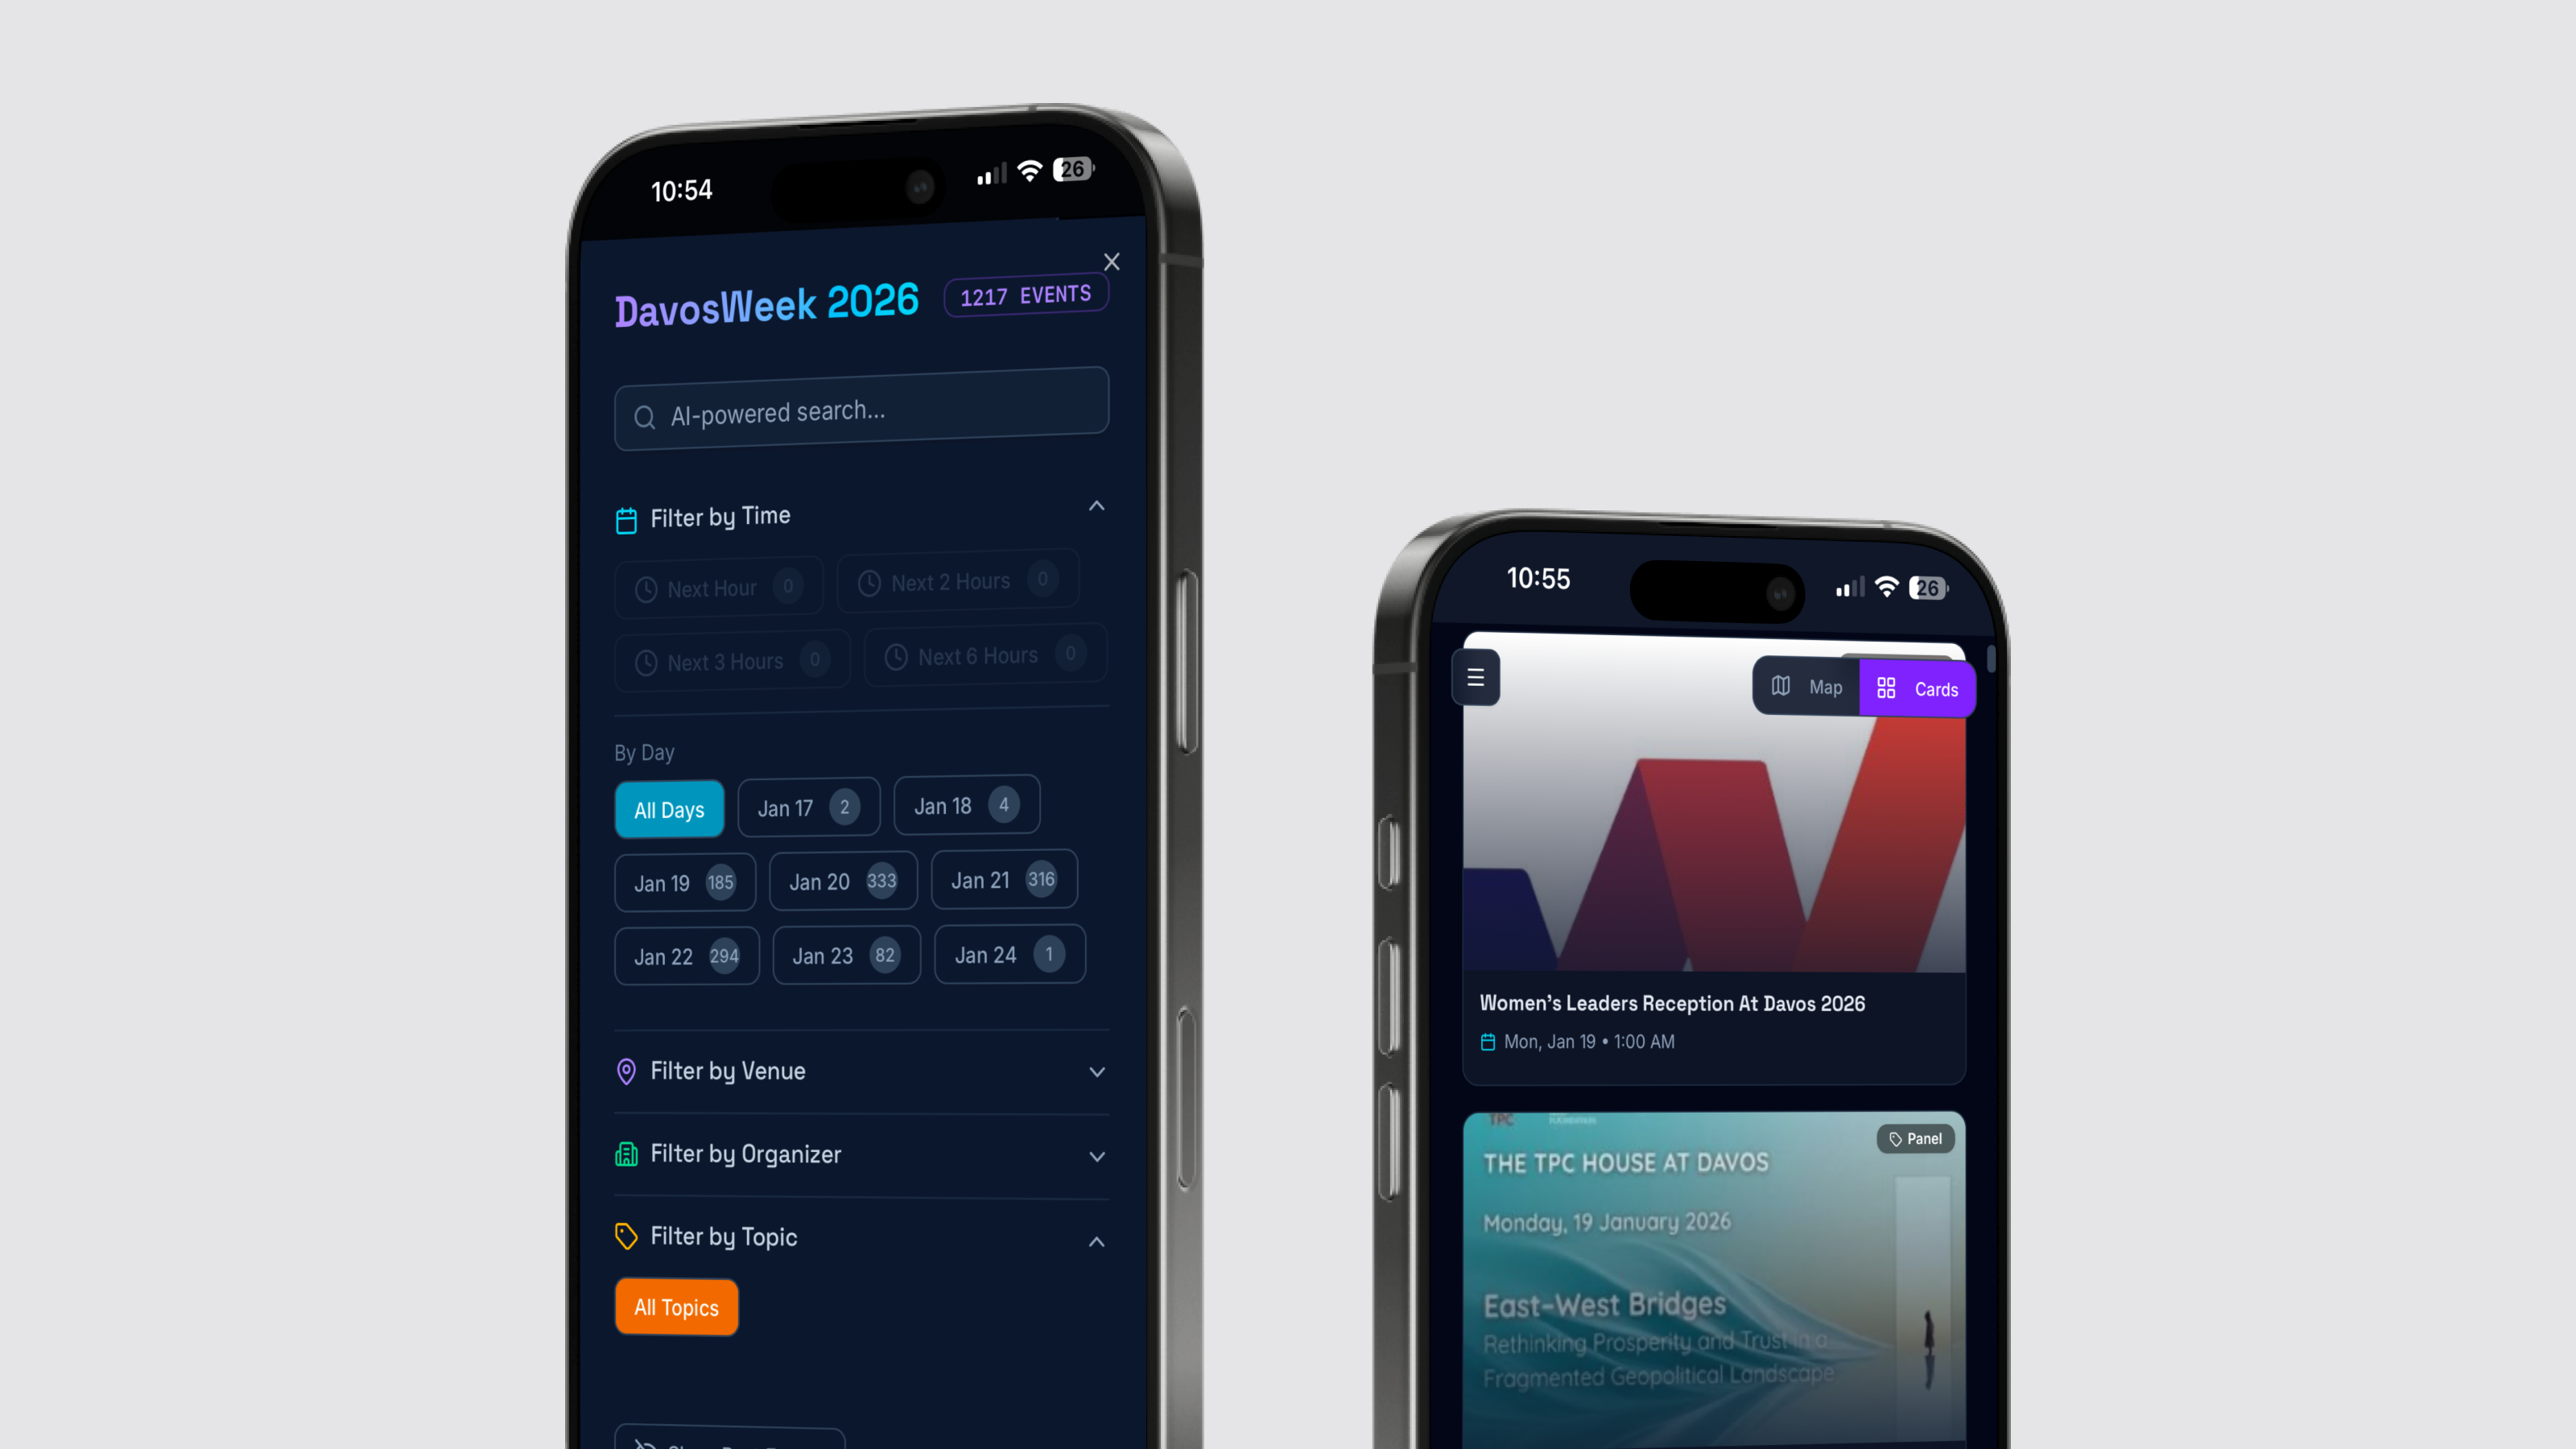
Mark Turrell, founder of the UnDavos Summit, wanted a better way to build connections and organize events during the week of the World Economic Forum in Davos. He hired LessCode Agency to build the DavosWeek app, a sophisticated, public-facing app that all prominent figures attending Davos could use.
This last year, the app helped over 18,000 people sort through over 1,200 events to find the sessions best suited to their interests. They incorporated AI to help visitors sort through the multitude of different options during the week. “The app uses AI to generate cards, so users can swipe through people, events, showcases, and tips for the conferences, all customized based on the weight of what they were searching for in the app,” Abdou explained.
They also used Glide behind the scenes to run their operations at the UnDavos Summit, giving their team better organizational tools without having to scale headcount at all.

Over 1,200 people used the DavosWeek app to find events
Learn howElevate Your Event Experience Today
Whatever type of event you are hosting, you want attendees to be able to focus on learning, enjoyment, and connecting with each other. The more effortlessly they can get the right information to navigate your event, the more they’ll be able to focus on what matters. Building a mobile app that puts everything they need directly into their hands is the best way to do that.
With Glide, you can create a custom app that elevates your event and keeps everything running smoothly. You don’t need a team of engineers or months of development to do it. “It would have been impossible to build this app without Glide,” said Marta of TEDxLisboa. With Glide, any event organizer can build a fully functional, polished app quickly and affordably.
Whether you’re hosting a 50-person workshop or a 5,000-person convention, consider building your own attendee app.
Visit Glide University to learn the basics, or hire a professional to help you get your app launched even faster.


