
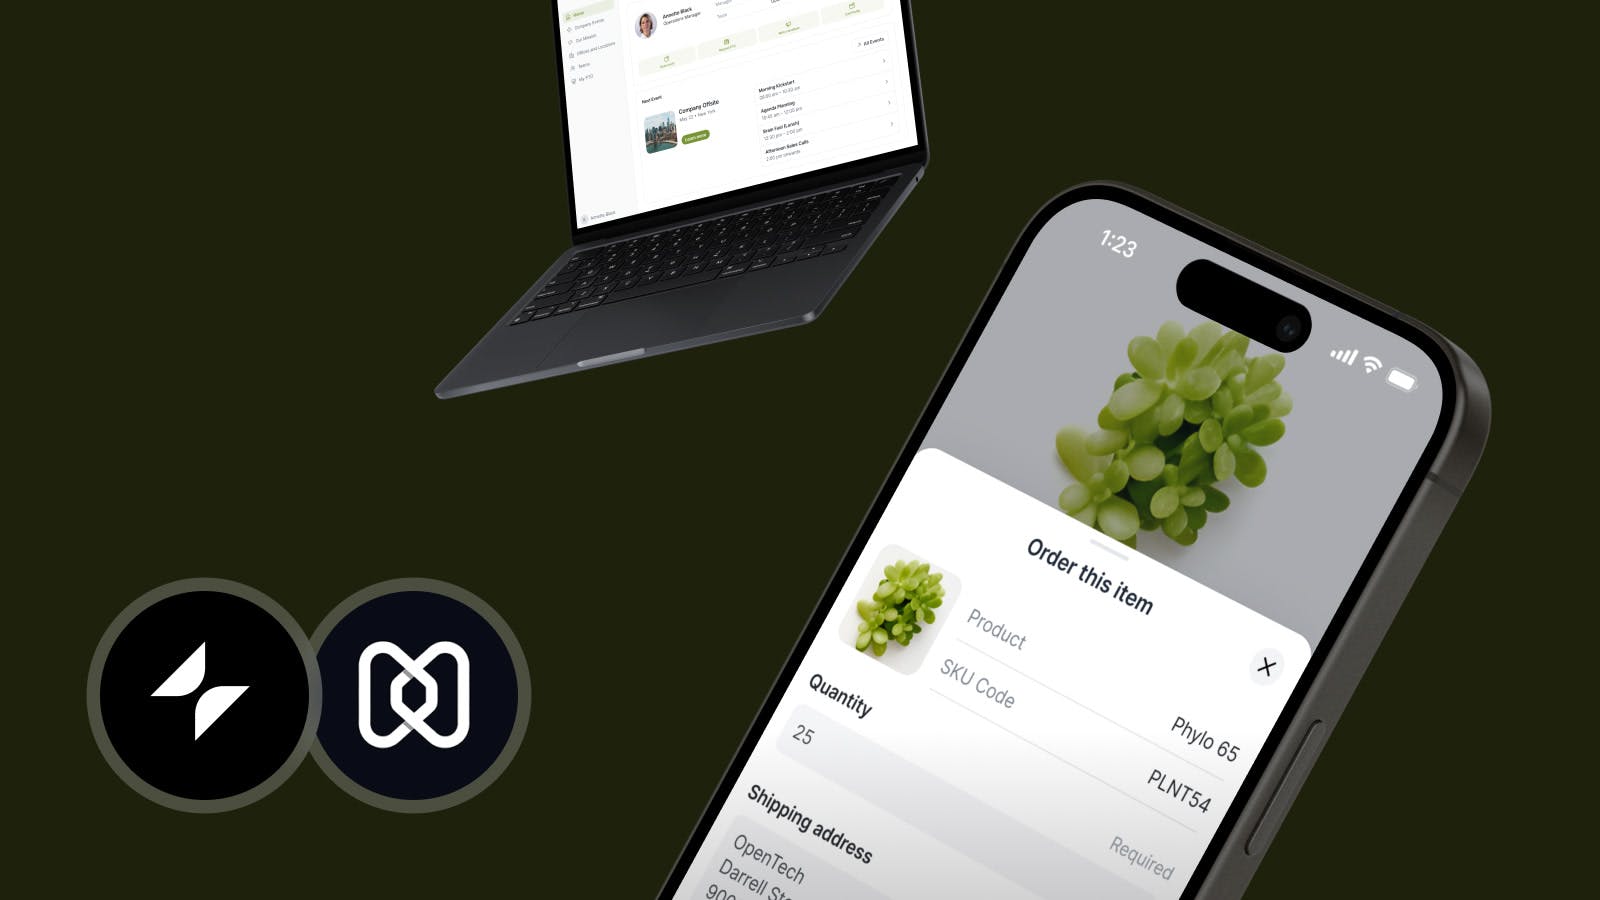
By using Glide and Hexnode together, you can quickly build and deploy custom kiosk apps with a fraction of the resources, and in a fraction of the time, compared to traditional software development.
Glide is a no code development platform. With Glide, you and your team can build custom business software on top of your existing data.
Glide apps run in the browser and adapt to all screen sizes. That means a single Glide app works across large displays, desktops, and mobile devices.
Hexnode’s Kiosk Management Mode will let you lock down a device to run only the Glide apps that you specify.
Here’s how to do it.
1. Set up your data
When you’re building a new Glide app, you can choose to sync with your spreadsheets, connect to SQL databases, or start from scratch.
Glide maintains a bidirectional sync with your external data sources, so you can continue to use them as usual.

Any changes made to the data source will appear in the Glide app, and any changes made in the Glide app will appear in the data source.
You aren’t limited to a single data source, either. You can combine multiple data sources in a single app.
This comes in handy when you need to surface information from different sources, like with a team dashboard or a support portal.
Data can be extended within Glide using computational logic and AI. For example, you could run calculations, build cross-source lookups, or query Chat GPT, and then display the results in your app.
2. Build your layout
Rather than overwhelming you with granular design choices, Glide provides configurable drag-and-drop components.
These components are professionally designed to look and feel like a native app. This makes it faster to get your users up and running because the app behaves as they expect it to.
Some of these components display data from your connected sources, while others let you add new data through forms and buttons.
All of these components can be configured with visibility conditions, so you can choose when to display them and when to restrict them.
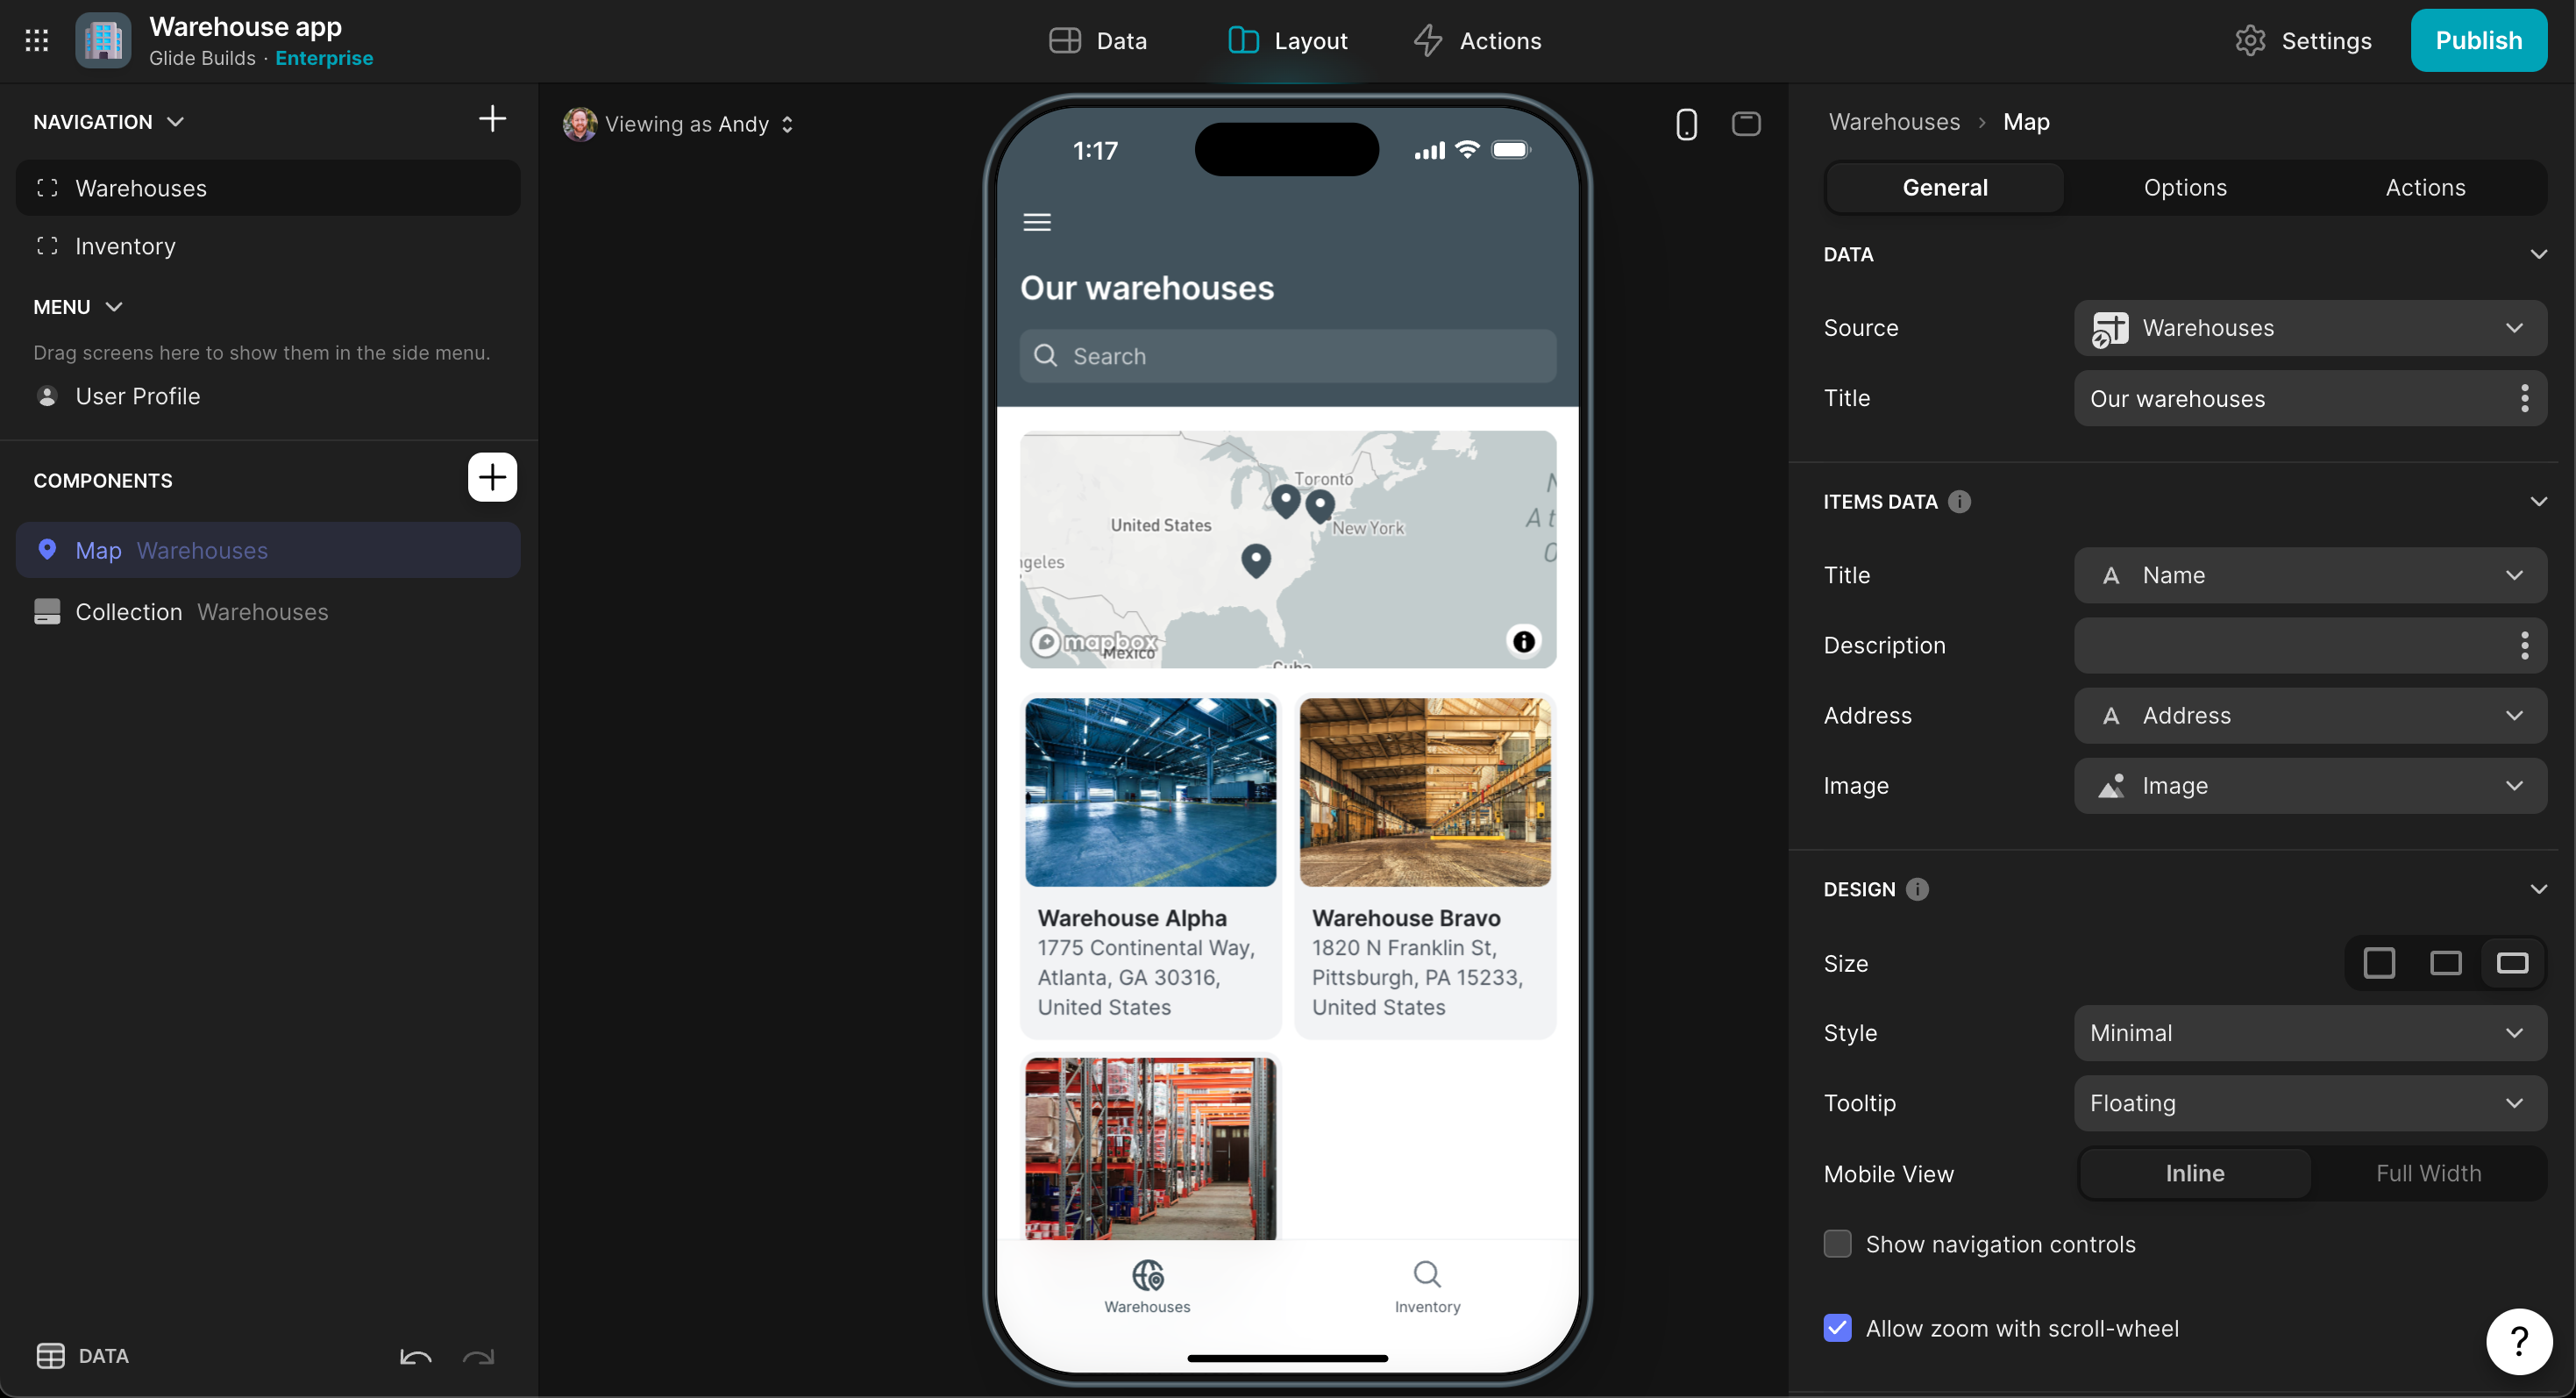
For example, you could check a user’s role or permissions level, and then only display the components that match it.
Another perk of building in Glide is that you’re actually interacting with your app while you build. Glide’s embedded preview is a fully functional instance of your Glide app.
You can see how it looks on different devices, and even switch between users to test things like form submissions or component visibility.
3. Add actions and workflows
App interactivity goes beyond just displaying and collecting data. Components can also trigger different types of actions, like opening a link, composing an email, or dialing a phone number.
Multiple actions can be chained together with action sequences.

Within these sequences you can add conditional logic, manipulate data, trigger webhooks, generate AI responses, and a whole lot more.
You can even connect your Glide app to other services through integrations. For example, you could push an alert to Slack or Microsoft Teams when a user presses a button or submits a form.
4. Publish your app
Glide apps are incredibly easy to publish.
Start by reviewing your app settings. Do you need to change the app logo or color scheme? Are the privacy options giving access to the right users? Or do you need to add any supplementary information about data usage?
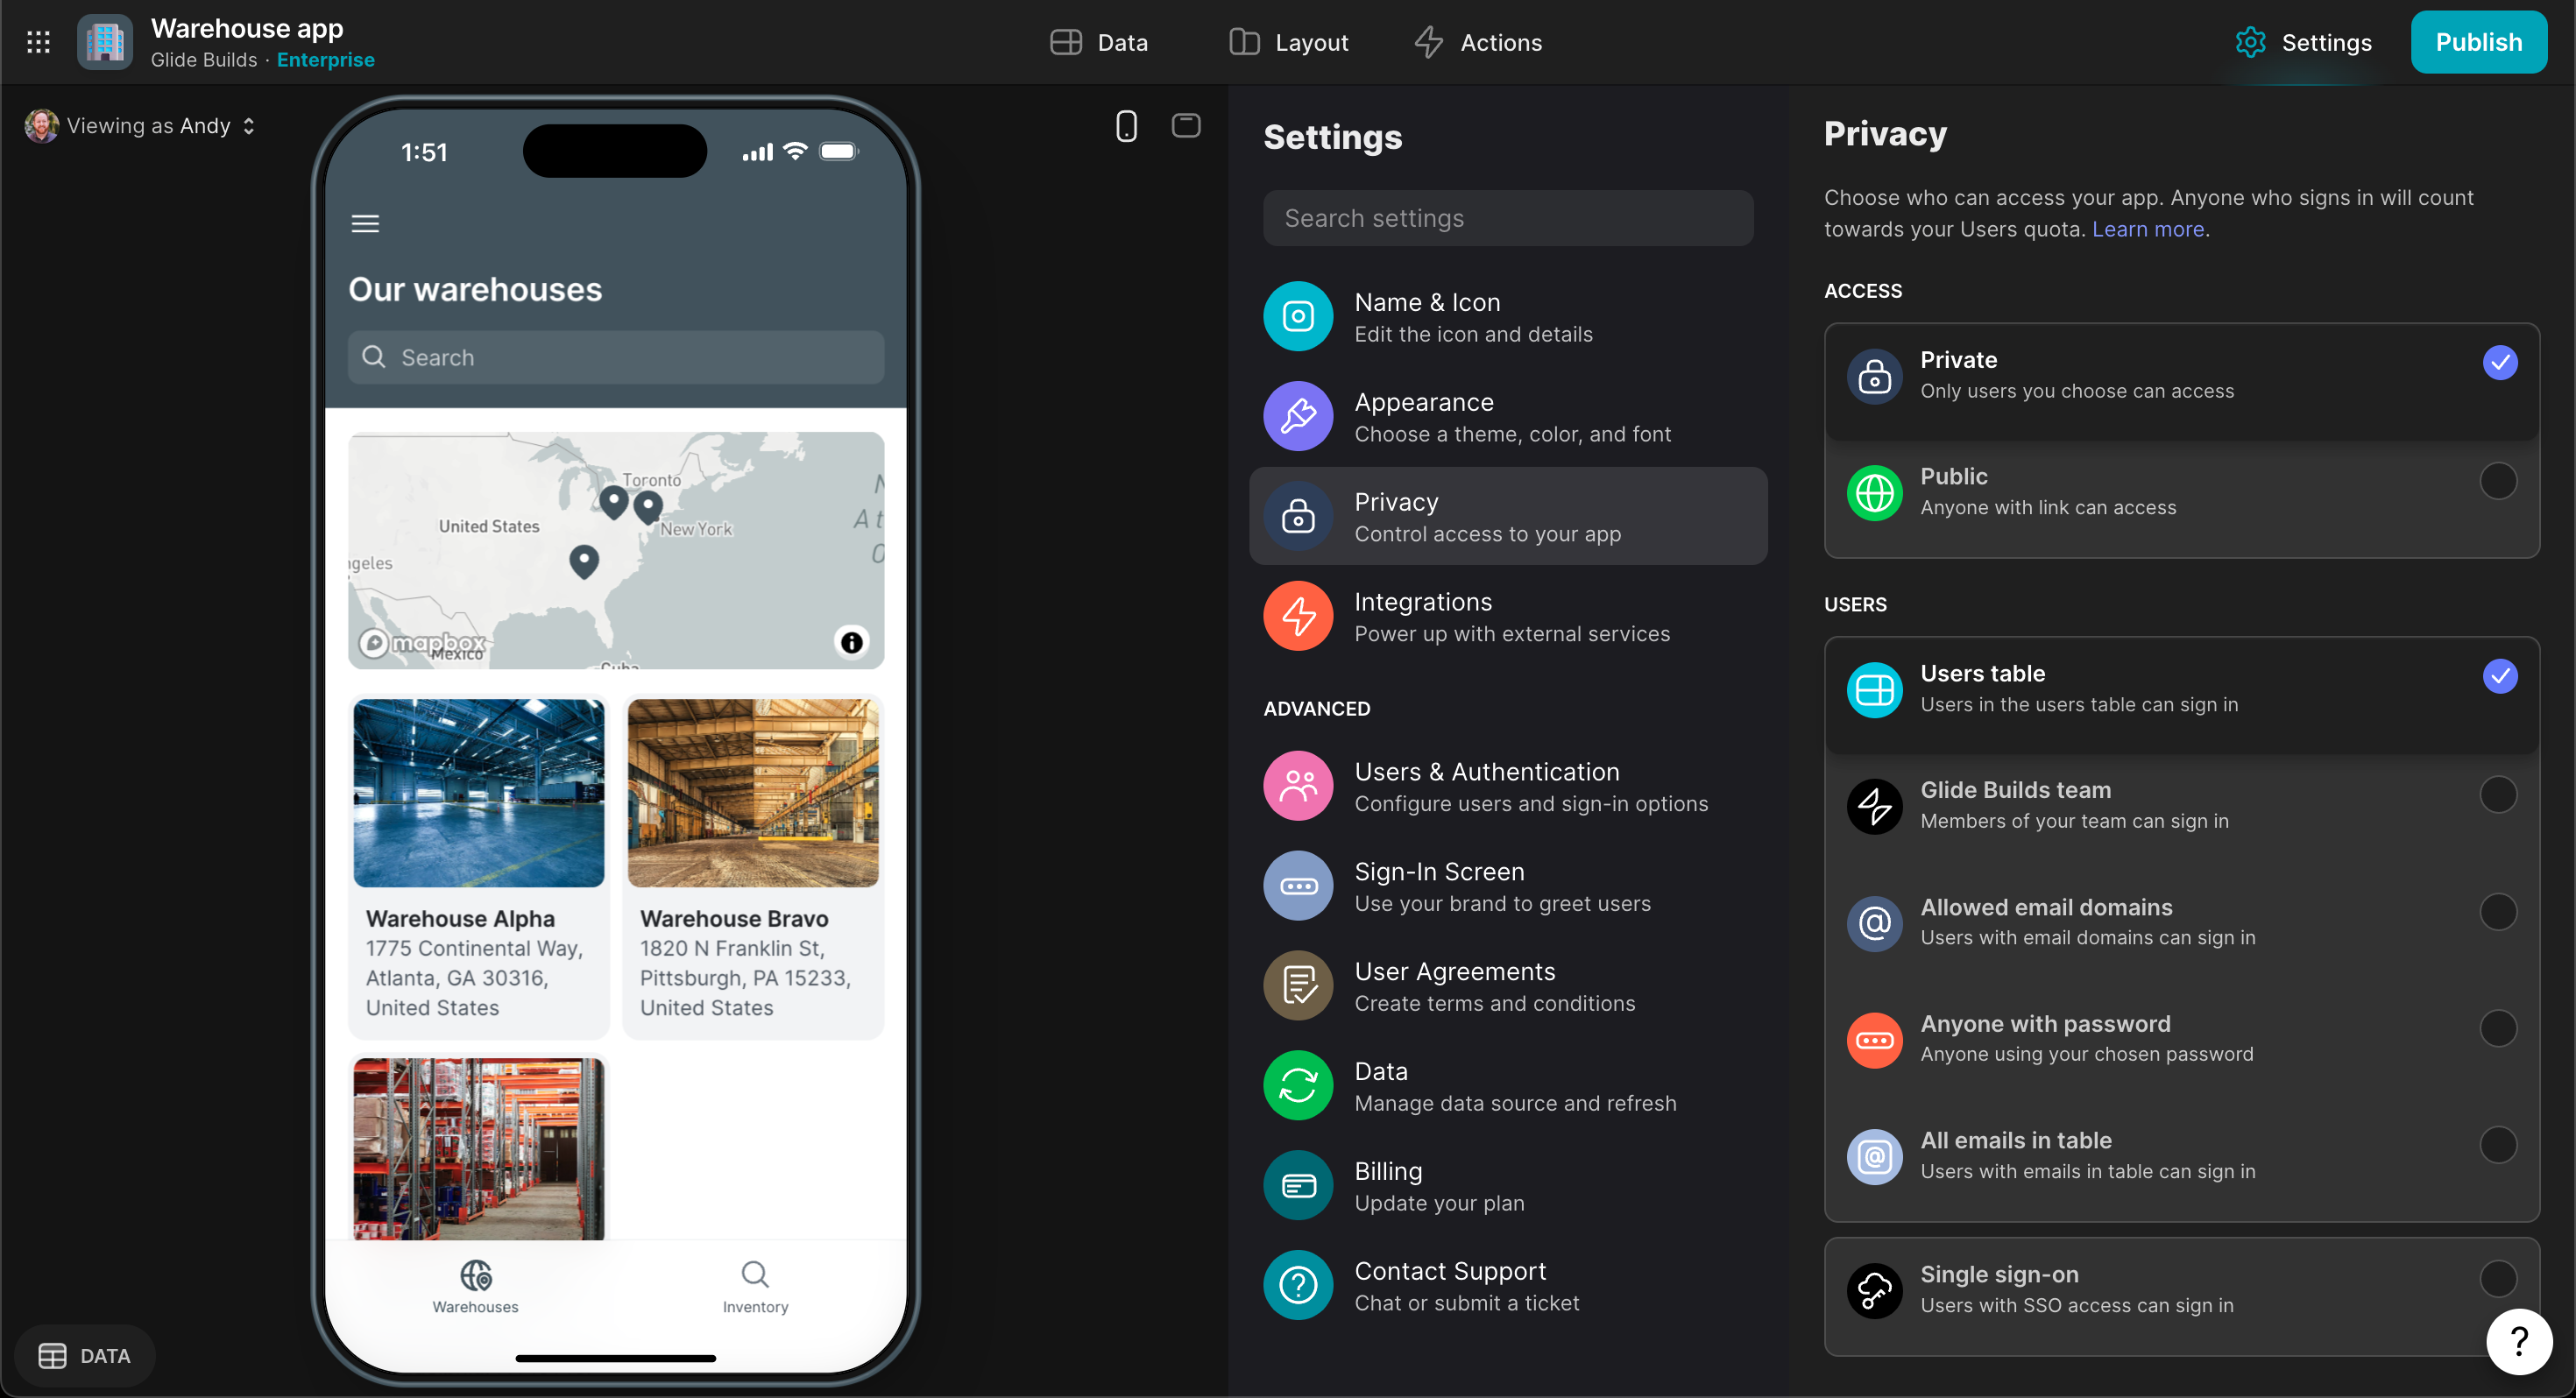
When you’re satisfied with the settings, open the Publish menu. Glide handles all the hosting, including your app’s media assets and user uploads.
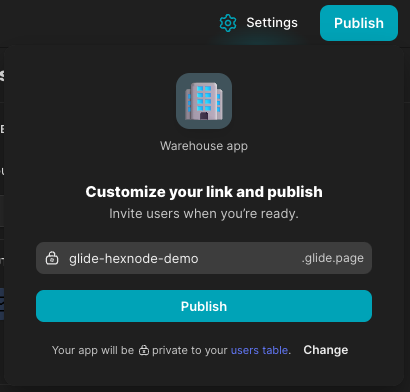
Your app is ready to use as soon as you hit Publish. You can then send your users an email invitation from Glide, or you can share the app URL or QR code however you’d like.
Passwords aren’t stored in Glide, so depending on your settings, users will log in with SSO, Google, or their email address. Glide will send a verification PIN for email logins.
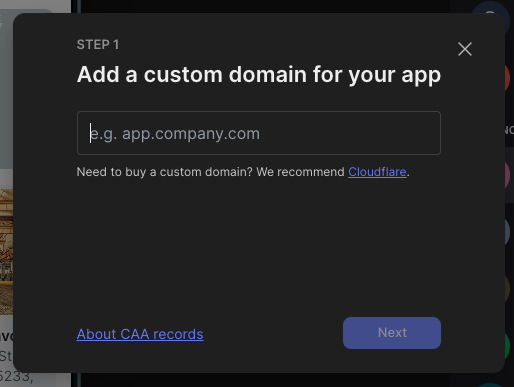
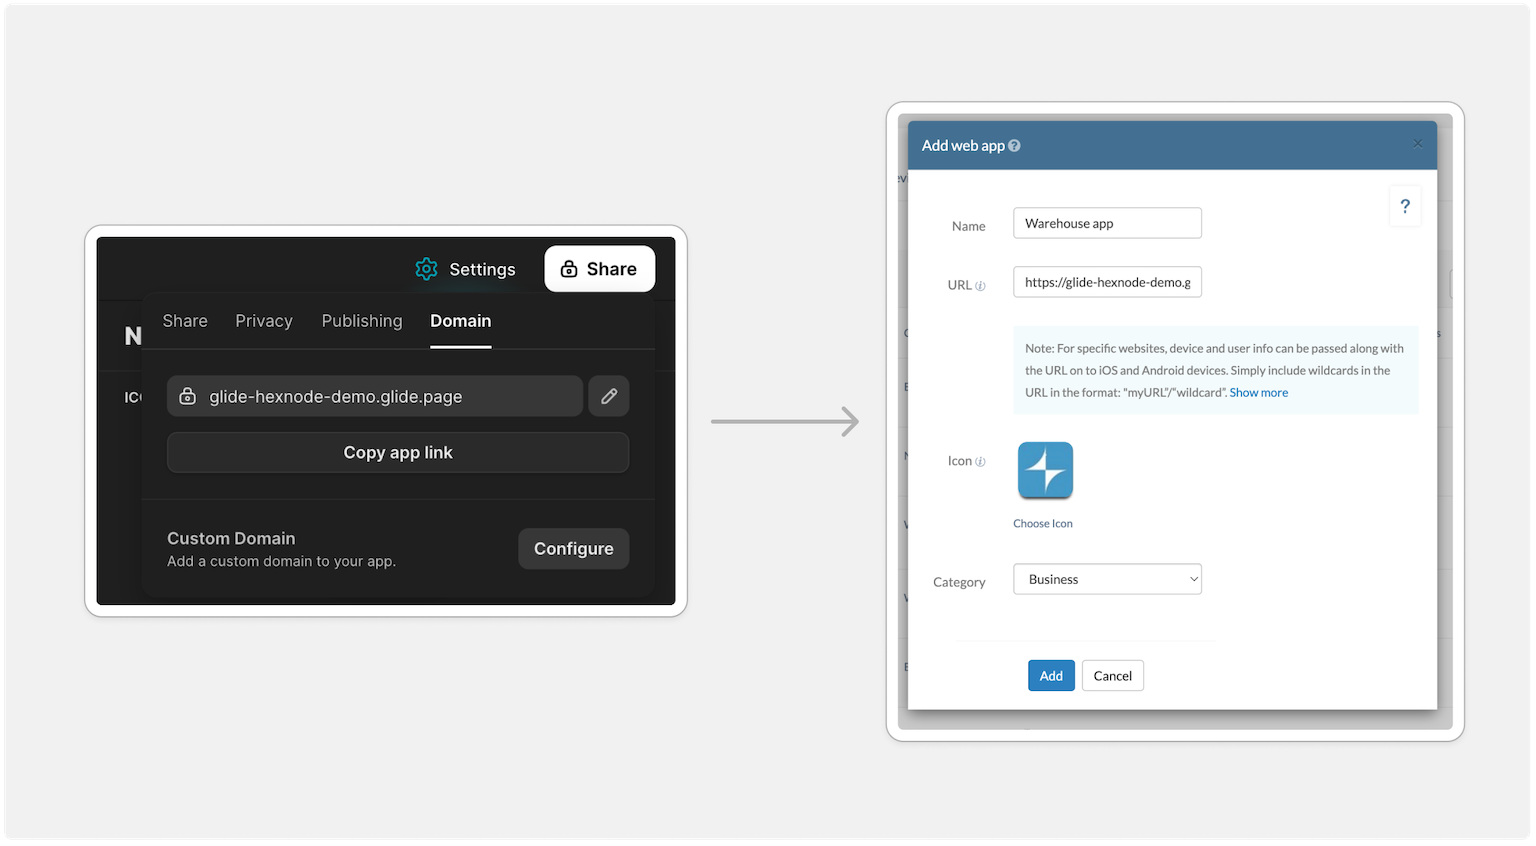
You can also decide is if you want to run your app on a custom domain, like app.yourcompany.com or yourcompany.app.
5. Add your app to Hexnode
Glide and Hexnode work beautifully together because of Hexnode’s excellent support for web apps. This lets you securely distribute your Glide apps to your users in a matter of minutes.
First you’ll need to add your Glide app to the Hexnode App Inventory:
- In your Hexnode MDM portal, go to Apps
- Click Add Apps
- Select Web App from the drop-down list
- In the Add Web App window, enter your Glide app details
- Click Add
Next you’ll create a web app kiosk policy:
- In your Hexnode MDM portal, go to Policies
- Click New Policy
- From the Kiosk Lockdown menu, select Single App
- Click Configure, then the + icon
- Click Add App
- Select your Glide app from the list
- Click Done
The last step is to assign your Glide app to the right devices. This is done at the Policy level:
- Open the policy and go to the Policy Targets tab
- Click Add Devices
- Assign the policy to Device Groups, Users, User Groups, or Domains
- Save the policy
Refer to Hexnode’s docs for configuring kiosk web apps in iOS or Android.
Closing thoughts
Glide apps run in the browser and adapt to all devices. There’s nothing to install, and your apps are automatically kept up-to-date.
With Hexnode’s kiosk mode, you can grant secure access to your users.
Learn more about creating custom business software with Glide and turning your devices into interactive kiosks with Hexnode.


