
Glide turns spreadsheets into beautiful, useful apps, so any other tool that uses a spreadsheet can be turned into your own custom mobile app.
Tiller is an easy-to-use personal financial management tool that keeps a Google Sheet securely in sync with your bank and credit card transactions.
In the video below, we show you how to make a basic Glide app that helps you view and categorize your finances.
How it works.
In Glide, we’ll create a new app, pick our Tiller spreadsheet as the source, and Glide will create a basic app as a starting point.
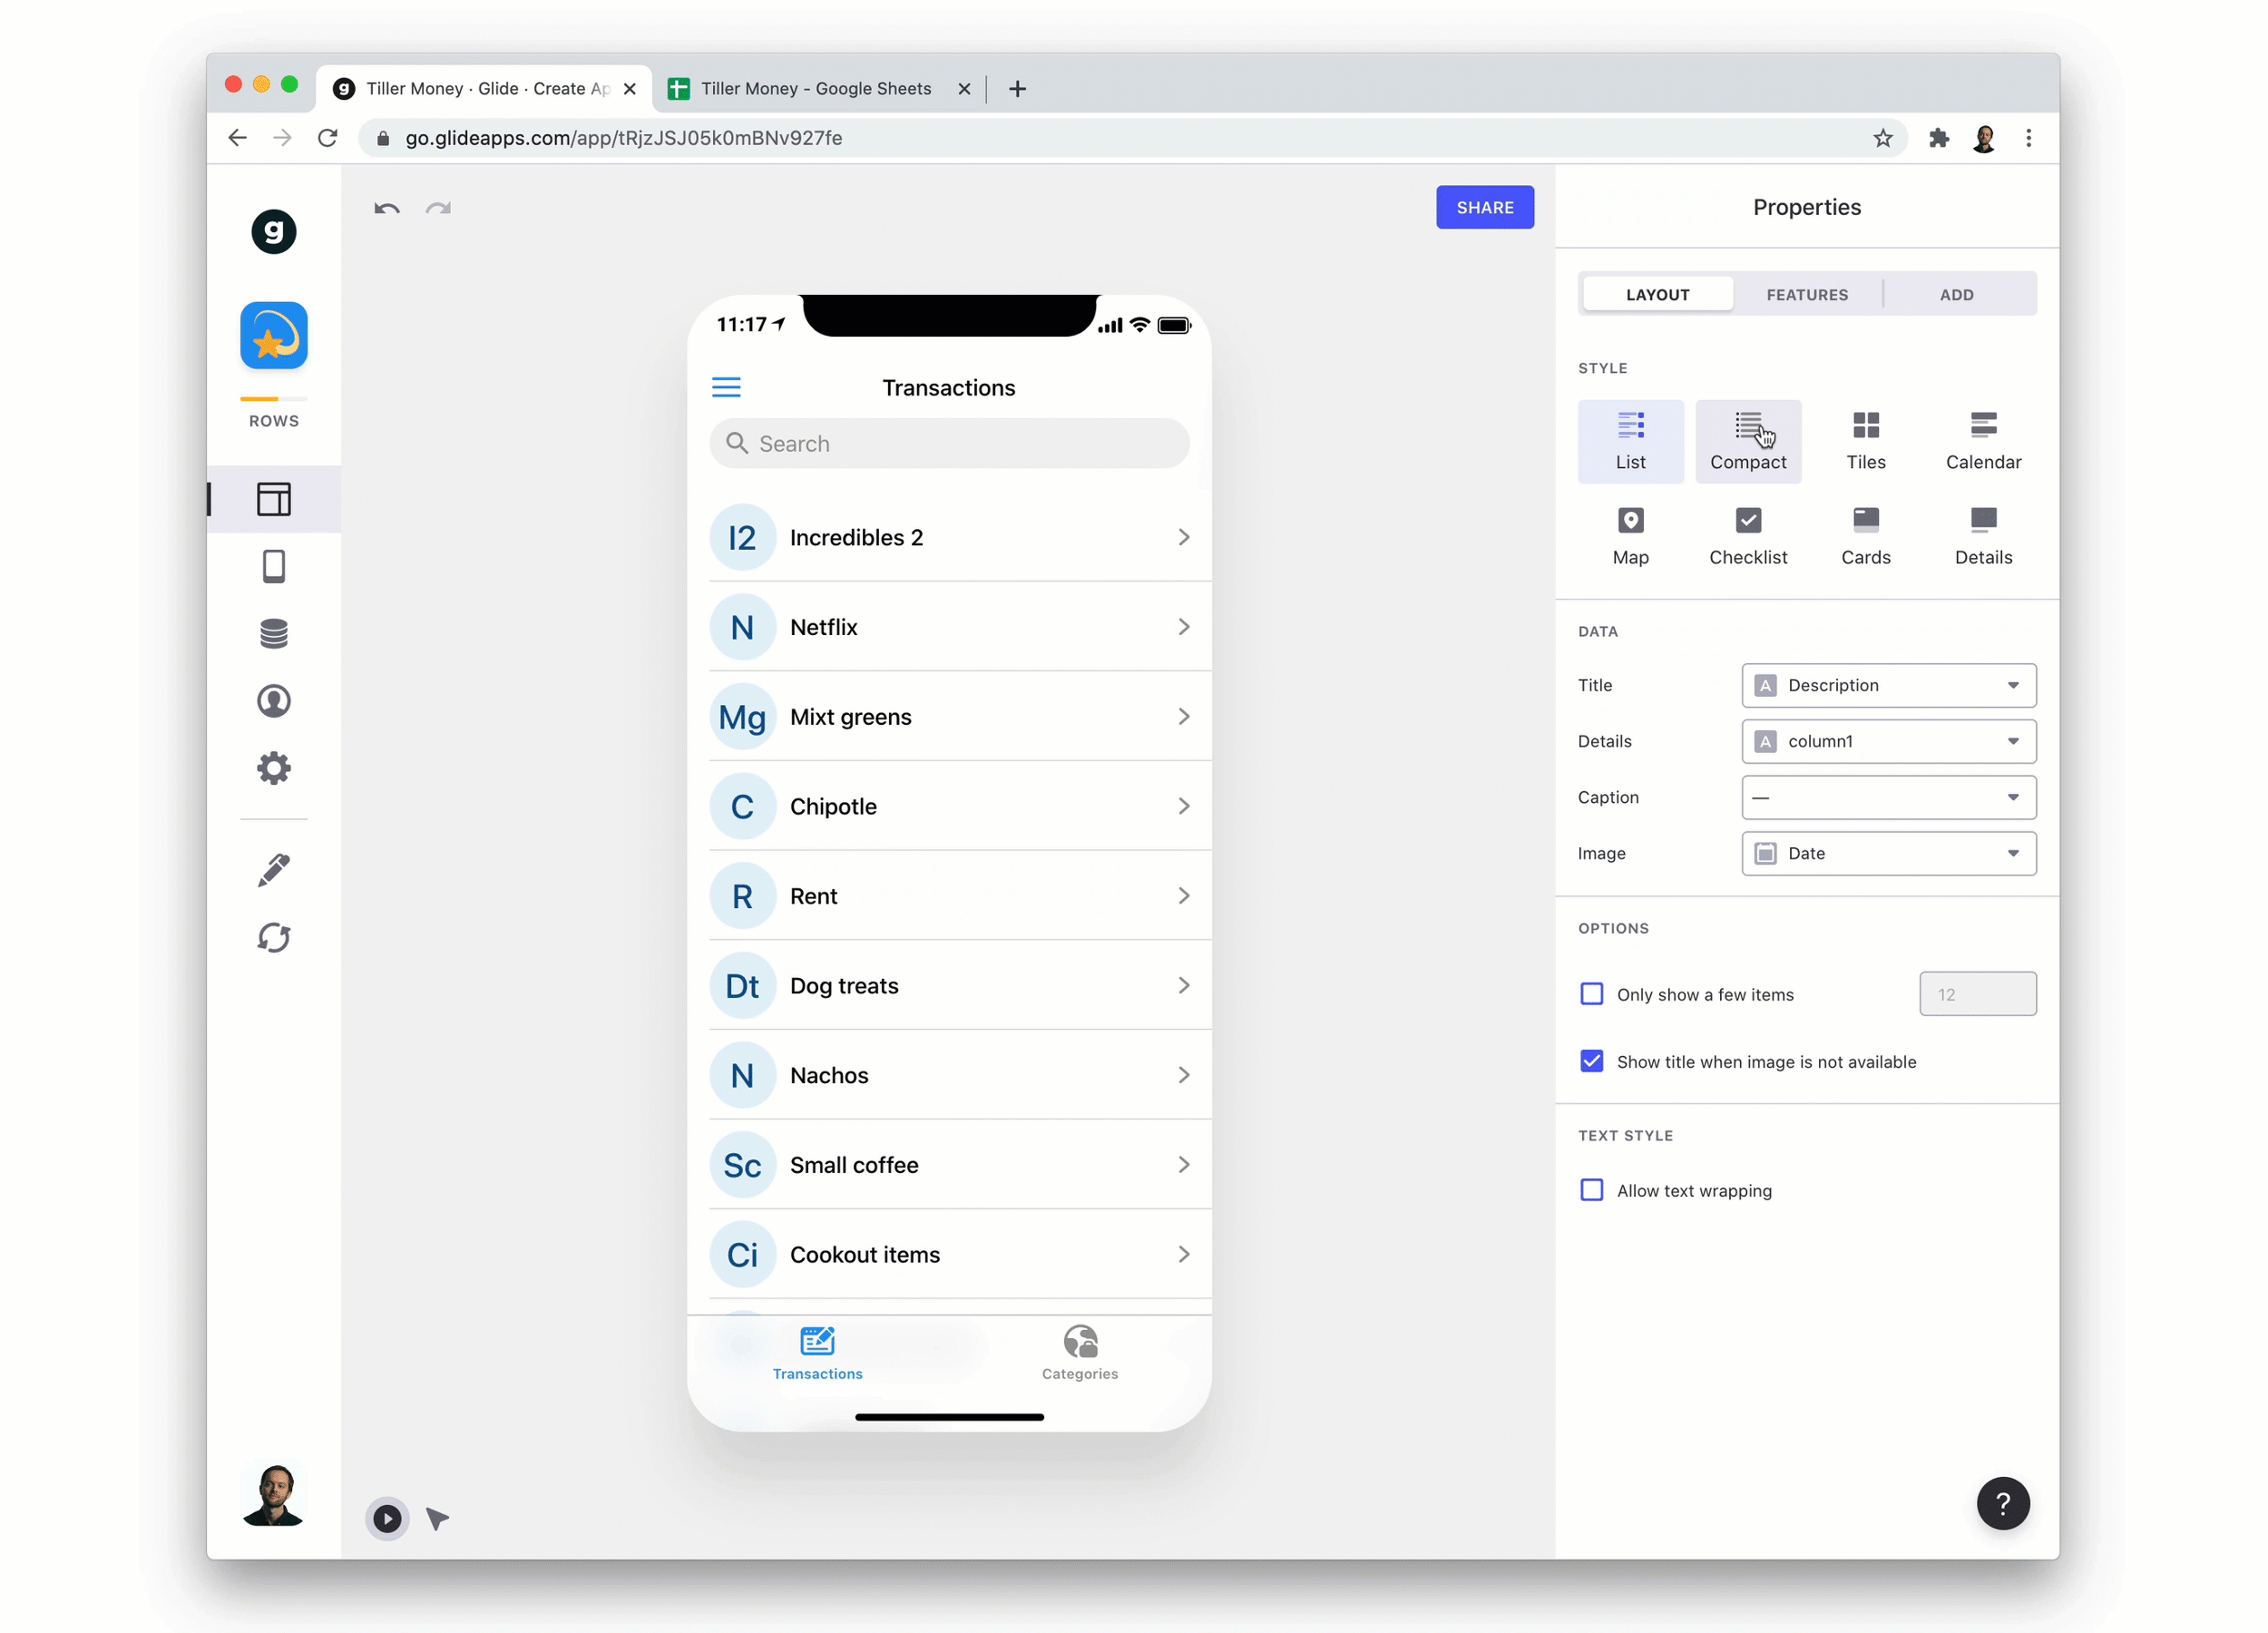
We can see that the first tab of our app shows our transactions in a list. And the second tab shows our categories. If we click into one of these items we can see the whole of that row represented in components.
Customization
Let’s start by customizing the list layout for the transactions screen. We can choose from a number of different list styles and customize them further. We can also change which columns in our sheet show up as properties for each item.
We’ll make sure each item shows its description, amount, and category.
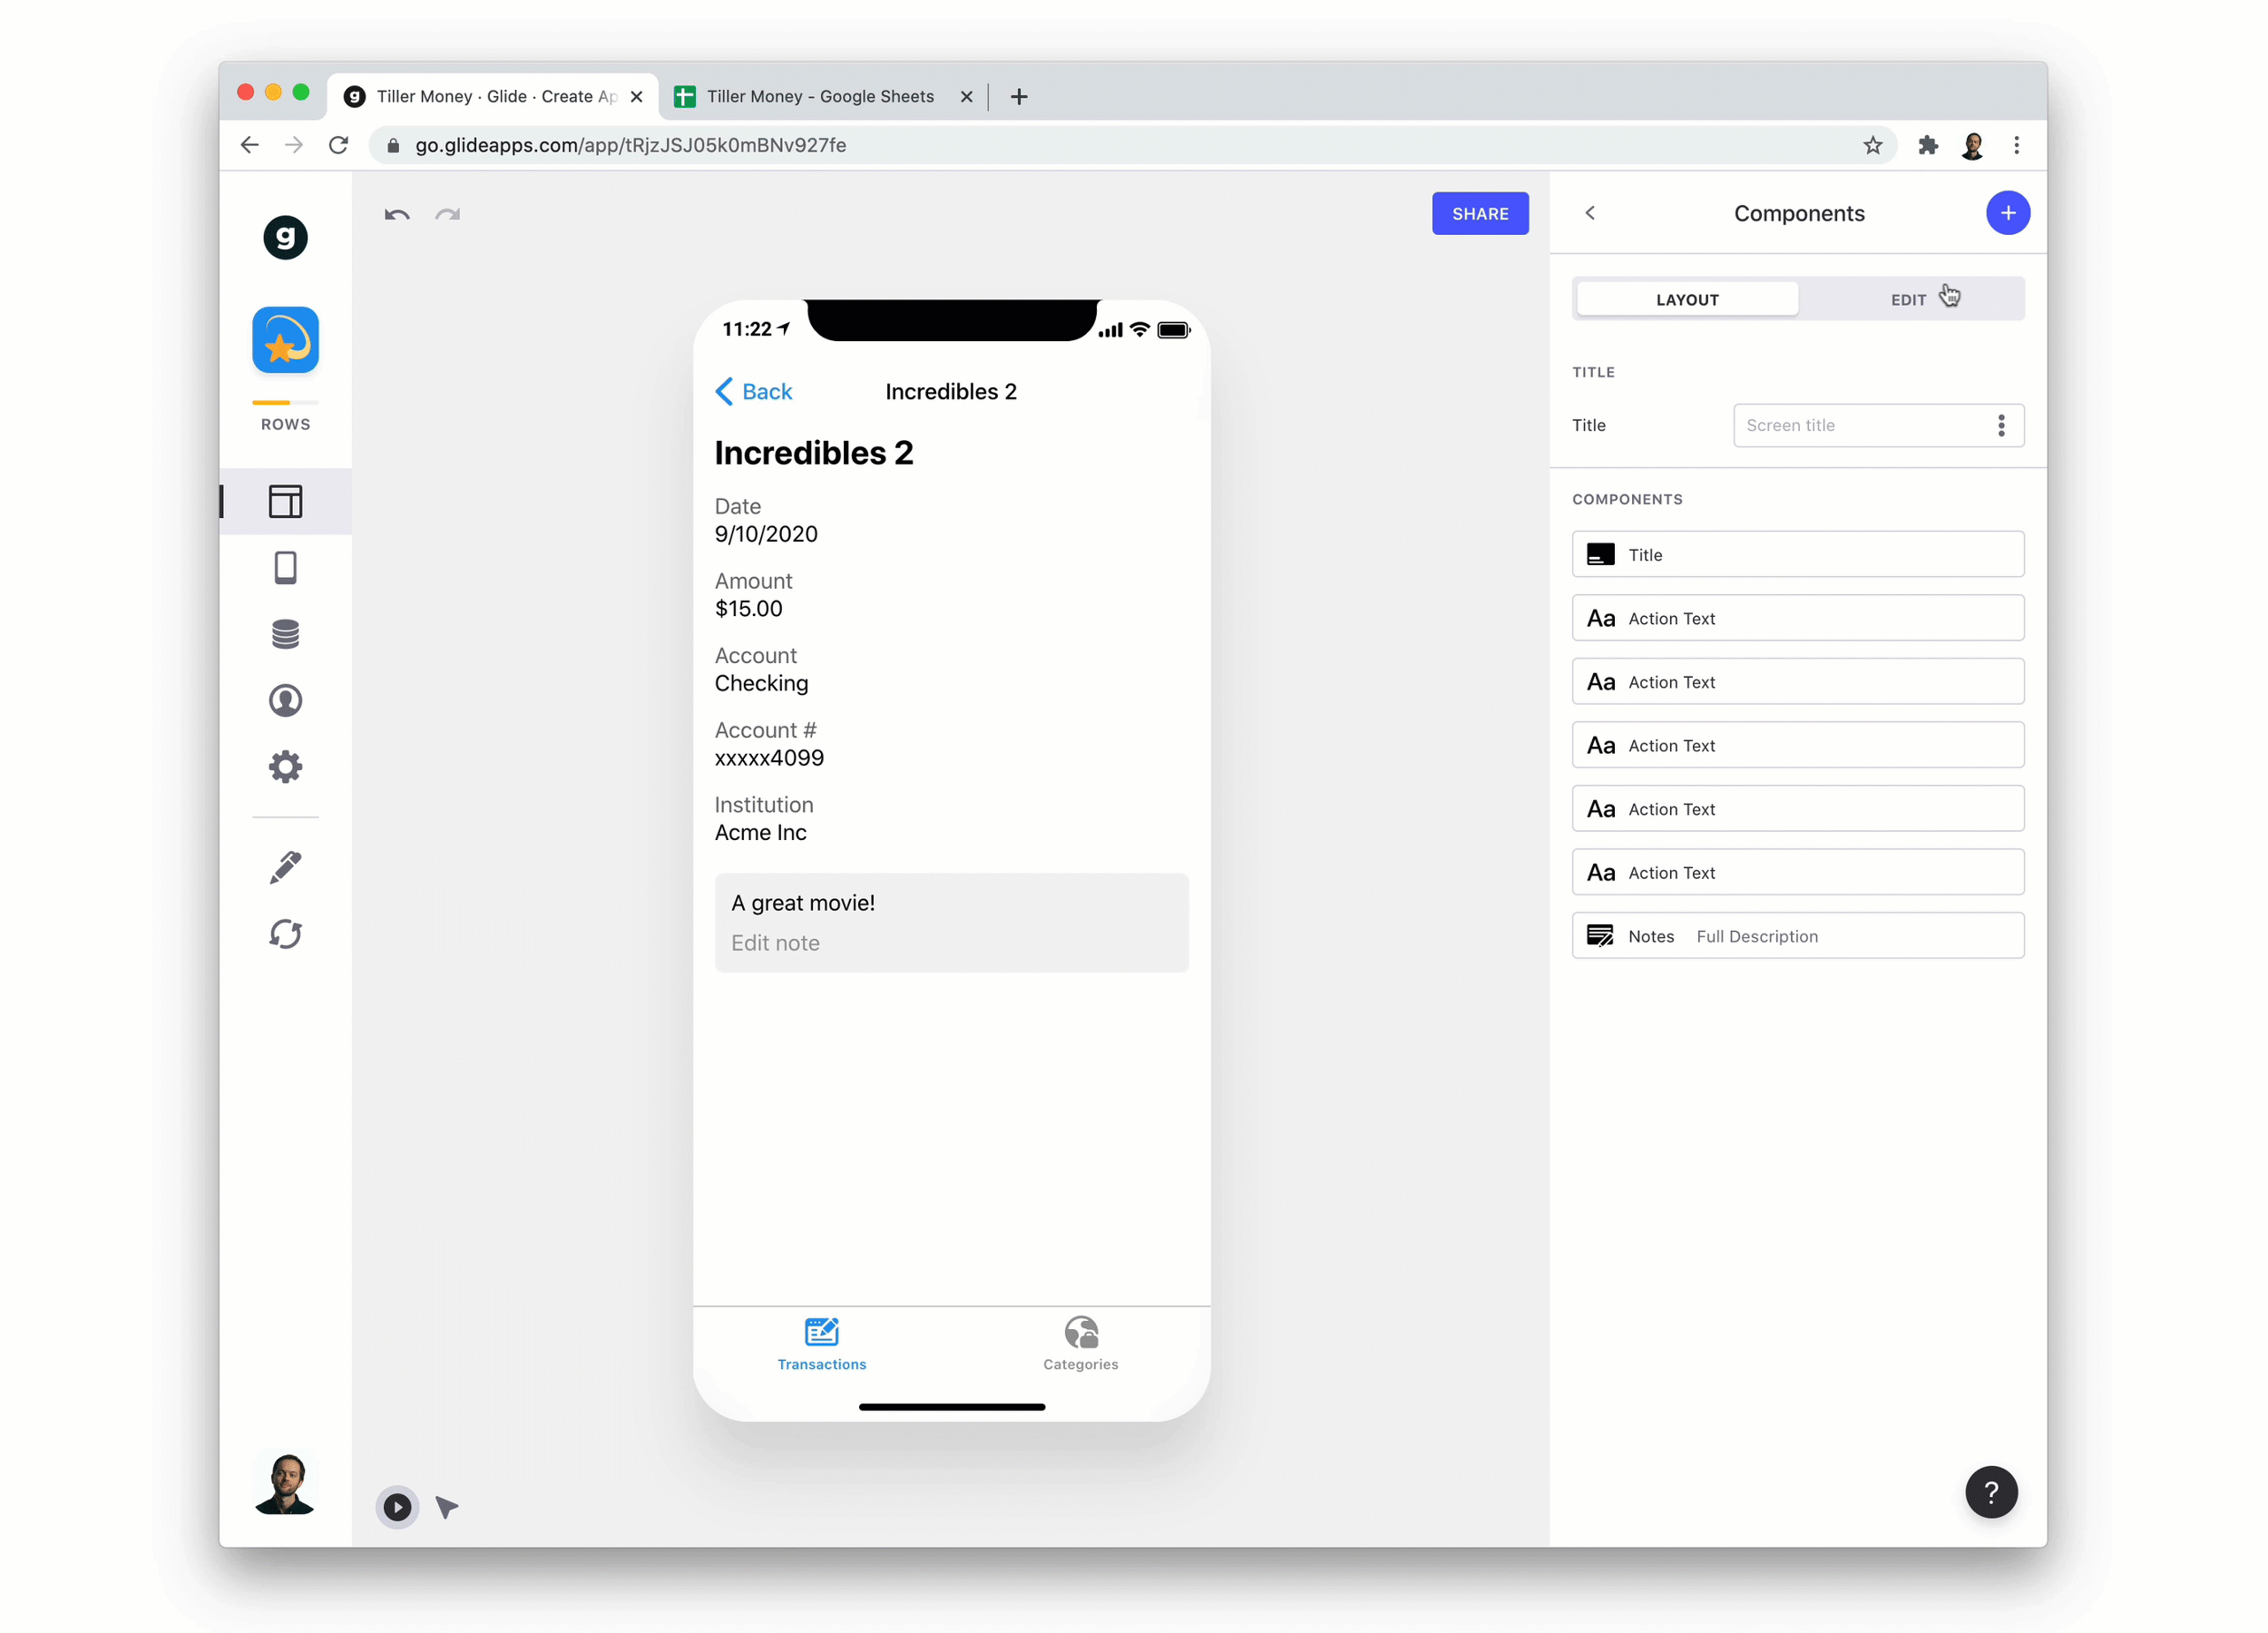
If we click into the details screens for one of our items we can see the columns in our sheet displayed in components. Glide has many different types of components that let you view and interact with your data in useful ways.
We don’t need all of these columns displayed in our app, so we’ll just remove some of the components (Removing the component doesn’t affect the data in your sheet).
We could spend a lot more time adjusting this screen with different components. For now we’re just going to add two:
- A notes component, so we can add notes to our transactions.
- And a choice component, so we can easily categorize transactions.
Adding a Notes Component
The Notes component is straightforward. We just need to add it and connect it to a column in our transactions sheet where we want our notes to live.
Now, when we make comments in the app, they appear in our sheet, and vice versa.
Adding a Choice Component
A choice component works like a dropdown menu in Google Sheets. You tell the component what values you want to choose from and then that component populates a cell with whatever column it’s assigned to.
We’ll make sure the choice component reads from the categories sheet and then populates the category column in the transactions sheet.
Now we can easily categorize new items and, if we add new categories to our categories sheet in future, they will show up in our choice component.
Developed Version
As we continue to develop the app, we can add more features and components to fit our needs.
- On the home screen there’s a chart and message that automatically updates with your app’s data.
- In this version, each transaction has the image of its category and also has a button that takes you to that category. When you’re in a category, you can also see a list of related transactions.
Start Gliding!
This is just the start of what Glide can do. To learn more about the different features in Glide and how to build your own apps, head over to glideapps.com/learn.


