Guest post from Rupert Arnold Hoffschmidt-McDonnell, Founder of DocsAutomator.
Your data drives your most important processes at work. Turning your data into software with Glide makes it so much easier to take action with that data and efficiently incorporate it into your team’s day-to-day operations. However, there is an additional step you can take to make your work processes even more effective.
Integrating DocsAutomator with Glide lets you generate documents directly from your business tools, making your data go that much further. Share invoices with customers, generate reports for leadership, or create marketing materials — all from an intuitive app interface.
DocsAutomator is a document automation tool that is natively integrated into Glide, providing document generation capabilities directly within Glide apps. With it, you can create documents of all kinds straight from your app data: financial documents, reports, invoices, HR documents, and many, many more.
Ready to give your team the resources they need to succeed with automated documents? Let's dive in.
What is DocsAutomator?
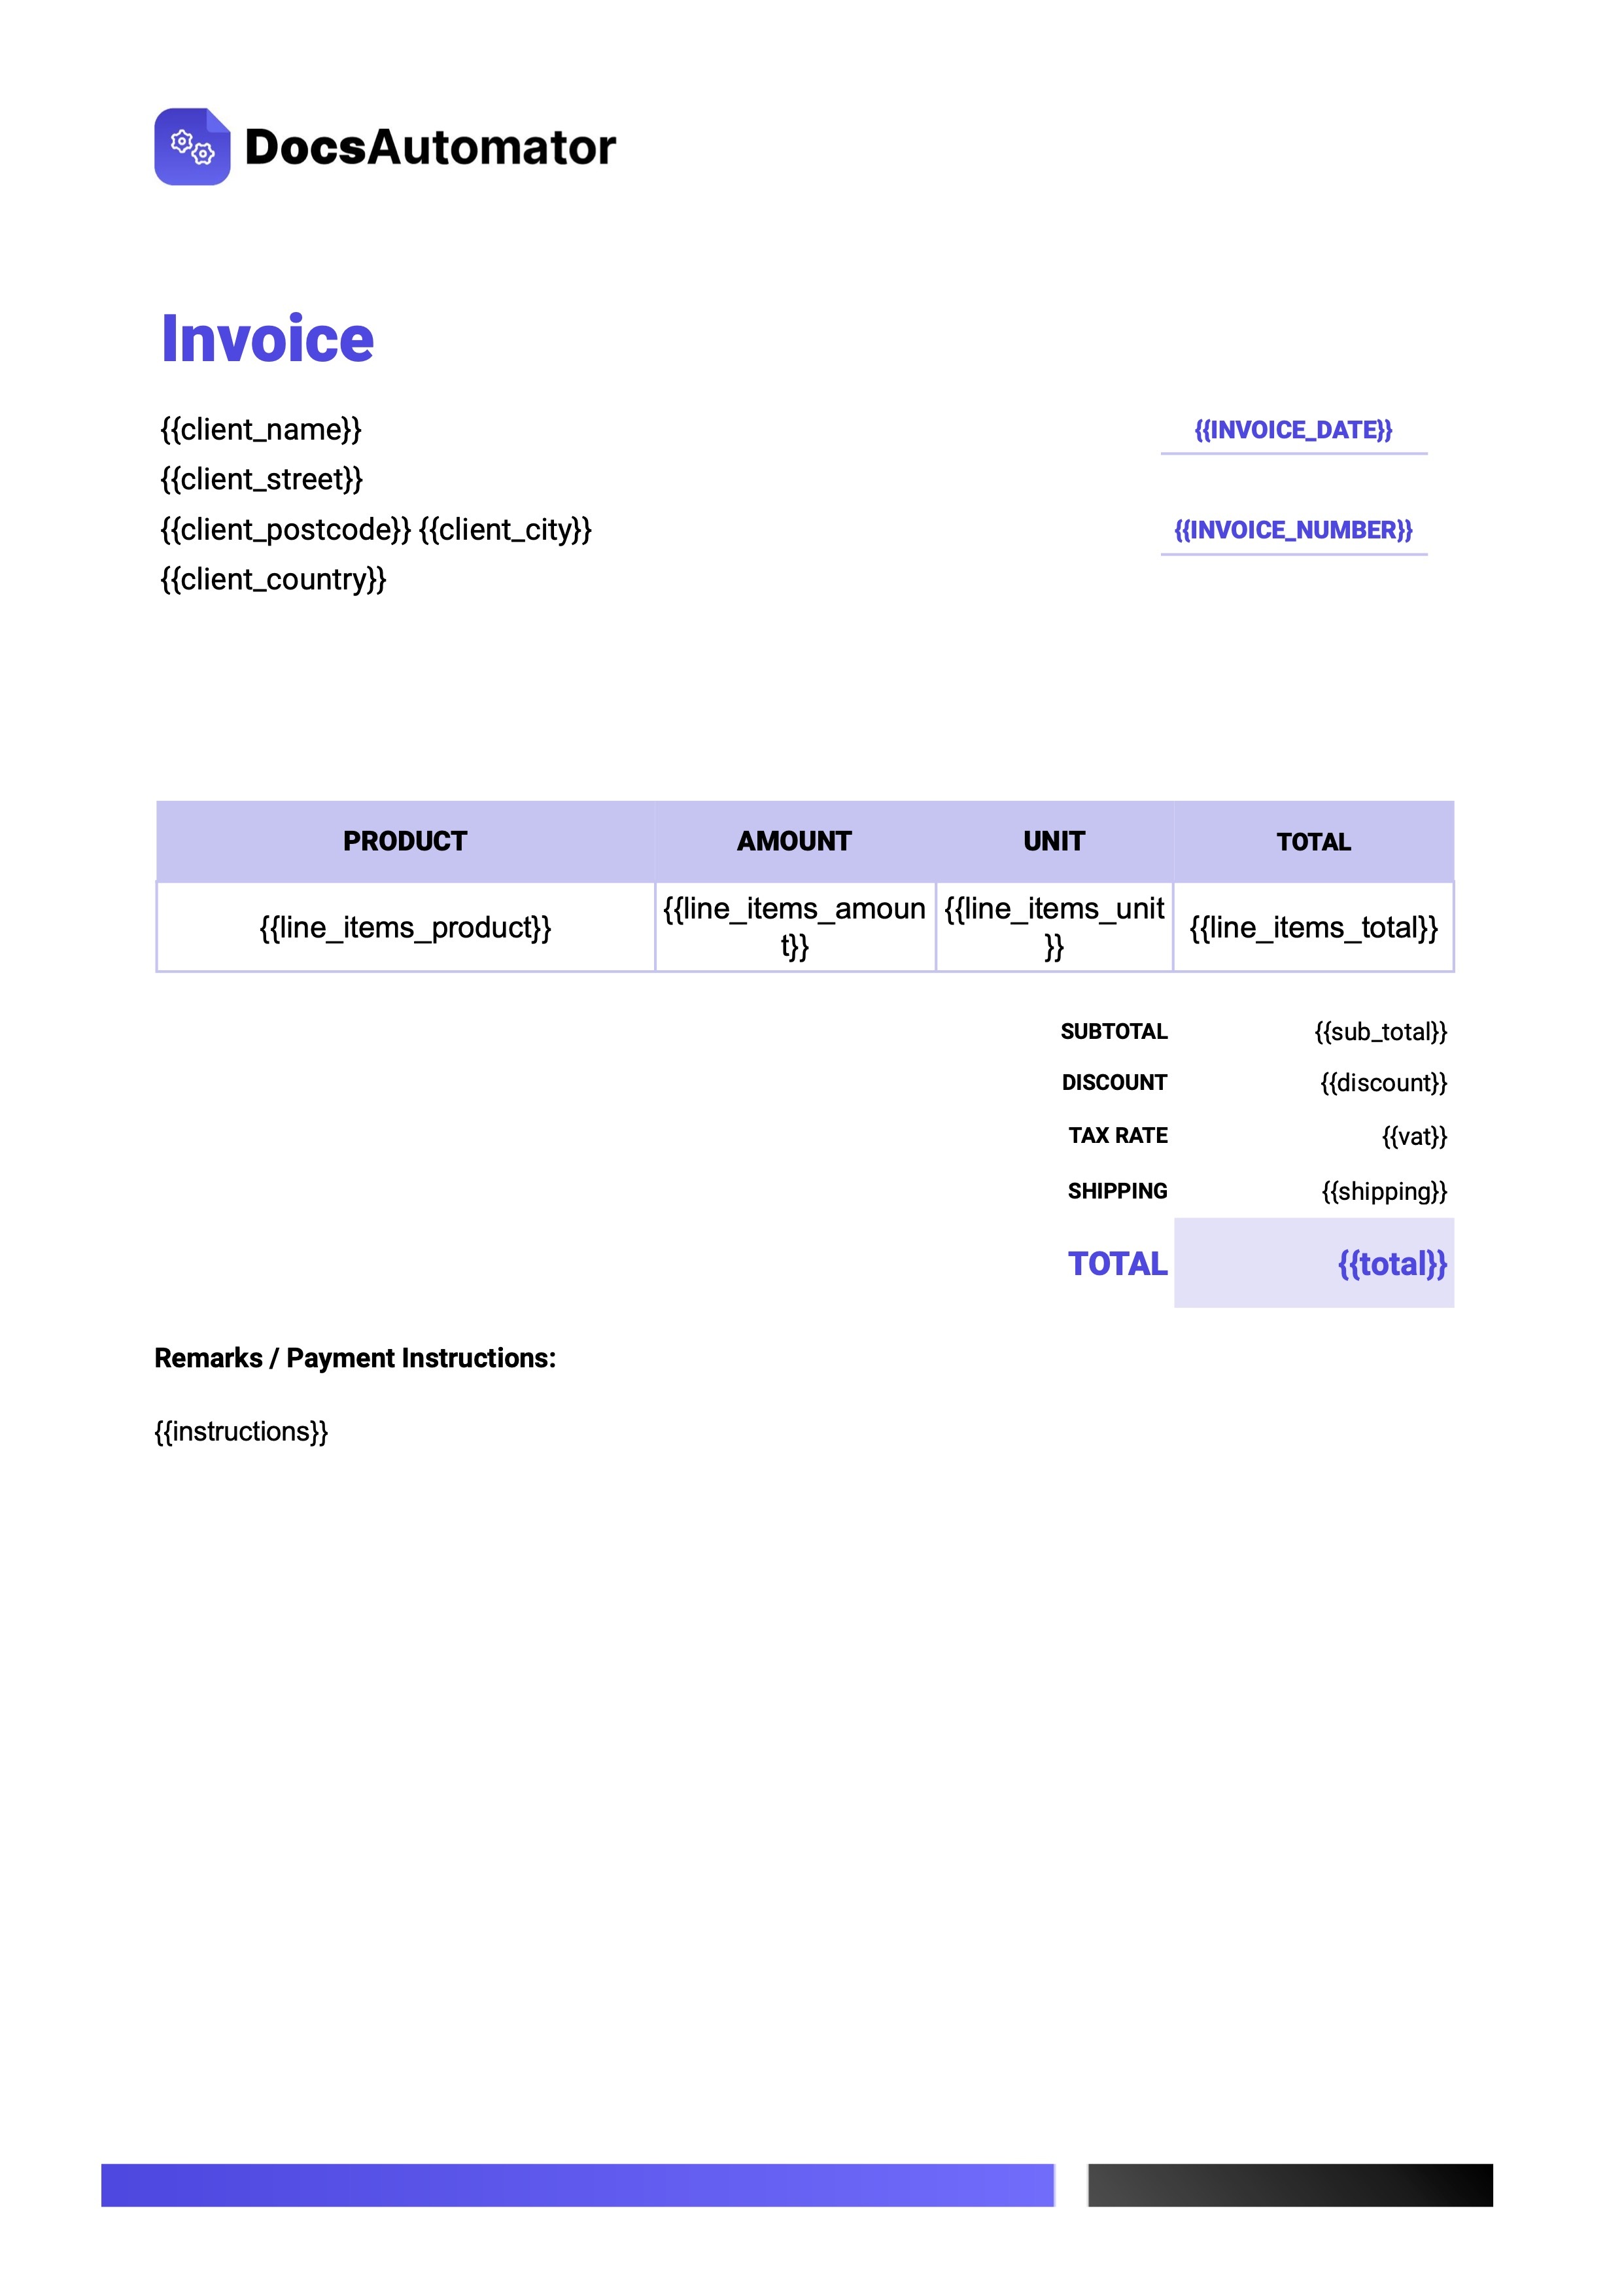
DocsAutomator is a no code document automation tool that allows users to turn data into PDFs and Google Docs using Google Docs templates. It is used by small businesses, agencies, and freelancers to automate the creation of documents of all kinds.
I founded DocsAutomator out of frustration. I was looking for a document automation tool that a) does not rely on HTML and b) makes template creation as easy as using… well… Google Docs. So, I built a Google Docs-based document automation tool, which is now used by many businesses every day.
Glide and DocsAutomator
Glide is a no code platform that offers all of the important pillars of app creation: a strong data layer, very flexible frontend capabilities, and native automations. But even for an extensive tool like Glide, there are certain use cases that are hard to build for internally.
Integrations help extend the power of the apps you build, so Glide added DocsAutomator to offer document generation capabilities.
How to get started with DocsAutomator
Getting started with DocsAutomator is straightforward. The first step is to know what kind of document you want to automate and create a template in Google Docs for that document.
1. Google Docs Template
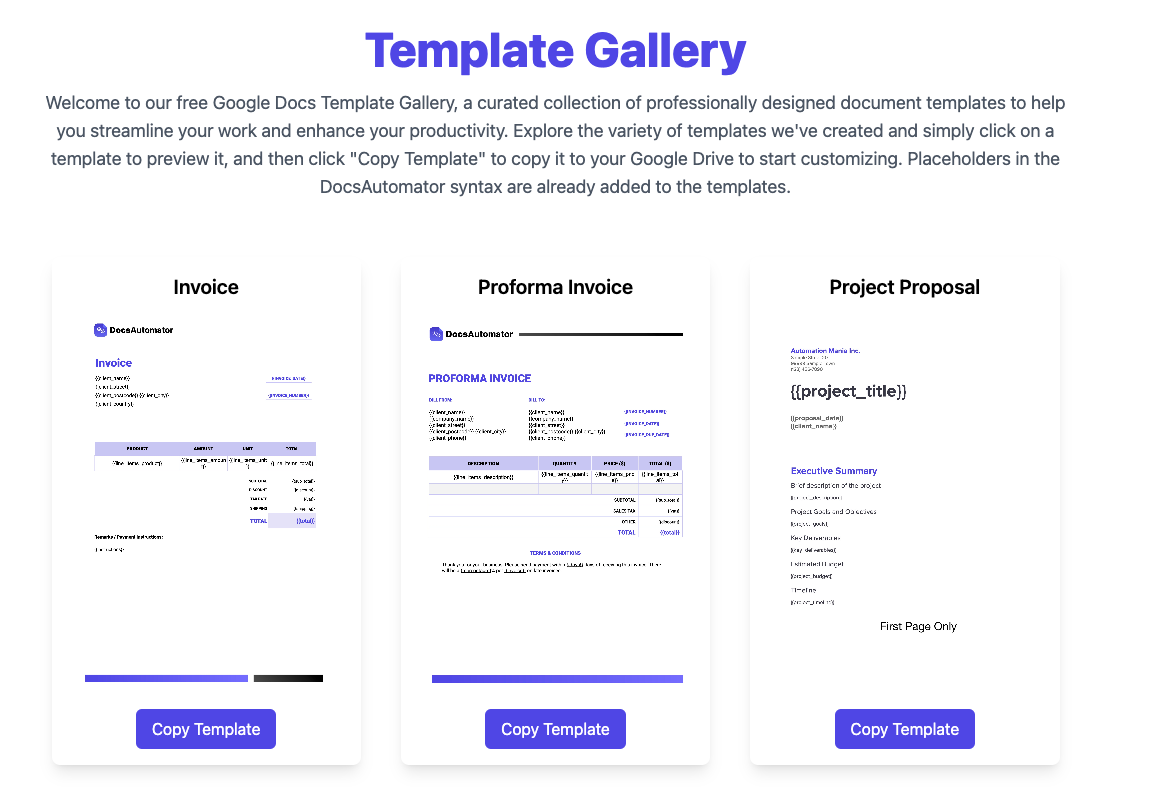
DocsAutomator offers a variety of document templates to choose from, all following DocsAutomator’s template syntax. If you want to start from scratch, head over to the knowledge base and follow the instructions. If you don’t want to create the template yourself, please consider our 24-hour Template Creation Service to let us create a perfect document template for you.
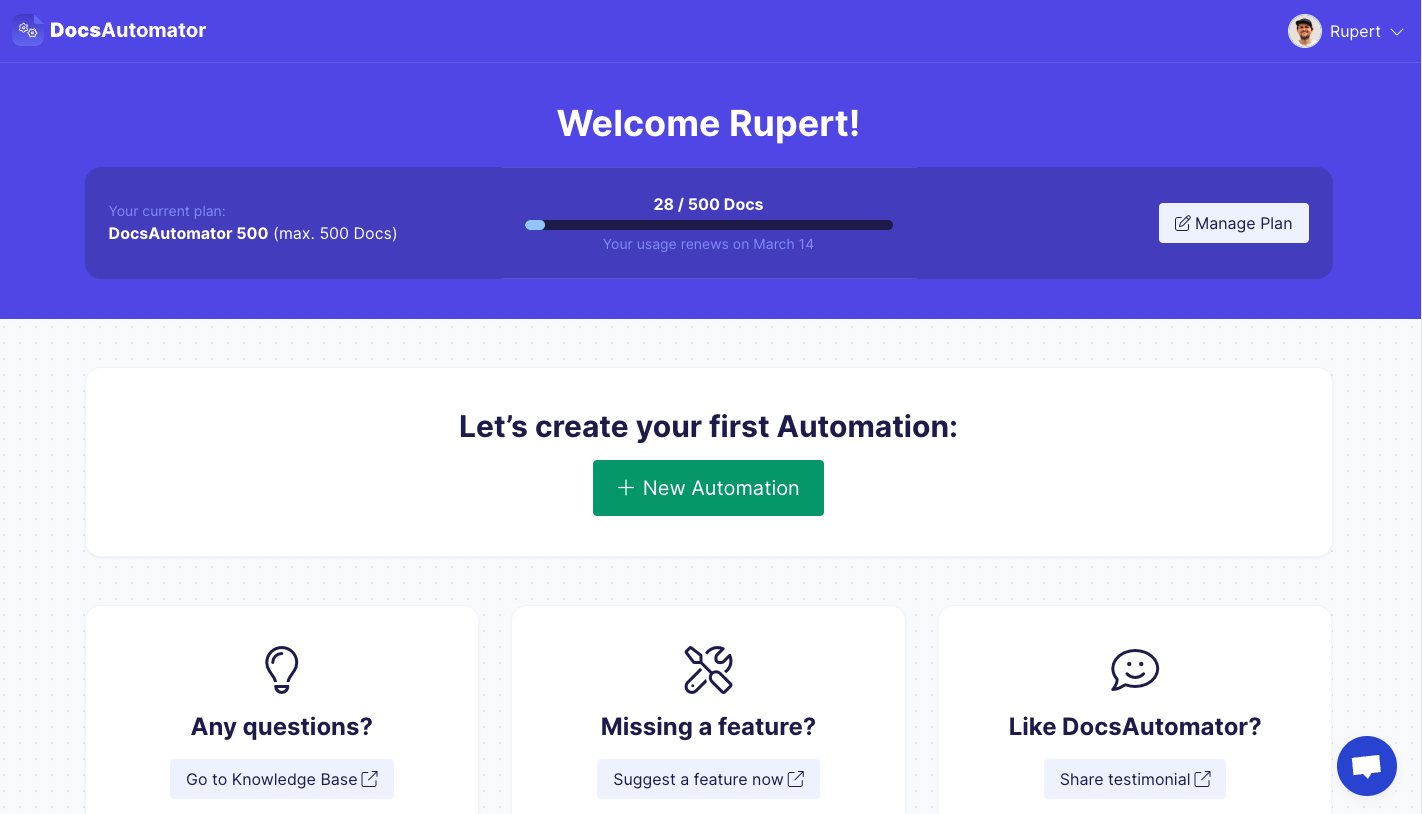
2. Create DocsAutomator account and create automation
Head over to docsautomator.co, create an account, and your first automation. Define a title for the automation, select Glide as your data source, and set the Google Doc template from step 1.
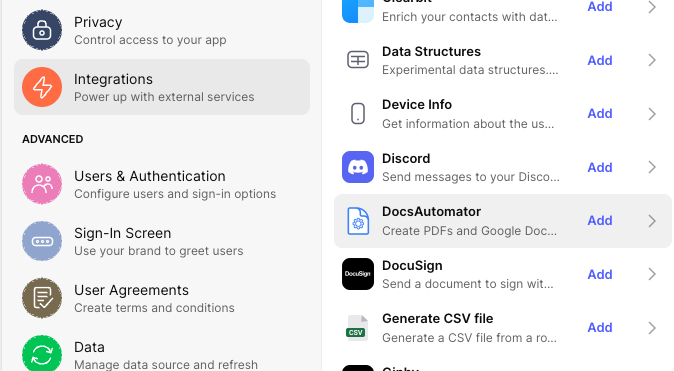
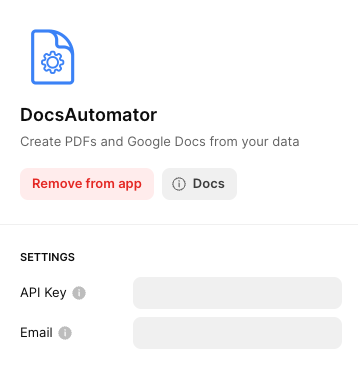
3. Add DocsAutomator integration in Glide
Head over to your Glide account, go to settings, and select DocsAutomator from the list of integrations. You will then need to provide your DocsAutomator API key, which you find in your DocsAutomator settings and your DocsAutomator email address.
4. Start using DocsAutomator in Actions
You can now use the DocsAutomator integration inside of components that support Actions (e.g., a button) or as part of an action sequence in the Action Editor.
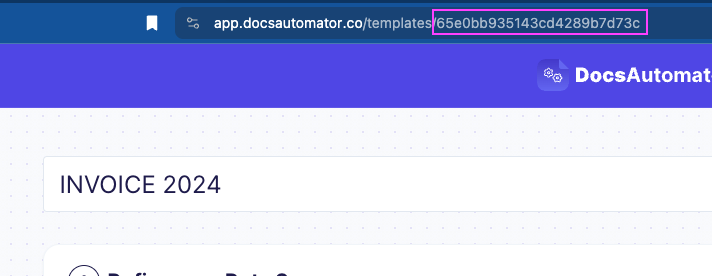
Let’s take the example of a button. For the action, you select the DocsAutomator integration from the list of available integrations. Then you will have to provide the template/automation ID, which you find as part of the URL in your DocsAutomator automation:
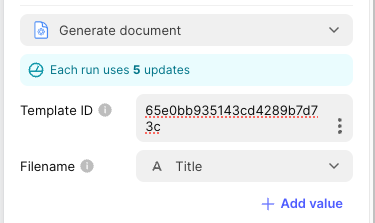
This you add as well as a title (could, of course, come dynamically from your data):
Now, it’s time to map data. Mapping data means building placeholder-value pairs between the placeholders from your Google Doc template and the values in your Glide data. Placeholders are defined with curly braces in your Google Doc and given without curly braces as keys in your automation settings:
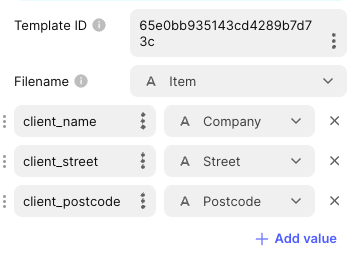
Here, you add all of the placeholders that are defined in your Google Doc template. Besides text placeholders, DocsAutomator offers dynamically adding images as well as tables. You’ll find more about this in DocsAutomator Glide documentation.
Work more efficiently with automated apps
Build a workflow that takes the work off your team. Glide allows you to build a custom app on top of your business data without coding it yourself. DocsAutomator allows you to create the documents you need without compiling them yourself.
Together, they create a system that lets you complete your own work faster and more efficiently. Follow this tutorial to connect DocsAutomator to your existing Glide app, or start a Free Trial to begin building your next app in Glide.