
Roles are a convenient way to assign user permissions or access groups to specific parts of your app’s data. For example, you can create an Admin role for users who need access to everything, and a Reader role with access to only specific tabs or data.
There are two primary ways to use Roles.
You can use Roles on their own in Conditions. This allows you to hide or show different parts of your app’s UI or create conditional actions based on the different roles of your users. However, conditions are not security features. Your app can still download data in the background even if UI or records are hidden.
To securely restrict access to certain data you should use Roles in conjunction with Row Owners.
This article will go through how to use Roles with Row Owners. To learn more about conditions, check out our guide here.
What are Row Owners?
If you have a table from your data source that you’d like to secure so that only certain users can access certain rows, you can assign an Email column as the Row Owner. When this is done, only that specific user will be able to download the data for that specific row when the published app is accessed.
You can assign more than one email column as a row owner to give more than one user access to a particular row. However, if you have many users who consistently require access to particular rows, or if you need to automatically give new users access to particular rows, a simpler approach may be to use Roles.
Setting up Roles with Row Owners
To use Roles:
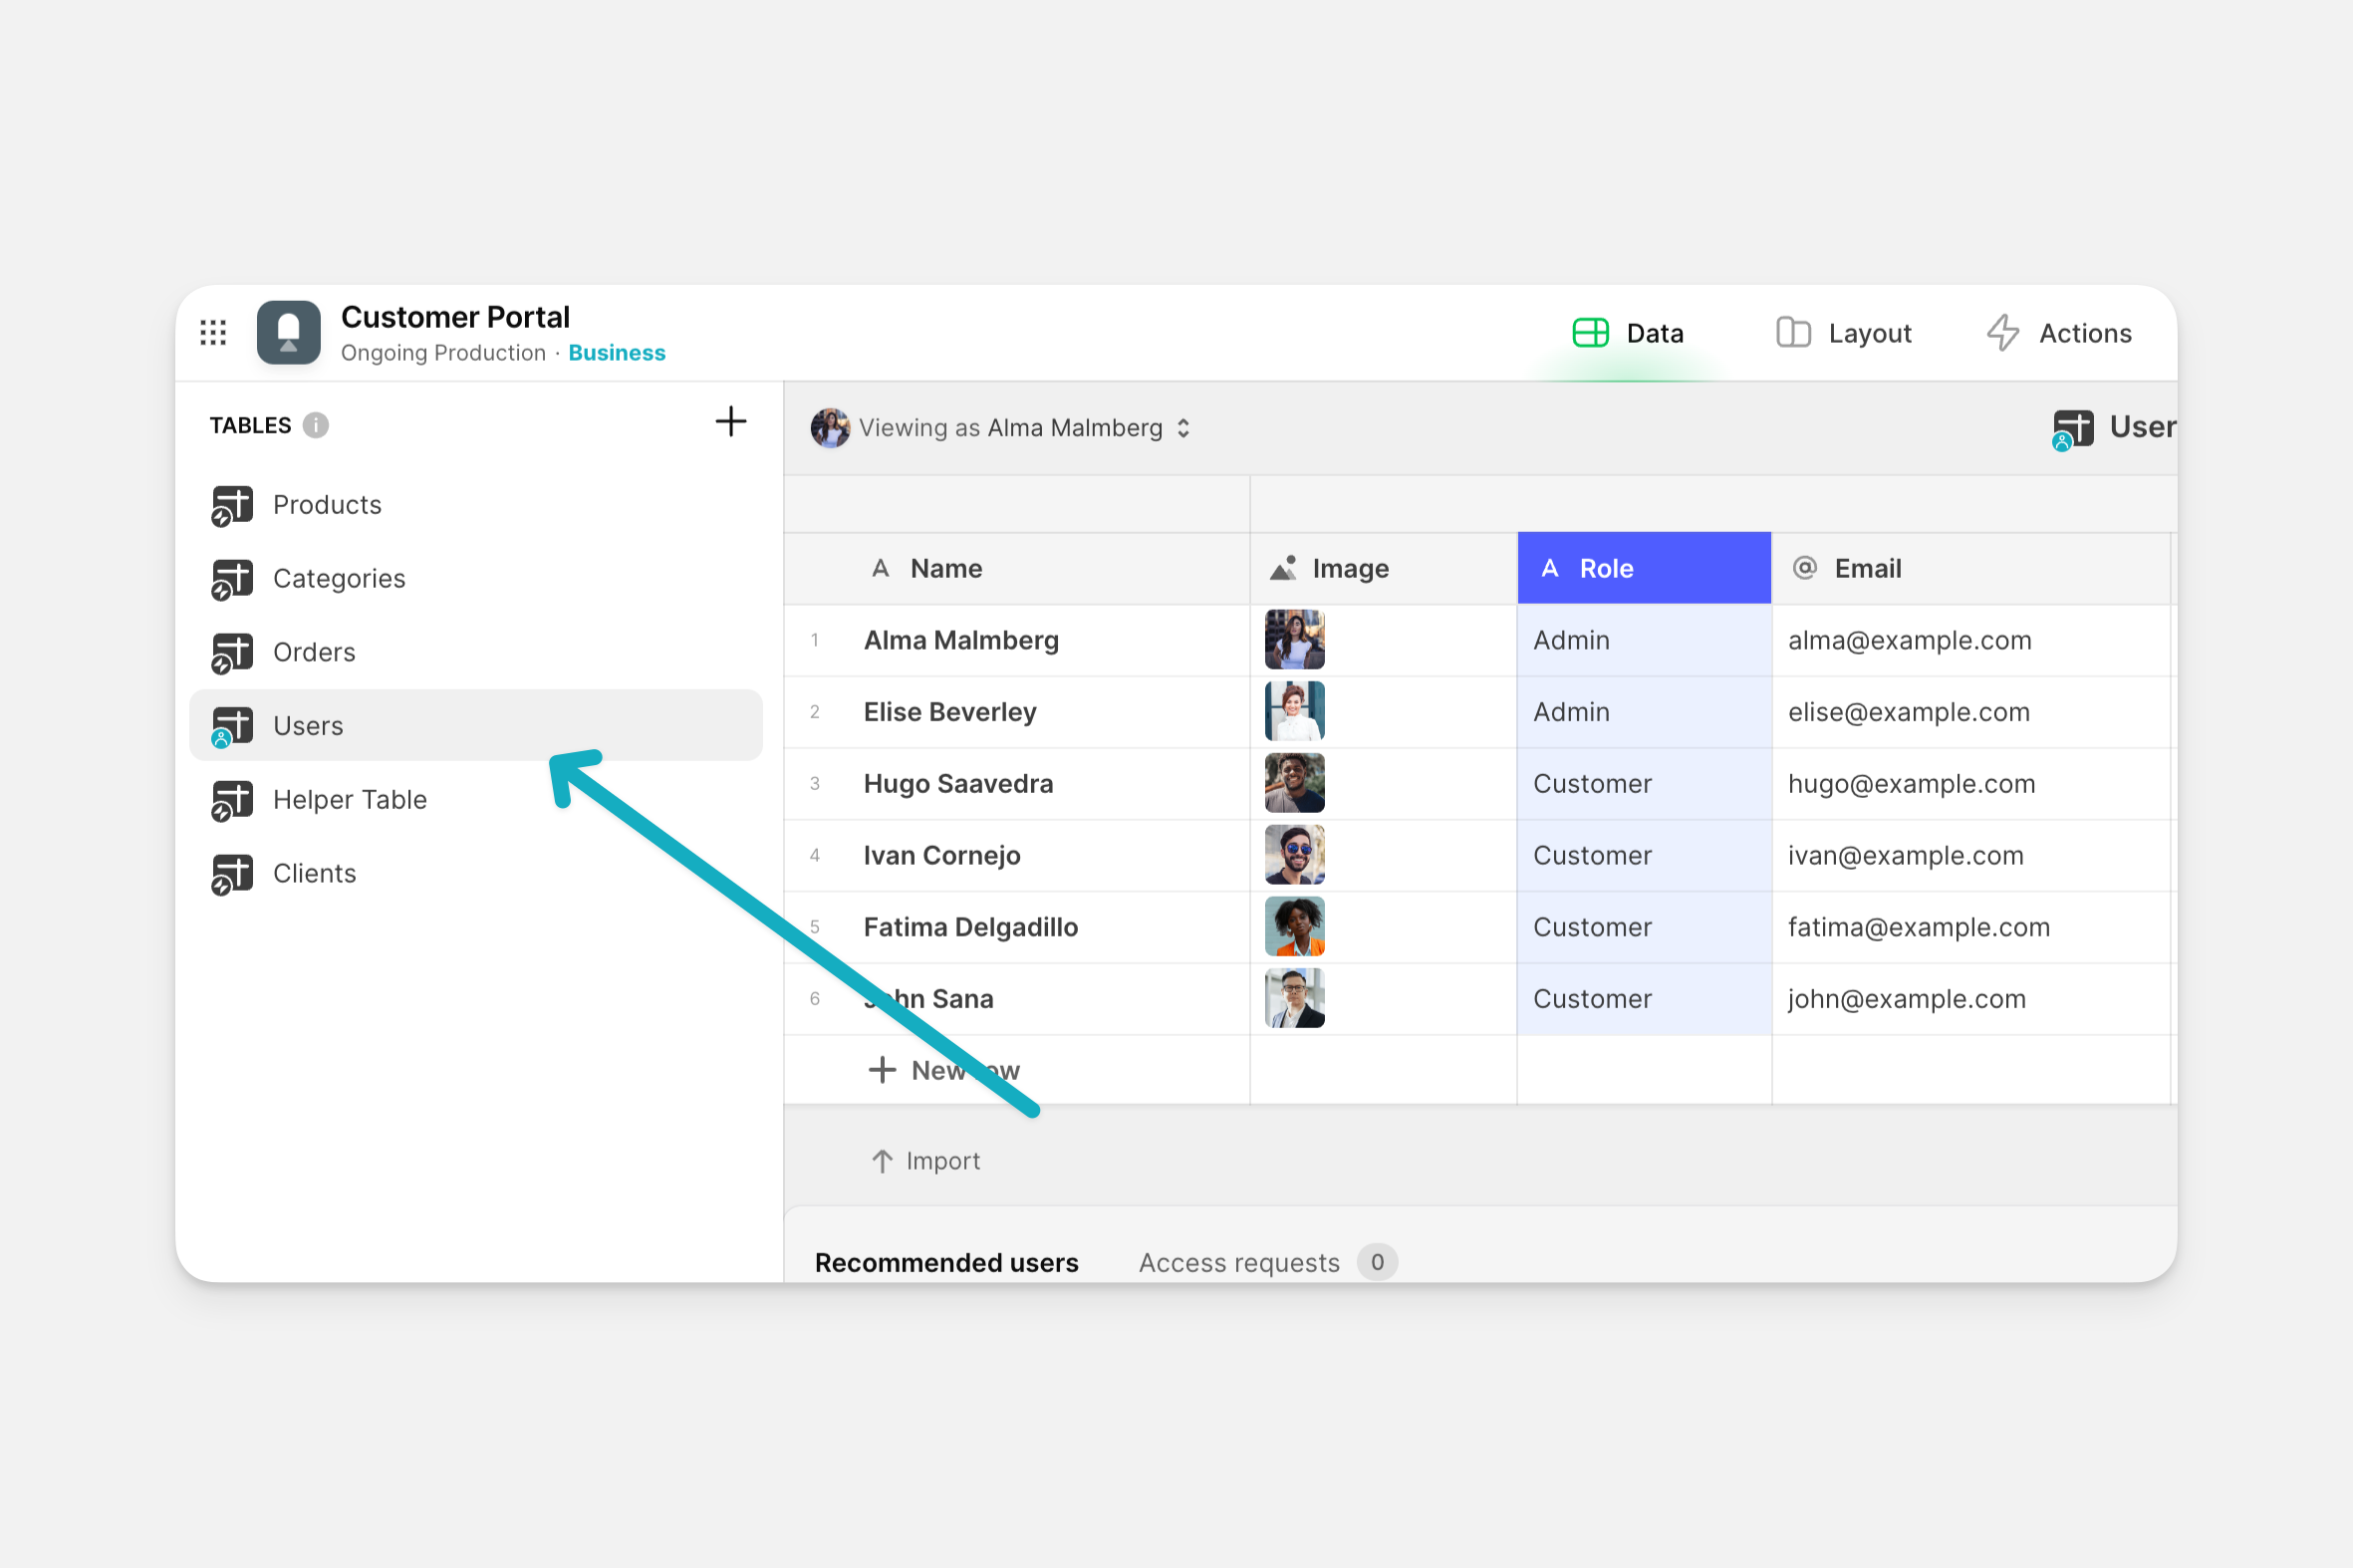
Create a basic column in your Users table where you assign roles.
Assign that column from your Users table in the Role field of the User Profile configuration in the Layout Editor.
You cannot use Computed Columns such as Make Array or Template columns as Roles. However, you can use a Multiple Texts column populated via workflow to assign multiple roles.
Once you’ve set the Role column in your User Profile table, you can start securing the data in other tables of your app based on each user’s designated role.
Add a basic column to the table you’d like to secure. This column will contain the role that should have access to each row of data.
Enter the name of the role that should be granted access for each row of your table.
Click the arrow next to the role column name and select Make row owner.
Now, each user that is assigned the role that is noted in the Role column of your table will be granted access to that row’s data.
When using the Data Editor, you are able to view all of the data in your apps. When Row Owners are enabled, some rows of data may be greyed out based on which user is viewing the data. Greyed out rows are not downloaded to that user’s device in published apps.